This fall has gone by lightning fast and it feels like I had so many things going that I need to follow up on all of the loose ends and cliffhangers I left you with! Well... I guess "cliffhangers" is a strong word. It's not like you've been waiting to find out if Stefano came back from the dead (again)! But I bet you are wondering what I got in the swap! With so much left in limbo, I'll break them down into categories to help me keep my mind straight.
Family Room & Kitchen Renos
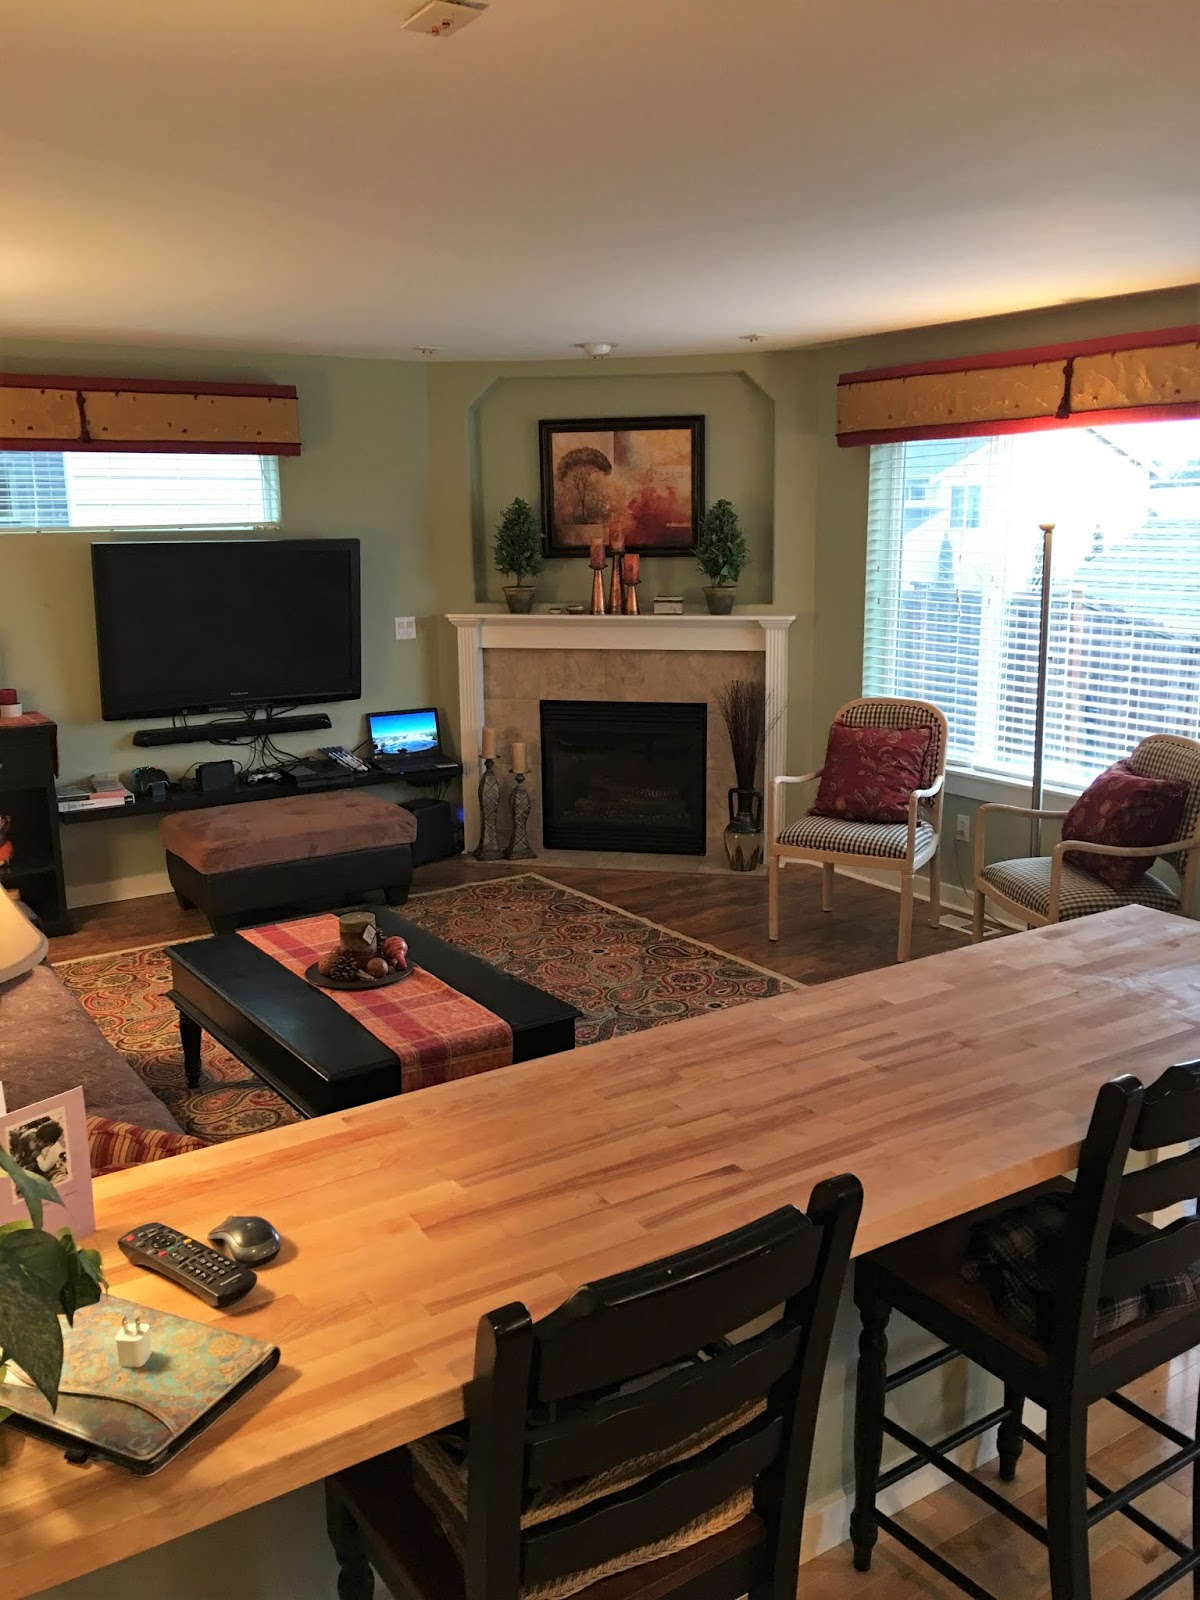
It feels great to have the family room and kitchen rejuvenated! I didn't realize just how much a lighter color would brighten up the rooms, even as we head into dreary, gray winter here in the Pacific Northwest. But even when the sun is hiding behind the thick layer of rain clouds, it still feels jovial inside!
The only things left on the To Do list are to replace a faulty 220 plug for the oven , recover the family room chairs and make some art for above the sofa. Since we are not hosting any of the holidays this year, there's no hurry to get the chairs done, and the oven still works - it just needs to be pulled out from the wall a little to straighten the cord. We wouldn't be true procrastinators if we didn't leave something on the list! Maybe January? :O)
Grandma's Hutch Makeover & Future Project
Grandma's hutch came out great - I love the serenity blue with the sage wall color, and the antiquing wax really highlights the molded details! I want to fill the shelves in the upper glass portion with miniature scenes.
Marilyn suggested I make and display mini kitchens that were special to me growing up. Excellent idea, Marilyn! My grandma's kitchen was my first thought, and it's funny - I had been collecting ideas and making plans to do this for years! What a perfect place to have it displayed!
My grandma's kitchen was always active, full of family (she had seven kids) and smelling like some sort of great food or baked goods were about to be served! But by no means was it fancy. It had metal cabinets and a sink unit right out of the Youngstown catalog from the 1950's, red Formica counter tops and actual rooster contact paper on the walls in lieu of wallpaper. But boy was there a lot of love in that kitchen, and a lifetime of memories for our family! Grandma passed in 1998 but she's still in everything we do.
Here's a photo with grandma, my aunt Carol Jean and my little cousins, Teddy and Jimmy. It must have been March because Jimmy is enjoying the birthday cake grandma made. She made some spectacular cakes for all the kids over the years! See the cabinet above the stove on the left? That's not grime, it's where the paint on the metal cabinet had been scrubbed away over the years!
Here's another with the same crew sitting at the table. There was a leaf that could be added to the table, but just imagine seven kids, then later all their spouses and kids, cramming into such a tiny space! Holidays were wall to wall love, literally!
In this photo with my aunt Amy Jo and her two kids Camryn and Kyler, you can see more of the back kitchen wall. The window was east facing, so memories of early morning sunlight and grandma singing along to country music on the radio fills my heart.
Here's one with Amy's best friend Colleen. Though she wasn't related by blood, she was part of the family! It's a good photo of the sink area and the back door to the built in porch.
I found a couple brand new rolls of the exact contact paper on Etsy a couple years ago. I made memory boxes and covered them with it for my mom, aunt and uncle, but I have lots left. I can scan it into the computer and shrink it down to scale for my mini version.
I've requested more kitchen photos from the family and am going through all my old albums and boxes of photos. Hopefully, I can begin to put all of the pieces and details together enough to make a plan. The hutch shelf is only 10" deep, so one wall will have to be eliminated. I hope to start on the project sometime in 2020.
Instagram Christmas Swap Gifts
I've shown you the gifts I made for my swap recipients, but now I get to share what I got! My first gift came all the way from Sirpa in Finland! One of the best parts to this swap was getting to meet new miniature enthusiasts from around the world! The ones I already knew, I know much better now! Sirpa's Instagram handle is
@sirpa_sainio.
Her gifts could not have been more perfect! In addition to an array of generous materials to get creative with, she also made an incredibly adorable suitcase loaded with Christmas presents, a pair of charming little gnomes and a rug that she actually made on a miniature loom! The details are just precious, and I am excited to play with them in my gingerbread cottage,
The Sweet Christmas Cottage.
Thank you so much, Sirpa! I will treasure your incredible handmade minis and make great use of the supplies in future projects!
My second gift came from another country, as well, but this time a little closer to home - Chrystine in Montreal. Her Instagram handle is
@vintageinmontreal.
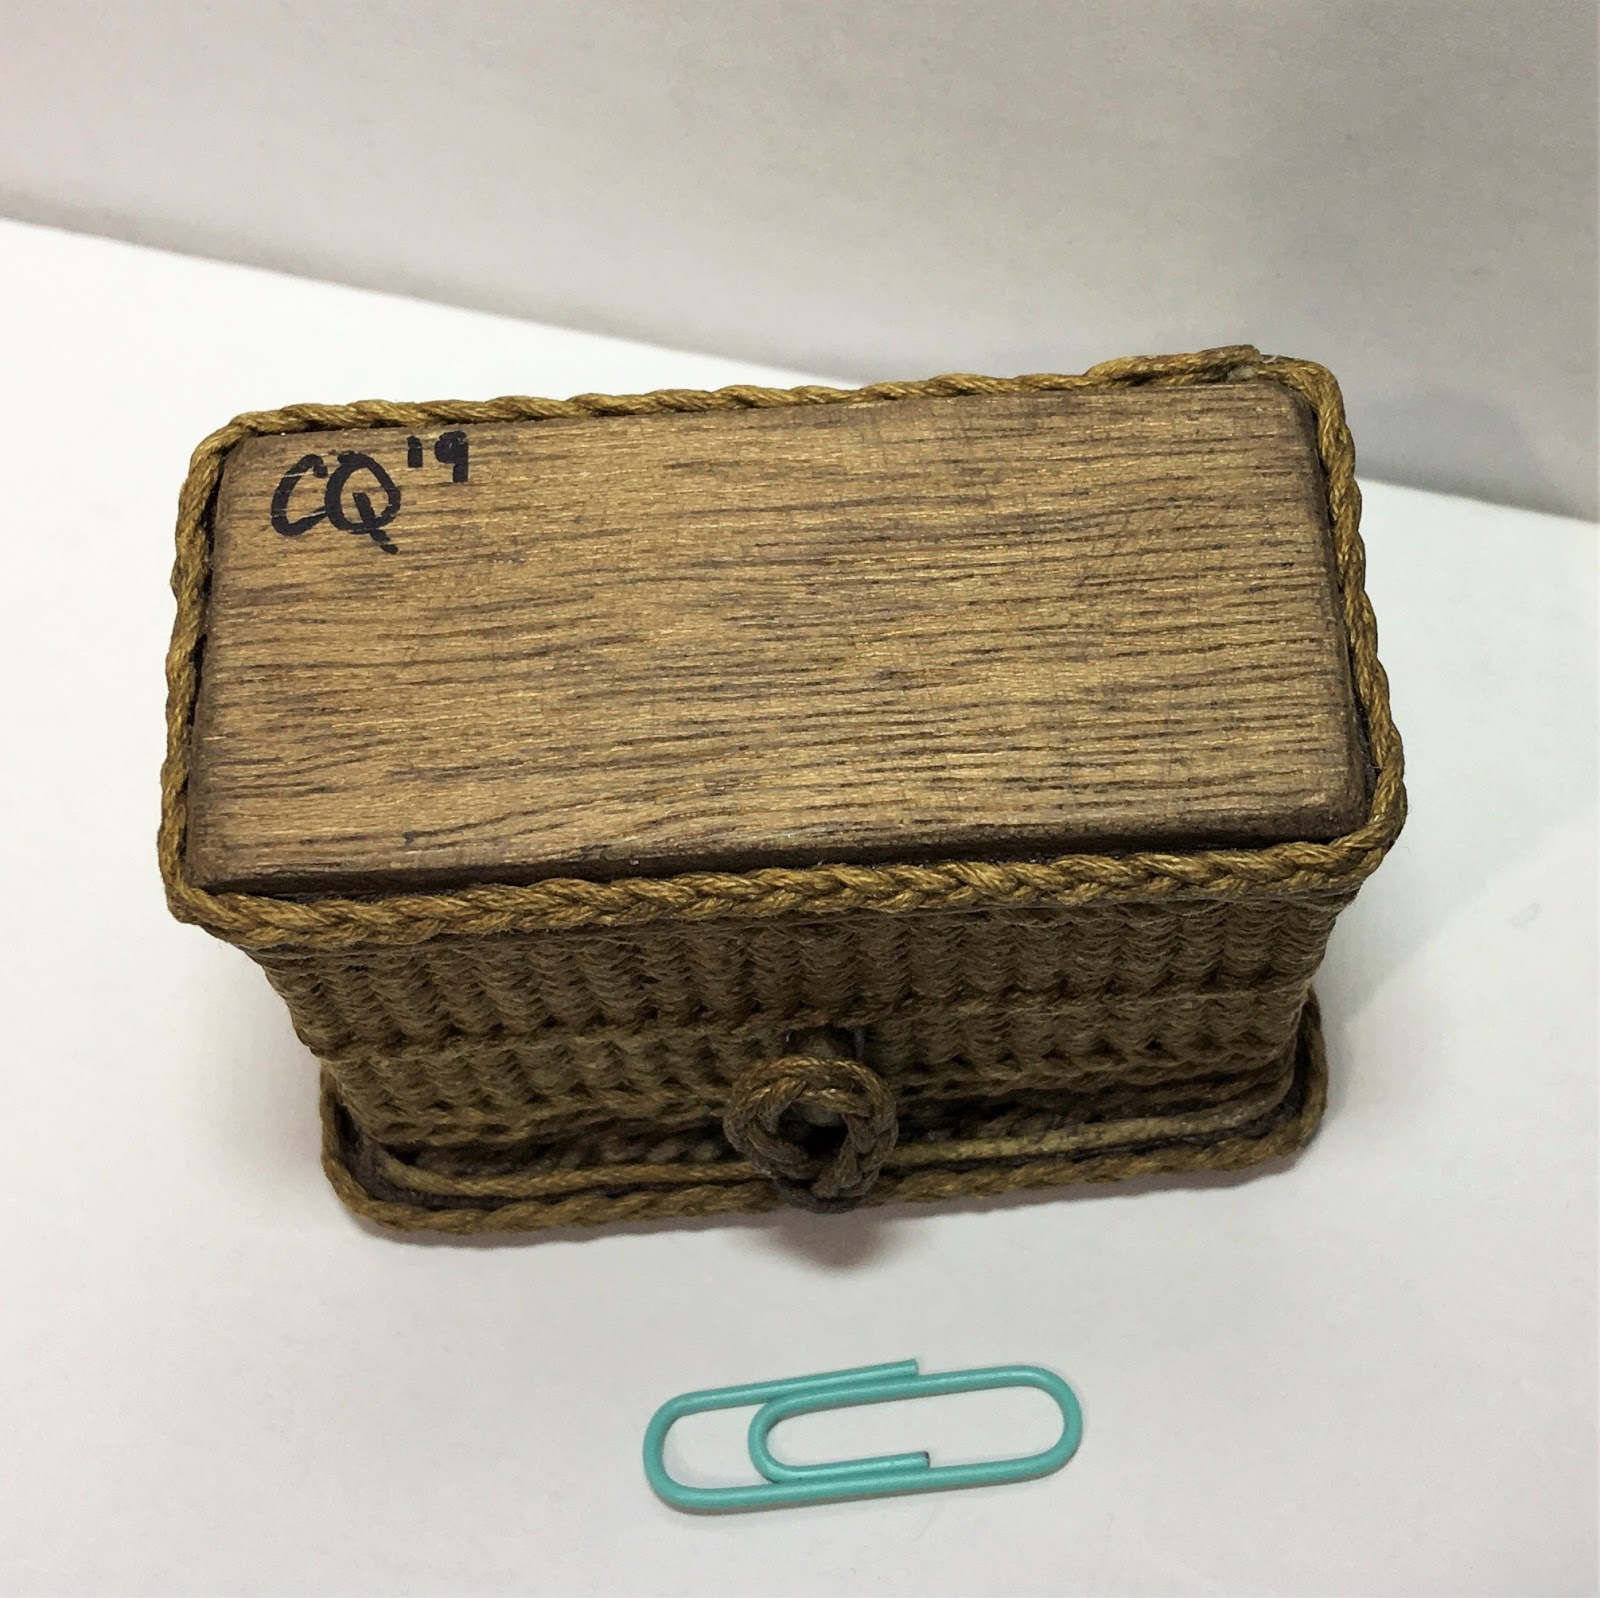
Chrystine wove for me the most amazing and intricate basket!!! It's incredibly detailed and perfect in every way! She only began making minis in April of this year, but I think she is someone you are going to hear a lot about in the future! This is going to be an amazing piece to display in my current project (which I'll talk about later).
Thank you Chrystine! I LOVE it!
If you want to see all of the participants, what we made and received, and what we all look like, just search the hashtag
#christmasminiswap2019.
Linfield To Adobe Kit Bash
So on December 1st I got to crack open the Linfield kit. It was never opened. In fact, it still had the rusty industrial staples holding the lid closed!
I opened it up to make sure I had all the parts. These DuraCraft kits included everything - the shingles, the trims and moldings, Magic Brik river rock tape and mortar and even the wooden flooring strips! It also included a VHS tape with helpful instructions! I just happen to have a VHS player.
It's a really special kit. When I got to all of the trims, I saw that they were actually wonderfully milled with dovetailed joins! I realized that for me to lob off roofs and flatten out bay windows on a kit like this would be a travesty. I carefully returned everything to the box and put it back into inventory. Looks like I have a frilly Victorian in my future, and that I'll be looking for a Plan B on the adobe structure. I also remembered that all of my ideas aren't necessarily good ones. Ah, well. Such is life...
Instead, A New Project
But not to be thwarted from the thrill of a new project, the smell of fresh plywood and a swarm of tiny slivers, I cracked open a different kit! For me, idle hands are not a healthy thing, so my mind and craft table are never clear for very long. This alternate kit will house another 'Must Do Before I Die' dream that's been in the works since April of 2016. That's when I bought the kit, anyway. The plan for this project has been brewing long before I let myself buy the kit. I've been enamored with it since around 2002!
But what is the kit and what are the plans for it? I'm going to leave you with another cliffhanger here and only tell you the name of the shop and a peek at the early progress.
Welcome to
Pound Cake...
Can you guess the kit? I'll share all of the fresh baked gossip in my next post!
xo xo,
Jodi