Search My Blog!

Use the Search box below to find keywords that you're looking for quickly and easily!

Search Feature

Monday, September 30, 2019

Autumn's Pantry - The Grand Opening!

Well... It's finally here! October 1st, my (second) deadline, and The Grand Opening for Autumn's Pantry! I had such a fun time with this project, and it's a great feeling to have it finished! There are still a few little things rattling inside the project box, but nothing else will fit! I am so happy to have been able to incorporate so many fun fall ideas, and I think my real life trick-or-treaters will be delighted to see it Halloween night! I wish my background poster were double the size for your viewing, but please forgive...


Come on in! I'll catch you up on how I got to the finish line, and give you a daylight tour of the property! 


When we last left off, I had been working on the bay window display shelves. After that post I added some crates and pumpkins to fill in the floor area underneath.


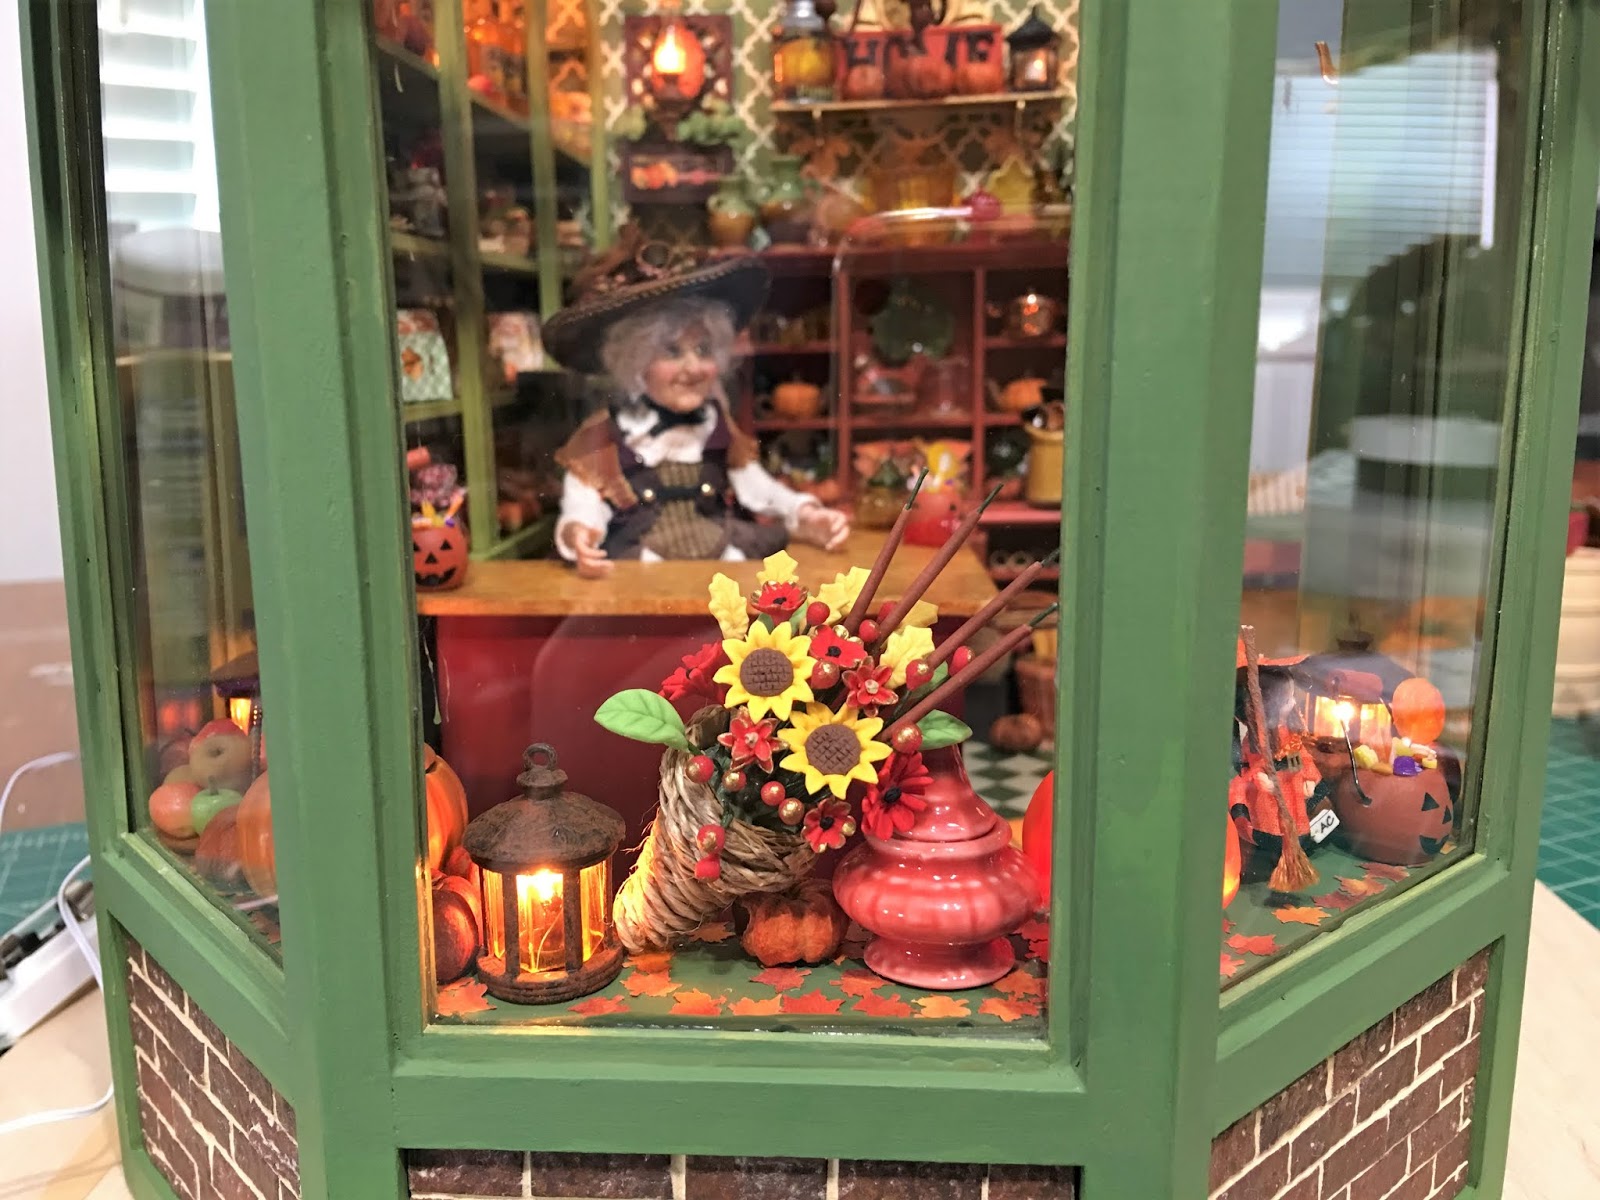
Then I finished making flowers - Lots of flowers! There are single stems of zinnia, dahlia and sunflower available inside the shop, as well as ready made pots of marigold.


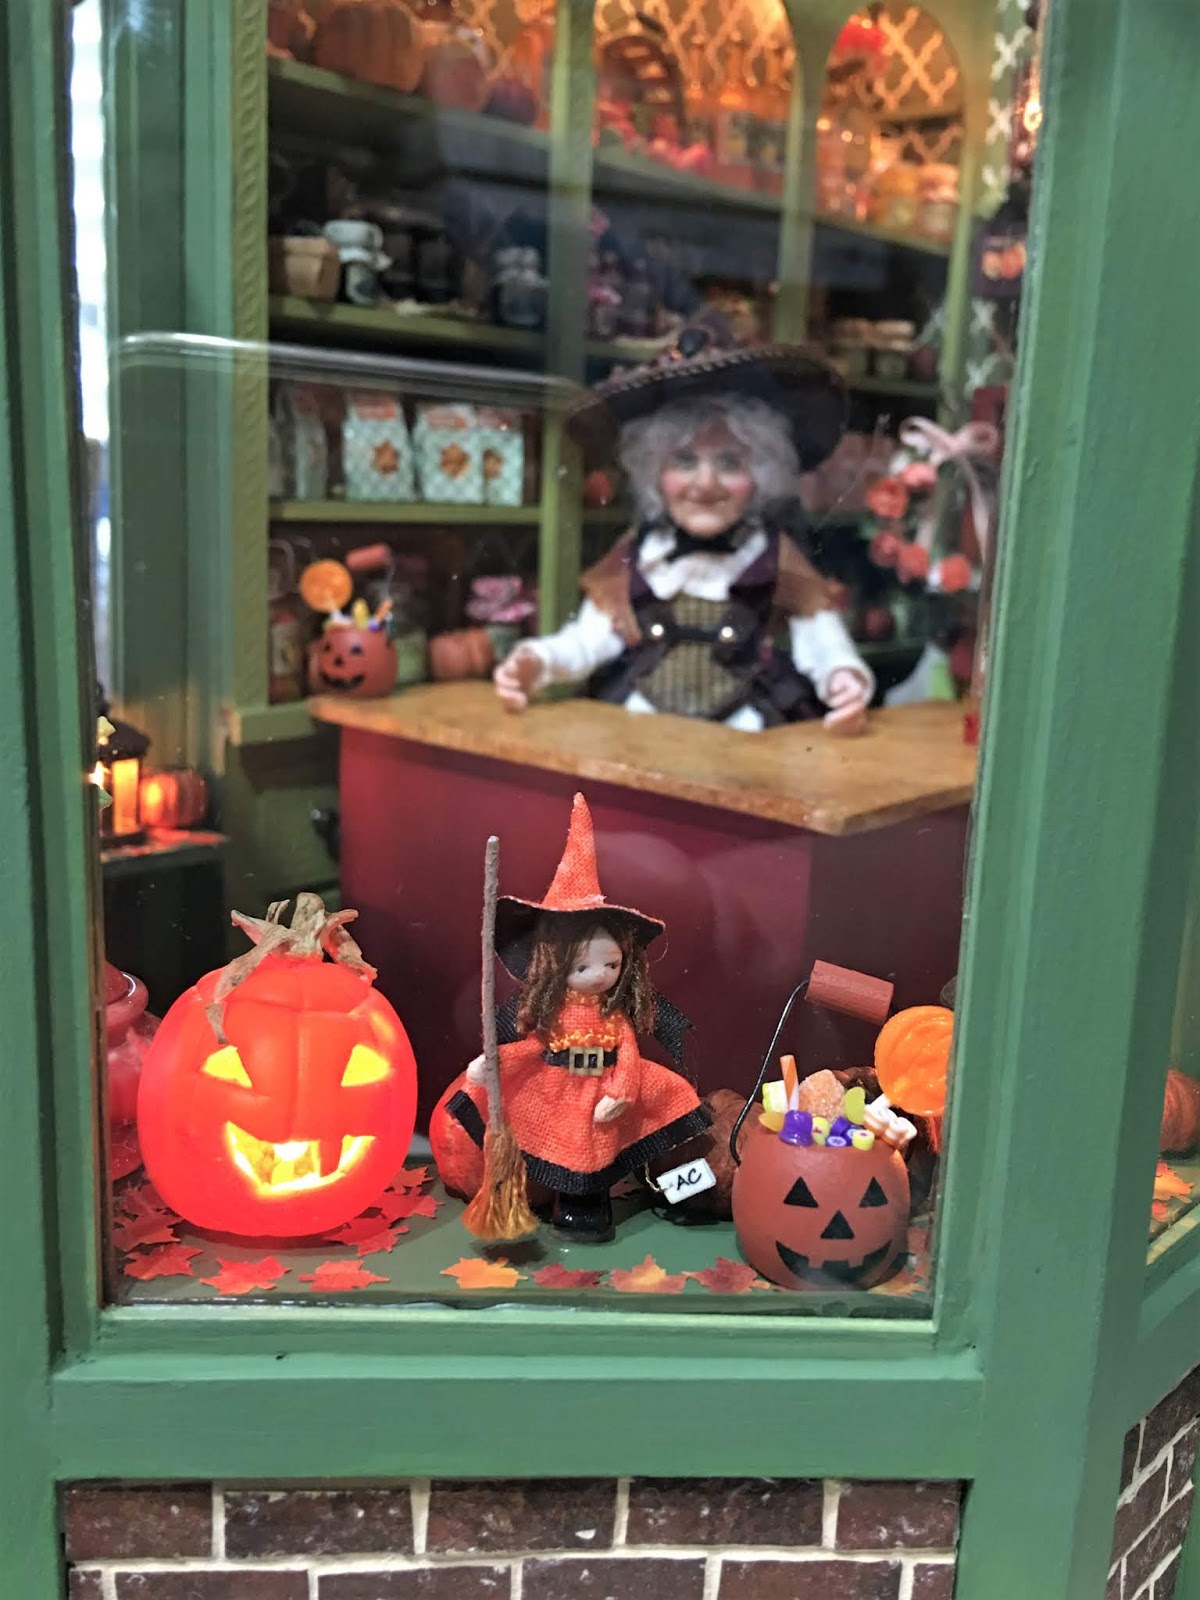
The shop counter has been outfitted with seasonal delights such as baked goods, fruit, candy and there's even a barrel of apple cider to help yourself to. Fiona knows... one sip and you'll be taking a bottle home!


Oh! I see Spooky has decided to come out and say hello! He spends a lot of time sleeping under the counter. He's saving up energy for all of the little Trick-Or-Treaters who will come by to pet him. He began life as an inexpensive resin figure. I glued on a little wool, repainted and glossed his eyes, and now he's a happy, handsome kitty!


More interior views...


Outside, the shop has undergone some major changes. First, I was going to add planters to either side of the door. Once I made a top lip and began to put bricks on them, the front door area felt too constricted. I opted instead to make it all brick with displays on either side. This still allows the front wall panel to come off nicely for access inside.


Front sidewalk with displays on either side with front wall removed.


With the front wall placed and the door open...


Front door closed...


Pots of sunflower, dianthus, zinnia, decorative cabbage, petunias, pumpkins, jack-o-lanterns and lots of fall leaves.


Lighted jack-o-lantern, bushel basket of apples, corn stalk, asters, zinnia, succulents and even a proud and sneaky dandelion!


The right wall of the shop gets a little weather beaten, but it only adds to the charm.


The left side of the shop has a little room for some fun landscaping.


On this side we have black eyed Susan, zinnia, sunflower, dianthus, sedum, chrysanthemum and daisy.


The old water pump is a little rusty, but still works great!


We're ready for business so Come On In!


Here's a few "dusk" photos... Just spooky enough to be fun!


Thank you one and all for following and encouraging me during this fun and colorful build! The next project is going to be a total 180 - I hope you'll come along on the journey with me again!

xo xo,
Jodi

Thursday, September 19, 2019

Autumn's Pantry Bay Window Displays

Hi Guys! I'm back with just a little work on Autumn's Pantry to share for the week. The wedding was beautiful, dad's eye surgery went perfect and some great family memories were made! That will help soften the blow when my parents leave for AZ again, as there are no plans to get together again until mom's 70th birthday in February. Man, it feels weird to say my mom is turning 70!!!


While the schedule has been hectic, I was able to find some time this week to electrify some inexpensive plastic lamps and start on the bay window display area. I thought I would share how easy it is to do these lanterns. You can see by the gold loops that they probably began life as Christmas ornaments. I forget where I got them - probably a craft store, but I've had them in my stash for quite a long time. I was able to find some here and here by doing a Google search for "mini Christmas tree lantern ornament".

You'll need some lanterns and some Candle Flame Bulbs with wires.


These lanterns come apart in two pieces. I just used my tweezers to separate them at the seam then easily pulled them apart.


You'll need to drill a hole into the candle cup in the bottom for the wire to exit. I used a 1/32" bit in my Pin Vice.


To make a channel for the wire to exit the side of the lamp (to keep the bottom flush to the surfave when sitting), I used my Dremel to essentially burnish a channel from the candle cup exit hole to the side of the lantern.


I wanted to keep my rustic theme going for the shop, so I stippled some burnt sienna acrylic paint over the black lamps. It's a super easy rust effect. If you have different lamps with a different color finish, just paint them black, let dry, stipple the burnt sienna, let dry, and varnish.


To blend the wires themselves, I used a Copper Leafing Pen to cover the wires and then let thoroughly dry before installing the bulb into the lantern.


To install the wire, just thread the wire through the hole, place a dab of Tacky Glue in the candle cup, pull the wire taught and let dry. You can glue the exiting wire to the channel, though I did not end up using the channel at all.


The tops of these lanterns snap back on with no need to glue. This is nice in case the need arises later to change the bulb.


I decided where I wanted my lanterns and drilled holes for the wires right into my bay window display shelf. I also added a Jack-O-Lantern with a bulb but did not color it's wire in copper.


The second hole you see in the wall under the shelf is where the wire will exit to plug in to the power strip. I want to combine all four wires into one so that I will only need one plug and so that only a single wire coming out the back has to be camouflaged.


To do this, I needed some Extra Wire and some Shrink Tubing. I separate the two strands on the extra wire and slip a 1/2" piece of shrink tubing onto each strand. I strip back about the same 1/2" of wire coating to expose the wires.


I separate about 1" of each of the lantern wires and strip back 1/2" of coating to expose the wires. Then I combine four of each of the wires from the lanterns into one wire grouping for the "hot" wire and one grouping for the "neutral".


Now I combine each grouping with one of the new wires.


Then I slip the shrink tubing over the join,


I apply heat from my blow dryer until the tubing shrinks (melts) the join into a secure sheathing.


Then tidy up the wires, feed the new, single wire through the hole, cut to length, add a plug and plug in to the power strip.


Cross your fingers, pray and then look to see if the lights really do work!


Whew! We have working lanterns in the bay window displays!


I can't wait for the day when I get to see the shop with all the house lights off!


My next plans are to finish up the flower making and finish off the floor space inside the bay.


I definitely won't be finished by my original deadline of September 23, the first day of fall, but I may make the second deadline of October 1st! We'll see what else life brings to put in my way! No matter - I am having so much fun, and am ever the more grateful for any time that's mini time!

xo xo,
Jodi