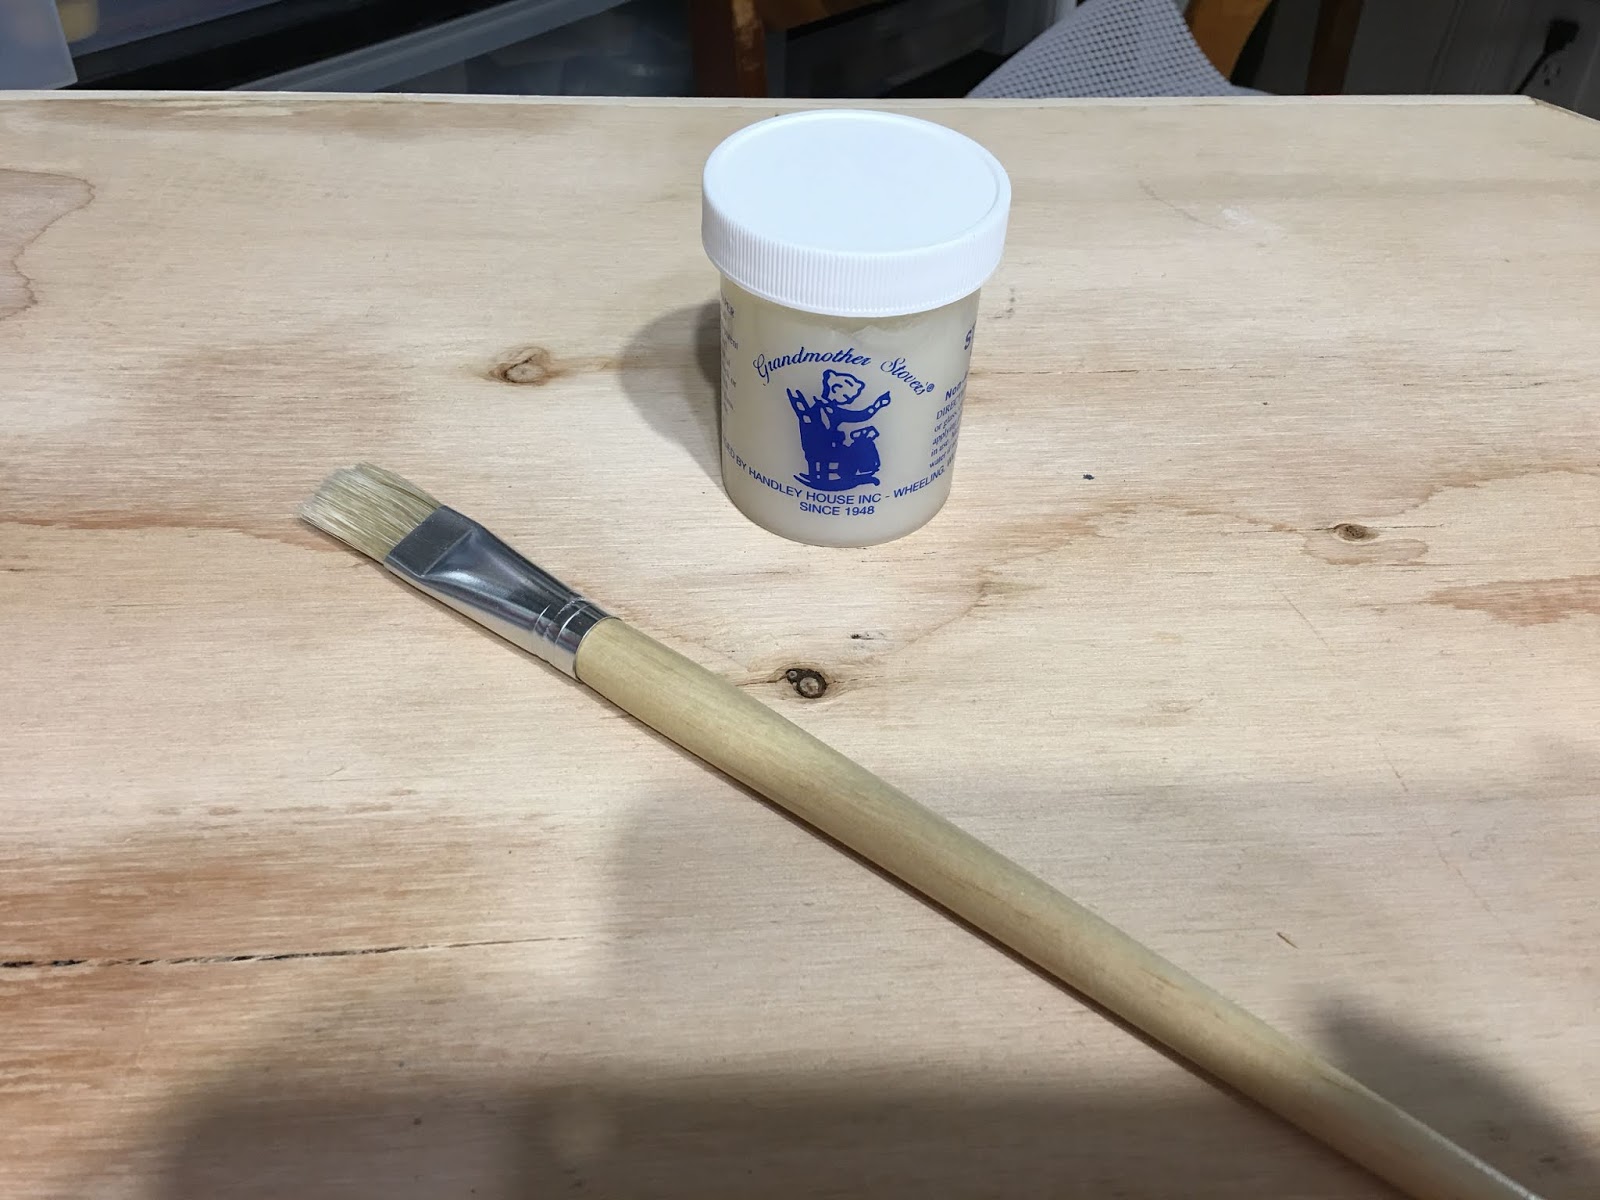
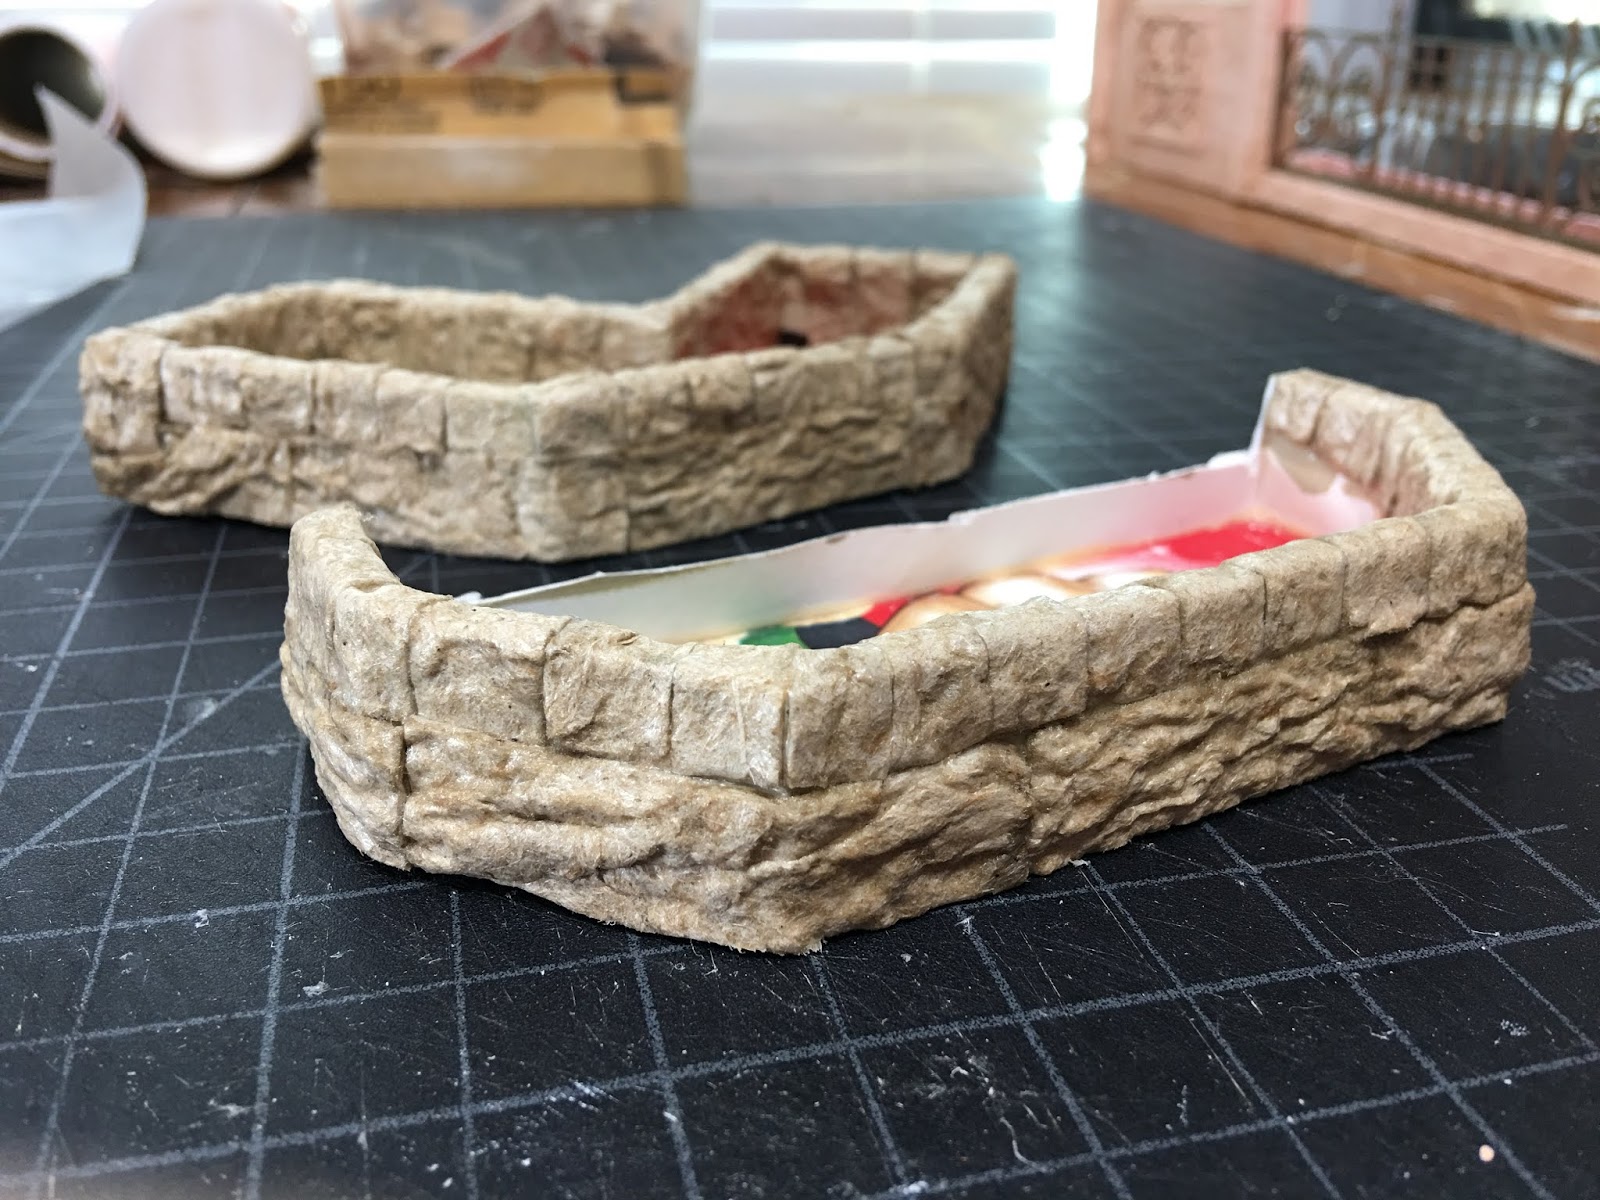
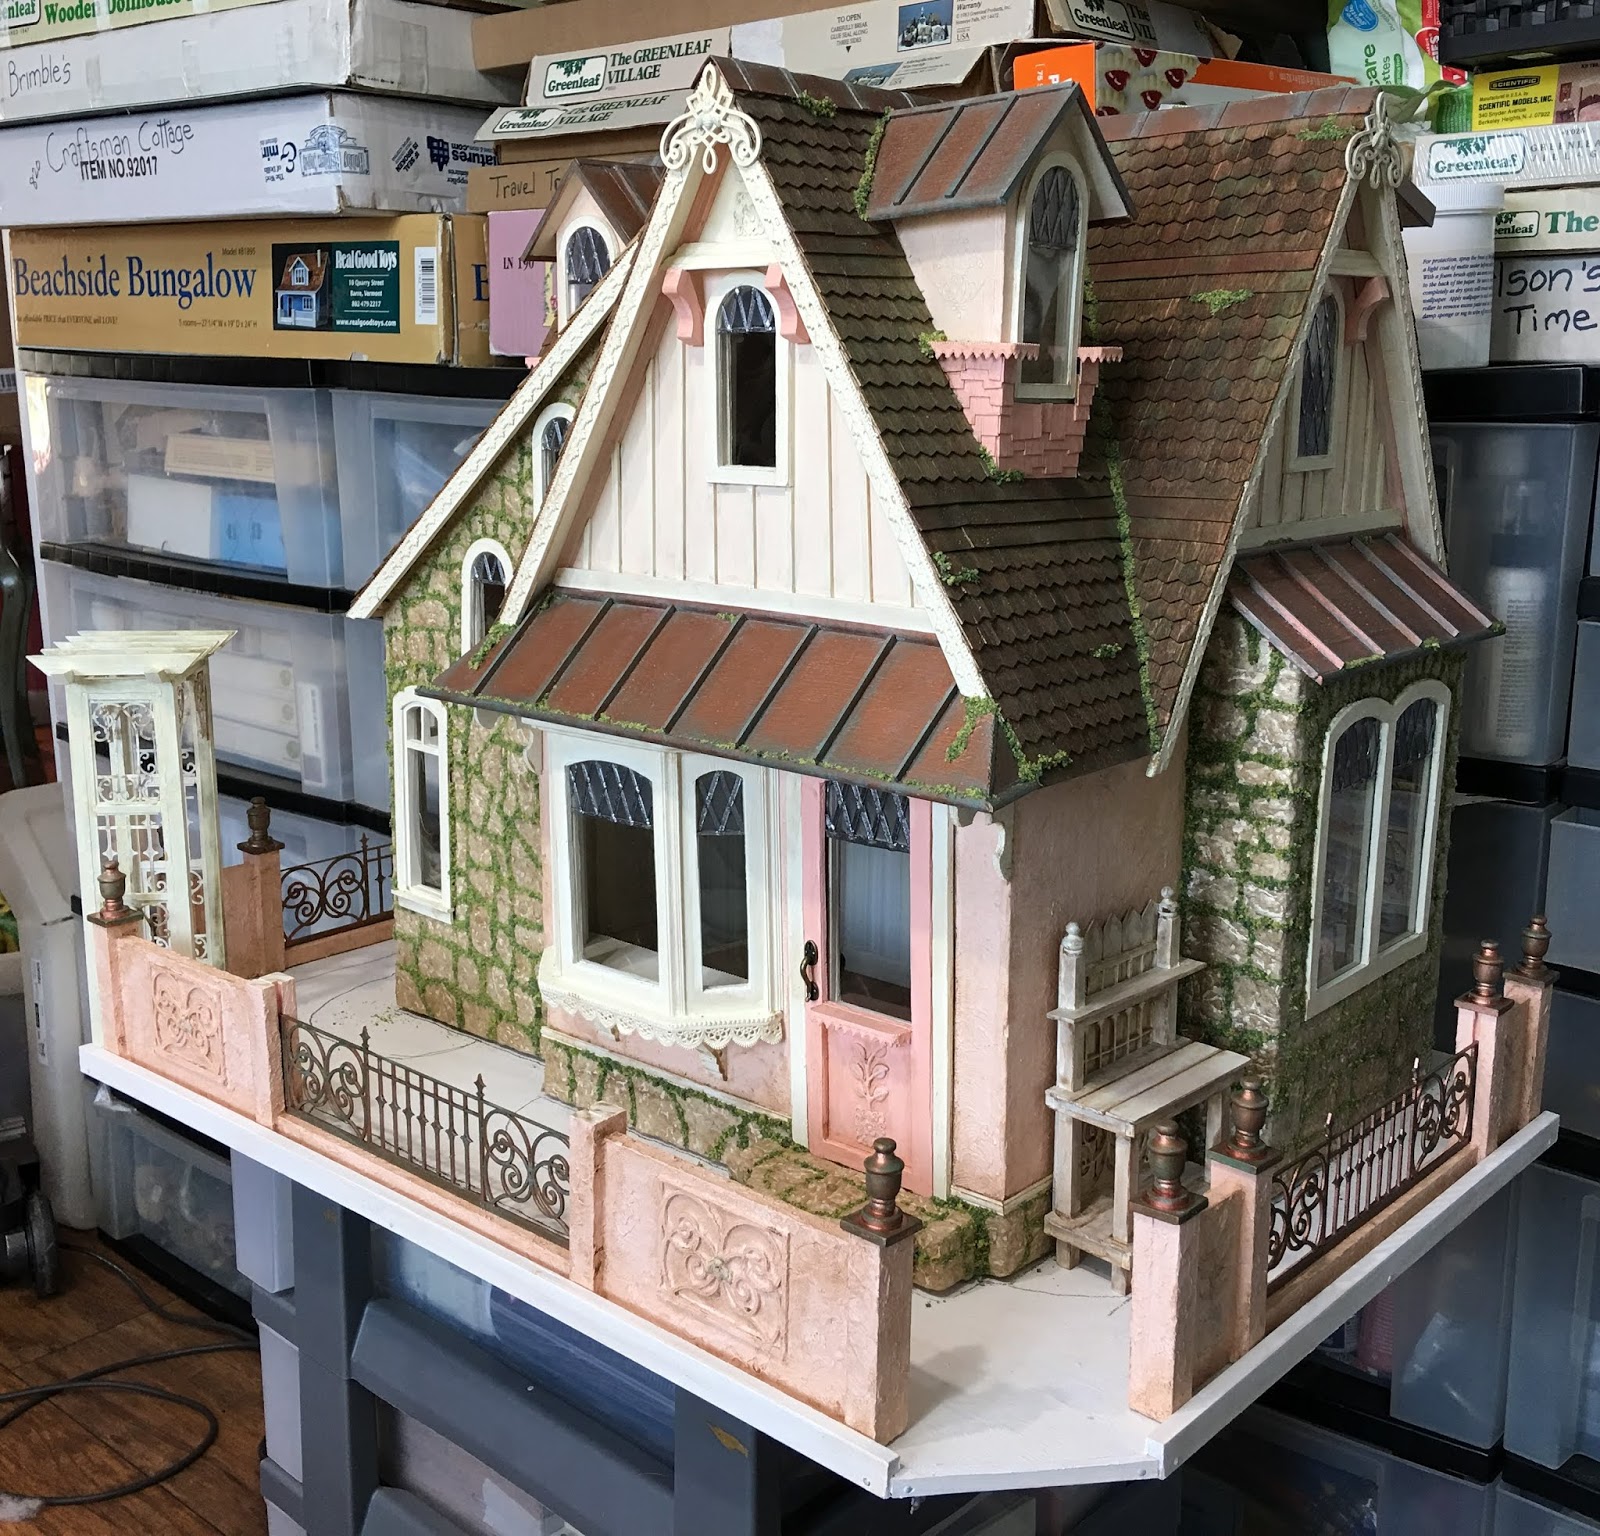
I got some mixed feedback and some great advice on the Storybook's aged copper roofs, weathering and moss. I needed to let all of it soak in for a while, so instead, I started the hardscape. First, I had to decide on a size. My parents gave me a cute side table when they moved to Arizona, so I limited my landscape board to a size that would fit nicely on that. It doesn't leave as much garden space as I'd really like, but in miniatures, unless you live in a mansion, you have to make sacrifices. I'll just have to figure out how to maximize the space I have.


I used a scrap piece of 1/2" plywood and cut it down to size with my scroll saw. The table is an oblong shape, so to save potential bruising when dusting, I cut off the corners. It also gives it a bit of a tea tray shape, so maybe I could add some handles to the left and right sides. I glued 3/4" edging to three sides, and 1/2" to the back (dollhouse opening) and where the gate and arbor will be so visitors won't trip coming into the yard. I secured it further by drilling pilot holes then adding nails. Once that was done I gave it a coat of gesso. Before I permanently attach anything, I'll cover the bottom with felt to protect the table it sits on.
Next, I needed to figure out the fencing. I am trying my best with this project to use up all of the supplies and materials I have (so far) purchased and (not yet) used since my foray back into minis. I've had some
JMG Miniatures laser cut fencing in my stash for at least a couple years now, and finally, had an opportunity to use it up. I didn't want a high fence to block the garden, so I cut it in half and framed it with 1/8" x 1/16" basswood.
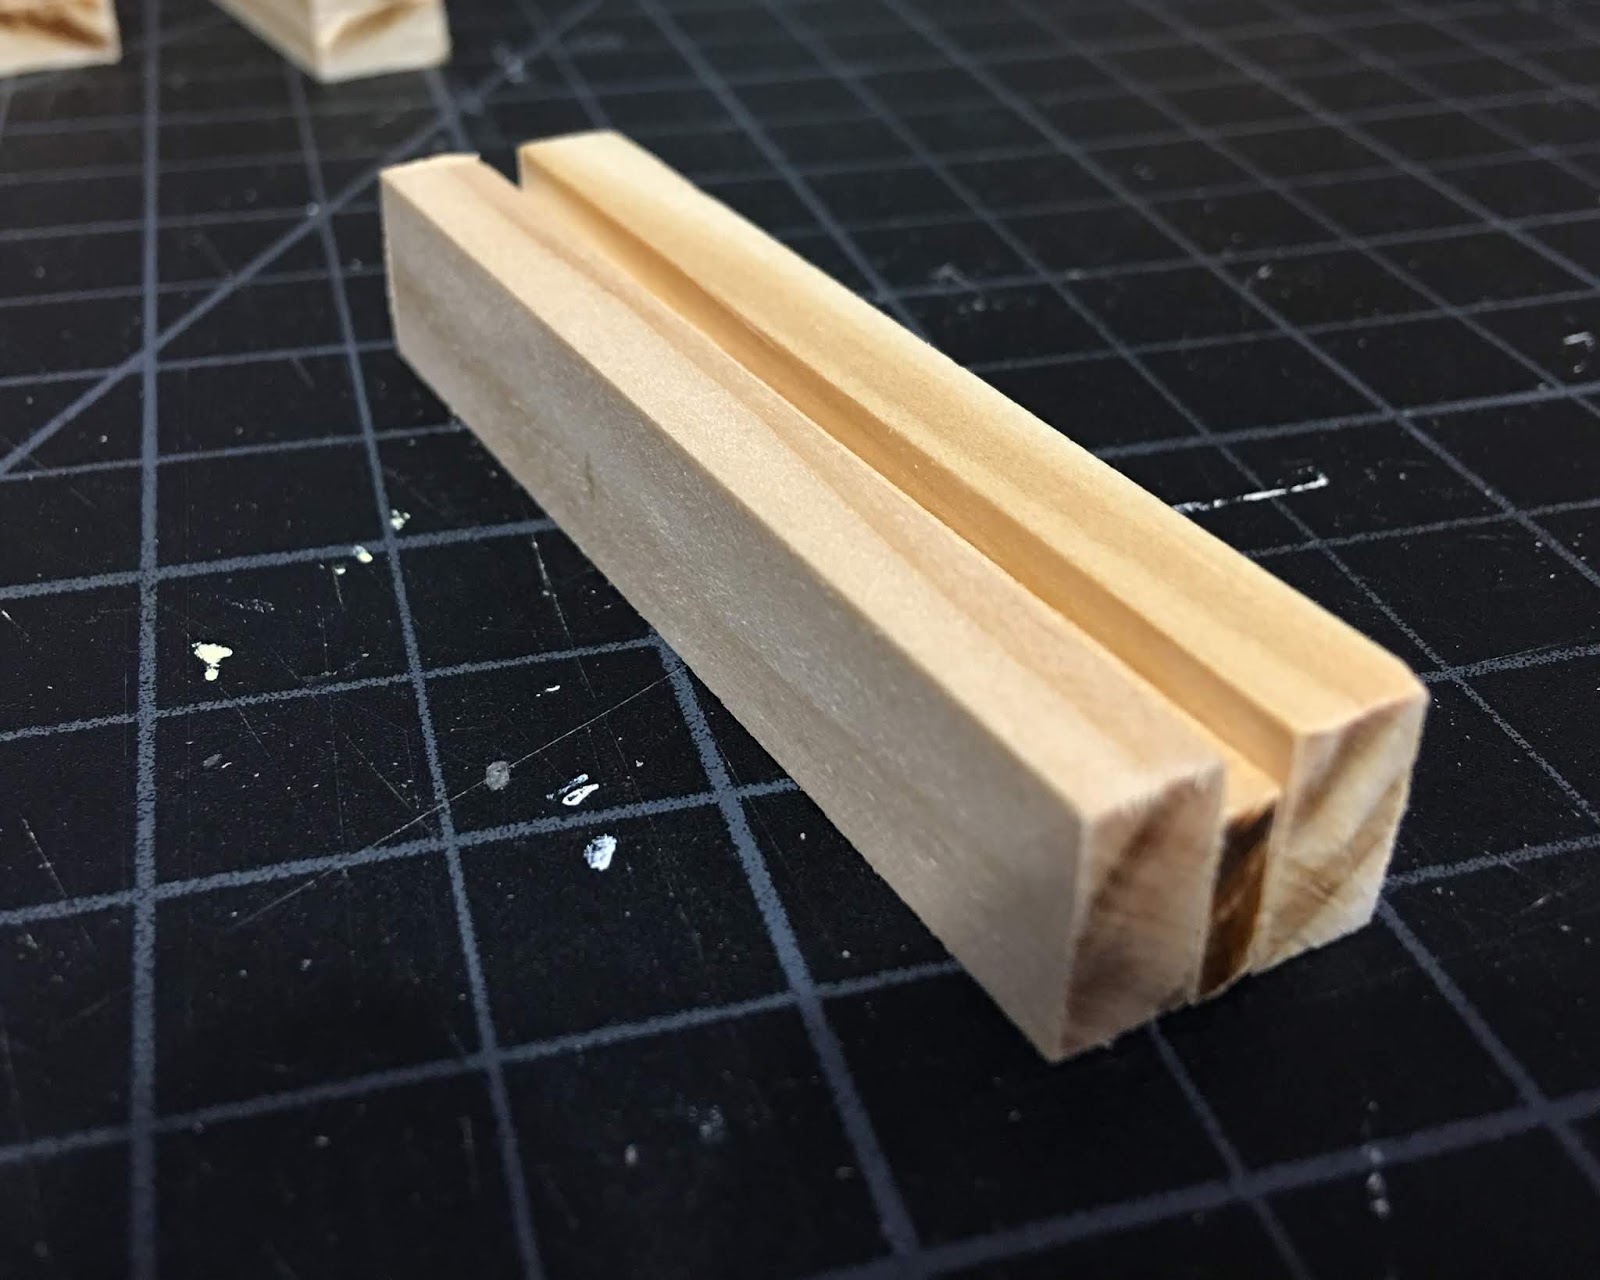
I wanted fancy "copper" fencing framed in with solid fencing on either side, but with so little glue area on the "copper" sections, I needed a way to make them more solid. Santa didn't get me the router table I wanted last year, so I still have to improvise to make dados. By sandwiching a piece of 3/8" x 1/8" basswood between two 1/2" x 1/4" pieces, I create my own 1/8" dado - perfect for my fence to slide into. The bottom rail is 1/4" x 1/4", sandwiched between the two fence posts, and the "copper" fence slides in and rests on top.


For the solid sections on either end of each fence section, I used 1/4" scrap basswood and added another fence post to each end. There was enough gluing surface here so that these posts do not need dados. To the two outside side sections, I added the tea tree embellishments. To the two outside front sections, I added some of the left over laser cut fencing - the other half of the "copper" sections. These each got a bee embellishment. Each post also got a cap and a finial.
I underpainted each of the solid fence sections in Cameo Blush, then treated them to a layer of stucco. The "copper" sections, as well as the post caps and finials got a treatment of copper leafing pen.
I'll share photos later in the post of the completed and aged fence sections, but first, the arbor. I've been looking for a long time at many of the pre-made and kit arbors available in 1/12th scale. None of them really excited me, and not really knowing how much space I had, I was afraid to order one and not use it. That's how I got so much stuff in the first place! So, staying true to my "use it up" plan, I made my own, custom fit for my opening - 2-5/8". And, I saved myself $20-$30!
I printed off a photo of a pre-made arbor with a basic design, just to see how everything fit together. Then, using more of my leftover fence pieces, I made a fancy panel for each side. I was able to dado the top rails using my scroll saw so that the roof slats sat firmly in the grooves.
To make it's finish commensurate with the cottage and garden, I first colored all of the wood with a brown ProMarker. So much nicer than oily, nasty stain! Alcohol inks would work great here, too. Just have to work fast because the alcohol inks evaporate so quickly. Just squirt out a little at a time in a disposable cup to work with. After that it got a good coat of Vintage White, let it dry, then a coat of DecoArt One Step Crackle. Once that was dry, I gave it a good coat of a mixture of Folkart clear and antiquing wax. Whatever reaction the three products had together, it gave it a mossy, peeling paint, worn out sort of look. I love it!
 |
| Before aging of arbor and fence sections. |
The opposite corner of the landscape board will have a simple gate. This will be the more utility area - the perfect spot for a potting bench! I saw the real life blue one pictured below from Flower Patch Farmhouse, and there was just something so simple and cute about it. It looked easy enough to make, and like another opportunity to use up some more of my laser cut leftovers! It's just a simple frame made with 1/4" x 1/4" basswood as posts and support pieces, 1/4" x 1/8" basswood for skirting, and 1/2" x 1/16" basswood for the fence slats, shelves and bench top. The leftover fencing pieces are what I based my width on, and the overall measurements are 3" wide x 5-1/2" high x 1-1/2" deep. The bench top is 2-15/16 high. The knobs on the posts are leftovers cut from a headboard that I recovered in fabric a few years ago.


And here it is after getting the same aging treatments as the arbor. I can't wait to accessorize! Oh! You can also see the fence and finials with their verdigris and patina aging treatments.
Next up will be the planters. I'm still mulling designs for them in my mind. Ideally, they'll be removable for planting, and so they can be out of the way for the grass? cobblestone? paver? installation. Meanwhile, I'm still contemplating a compass point, where the moss
should grow, how to proceed with the aged copper roofs. And do I really care that sun loving and shade loving flowers should be in different areas? It is only a make believe Storybook, after all!
May all your decisions be easy ones, and may you always make the right choice! :O)
xo xo,
Jodi