Recently I posted about getting a Cricut Explore Air electronic cutting machine as an early birthday present. I promised a report of my experience getting to know it and how it could be helpful in miniature related projects. I also
posted a teaser about a couple fun secret mini projects I am starting. I am happy to report that I can report on both in one post! ;OP
I have to confess that my first real project using the machine was not mini related. It just so happened that my uncle Ted was having his 70th birthday - what an auspicious occasion to make a birthday card with the Cricut! I designed my own in their
Design Space software (free) using multiple (5) different layers that I would assemble once the cardstock was run through the machine and cut/scored.
It was very straightforward but if I had gotten stuck there are a multitude of
How-To Videos on their site. There are also many great hack videos on YouTube that show you how to "trick" your machine to do cool things like embossing! I am like the VW Bug driver who suddenly gets a Porsche - it's going to take me several months to understand the power I have at my command! So far, I'm really digging it!
Since the secret projects are both starting from a chipboard kit, I wanted to make sure that there were no "tricks" I needed to know - preferably before I wasted good materials. I noticed when I removed the kit pieces from the packaging that I had a black, powdery residue all over my hands. It must have been a byproduct from where it was laser cut. I did not want it to end up on my pretty scrapbook papers, so I did some research about how chipboard needs to be prepped for crafts. Although this is not the retailer I ordered my chipboard kits from, this site gives some great information on prepping and finishing.
Learn about chipboard. Basically, I needed to sand a bit and prime to contain the ash. I also painted around the inside edge and actual edge where there will be no paper covering.
 |
The Sweet Mint green paint will get toned
down with antiquing medium later |
In both secret projects I wanted a vintage feel to them. I decided on a copper ceiling for one and a tin ceiling (painted over) for the other. Again, an auspicious occasion to use the Cricut! I knew that to recreate the punched metal look I would need to build several layers of cardstock. I do have and could have used my own chipboard instead of cardstock, but for that I would have had to change to the deep cutting blade then change print settings and cutting depth. I need to be in the mood to fail and waste material, and this adventure is just above my current pay grade. Patience young padawan...
I created the design and layers using basic shapes available in Design space. It is too complex to fully explain in my post, and frankly you'll get clearer instructions from Cricut so let's just replace 1000 words with this:
 |
I used the square shape with the center
removed to create the ceiling grid. |
 |
| Resized, Grouped, Synched and Layered. |
After printing, I eliminated two of the layers in my design - the ceiling just didn't need them. The basic structure went: backer layer (cut to the exact size of my chipboard ceiling piece), grid, lg rounded off square shape, sm rounded off square shape, and finally the propeller shape. The ones I eliminated are the two blue shapes on the right - their detailed doily design didn't translate to the eye in this scale, and were really unnecessary.
For the grid, to make it have good depth, I glued four layers on top of one another. The rest of the shapes were glued down in single layers. This gave it what I think is a good dimensional tin ceiling kind of look.
I used colored cardstock so that you could better see the layers. It would have meant less gesso and paint if I had used cardstock that was close to the end color that I was trying to achieve.
 |
| After two coats of Gesso |
 |
After two coats of base color. I chose burnt sienna
because it is close to copper in color. |
 |
| After final base coat |
For the metal finish, all I happened to have was a bronze metallic acrylic paint. After the first coat of that I was happy with the metallic look, but not the color. It seemed a little too light.
I decided to try mixing both paints together to see what I'd get. It worked perfectly! A copper color with a slightly metallic finish!
 |
| Top two rows with the new paint mix, bottom row original bronze. |
Now that I know that neat trick, I'll be doing some more metal finish testing! And, I see more Cricut ceilings in my future! Actually, I see many, many mini projects that Cricut will help make happen. Just the perfectly accurate cuts alone will save time and frustration!
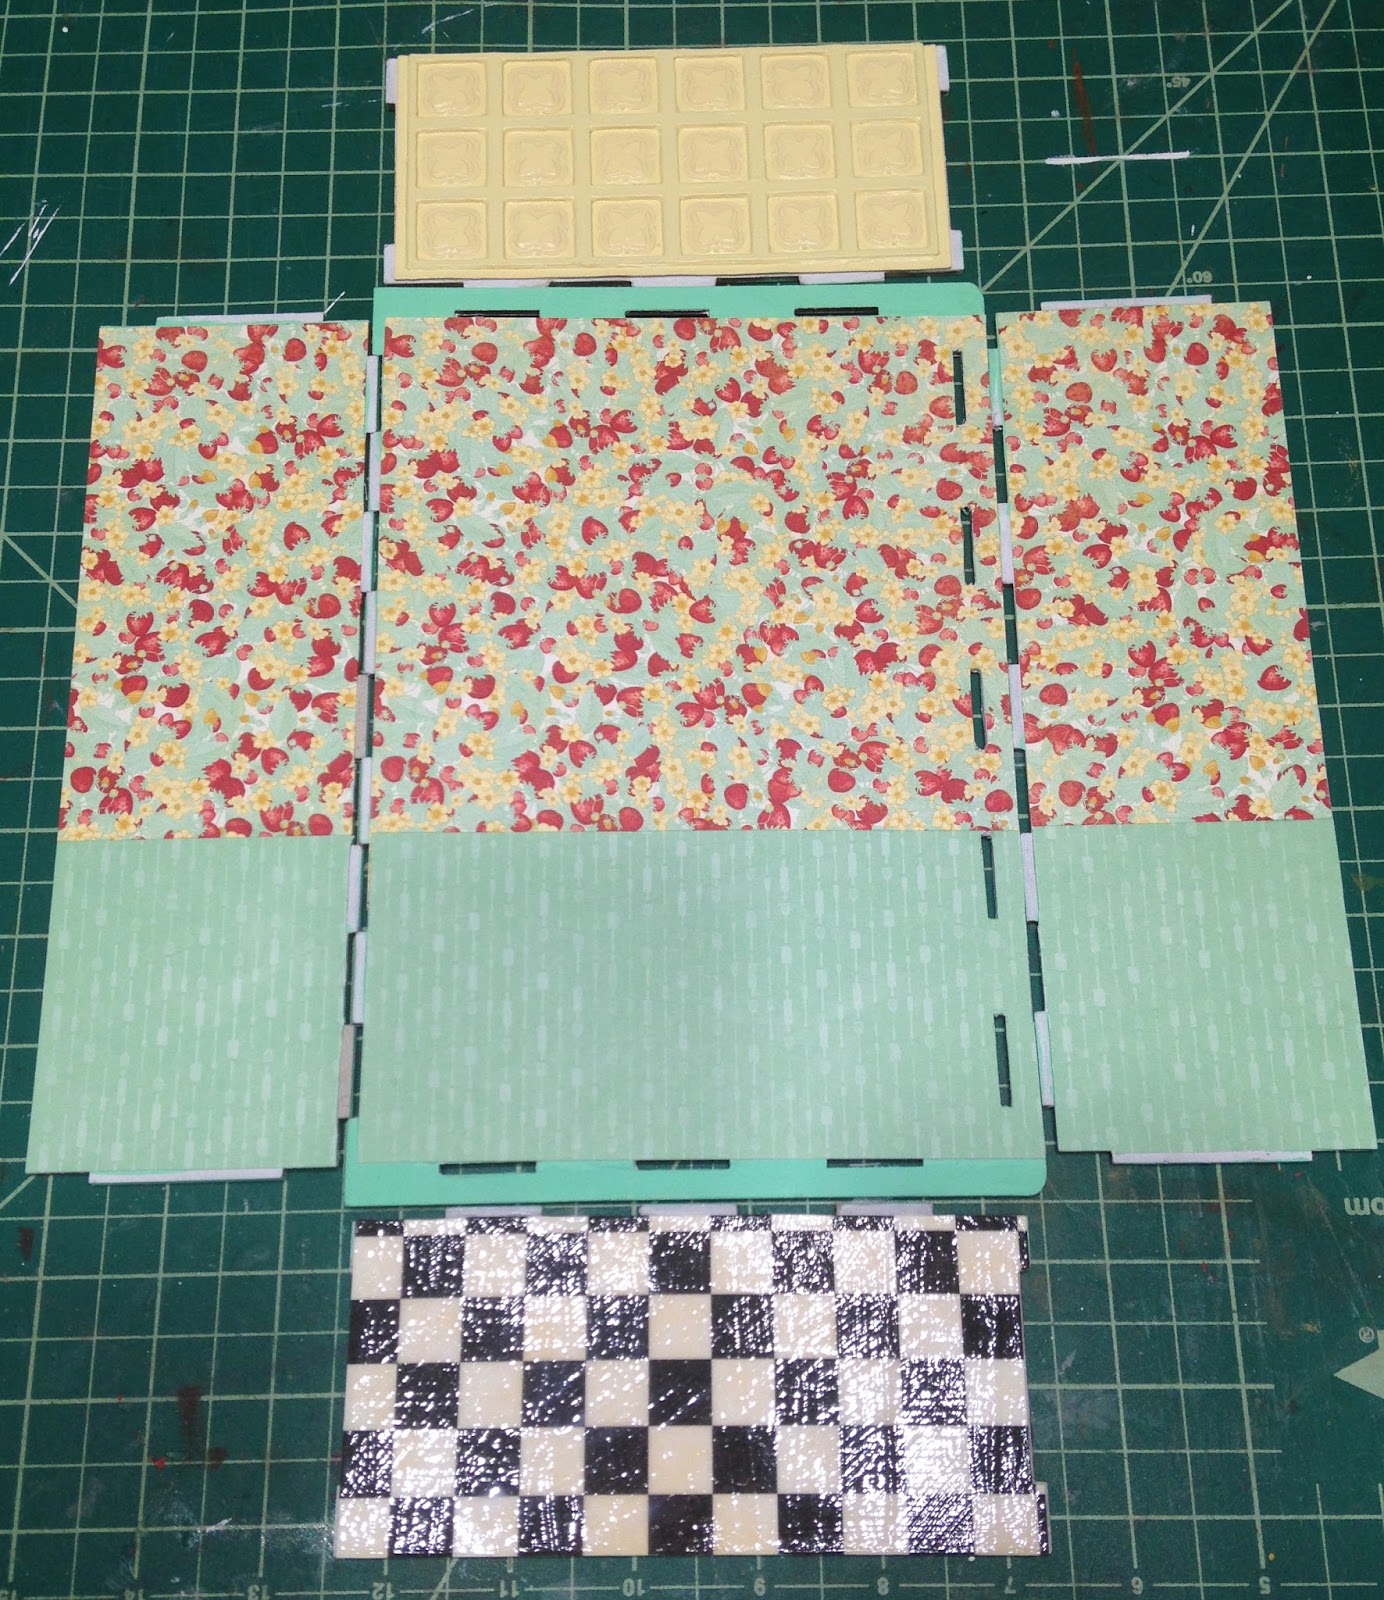
While things were drying I cut and pasted another piece of cardstock for the flooring. I added several coats of gloss Mod Podge. For the pale yellow ceiling, I added a coat of satin varnish. It came out way too shiny, so I overcoated it with matte Mod Podge. Much better!
I finished up the day's crafting by adhering the scrapbook papers (
Kiss The Cook Collection) to the chipboard pieces. I really like where this is going! Next up I'll get the walls, floor and ceiling into a 3D state of being, then, begin all of the fun little projects that will go inside. It feels very vintage and all of the accessories I have planned will enhance that feeling!
 |
| Whew! That shiny floor is blinding at this angle! |
If you're wondering where the copper ceiling will go, I'm afraid that is going to have to wait a bit. I only ordered the supplies last week. More to come on the second project...
Hope you found great bargains all weekend and that your holiday lists are looking good!
Take care,
Jodi