Search My Blog!

Use the Search box below to find keywords that you're looking for quickly and easily!

Search Feature

Wednesday, May 6, 2015

Paint Party!

It's been a busy and productive couple of days! I'm moving swiftly forward on getting all the little details finished on the Barn's kitchen!

I found some farmhouse colors on Pinterest that I liked, so I made and printed some color chips. I have limited acrylic colors, so I knew I'd have to mix what I have to match the color chips as closely as possible. I do have gesso and about 36 artist chalk colors at my disposal, so I knew I could make milk paint if I needed to. It turns out I was able to use the paints I had, mixed with a little white to bring them to more of a pastel. I already had cherry red and ivory, so the paint party was on!

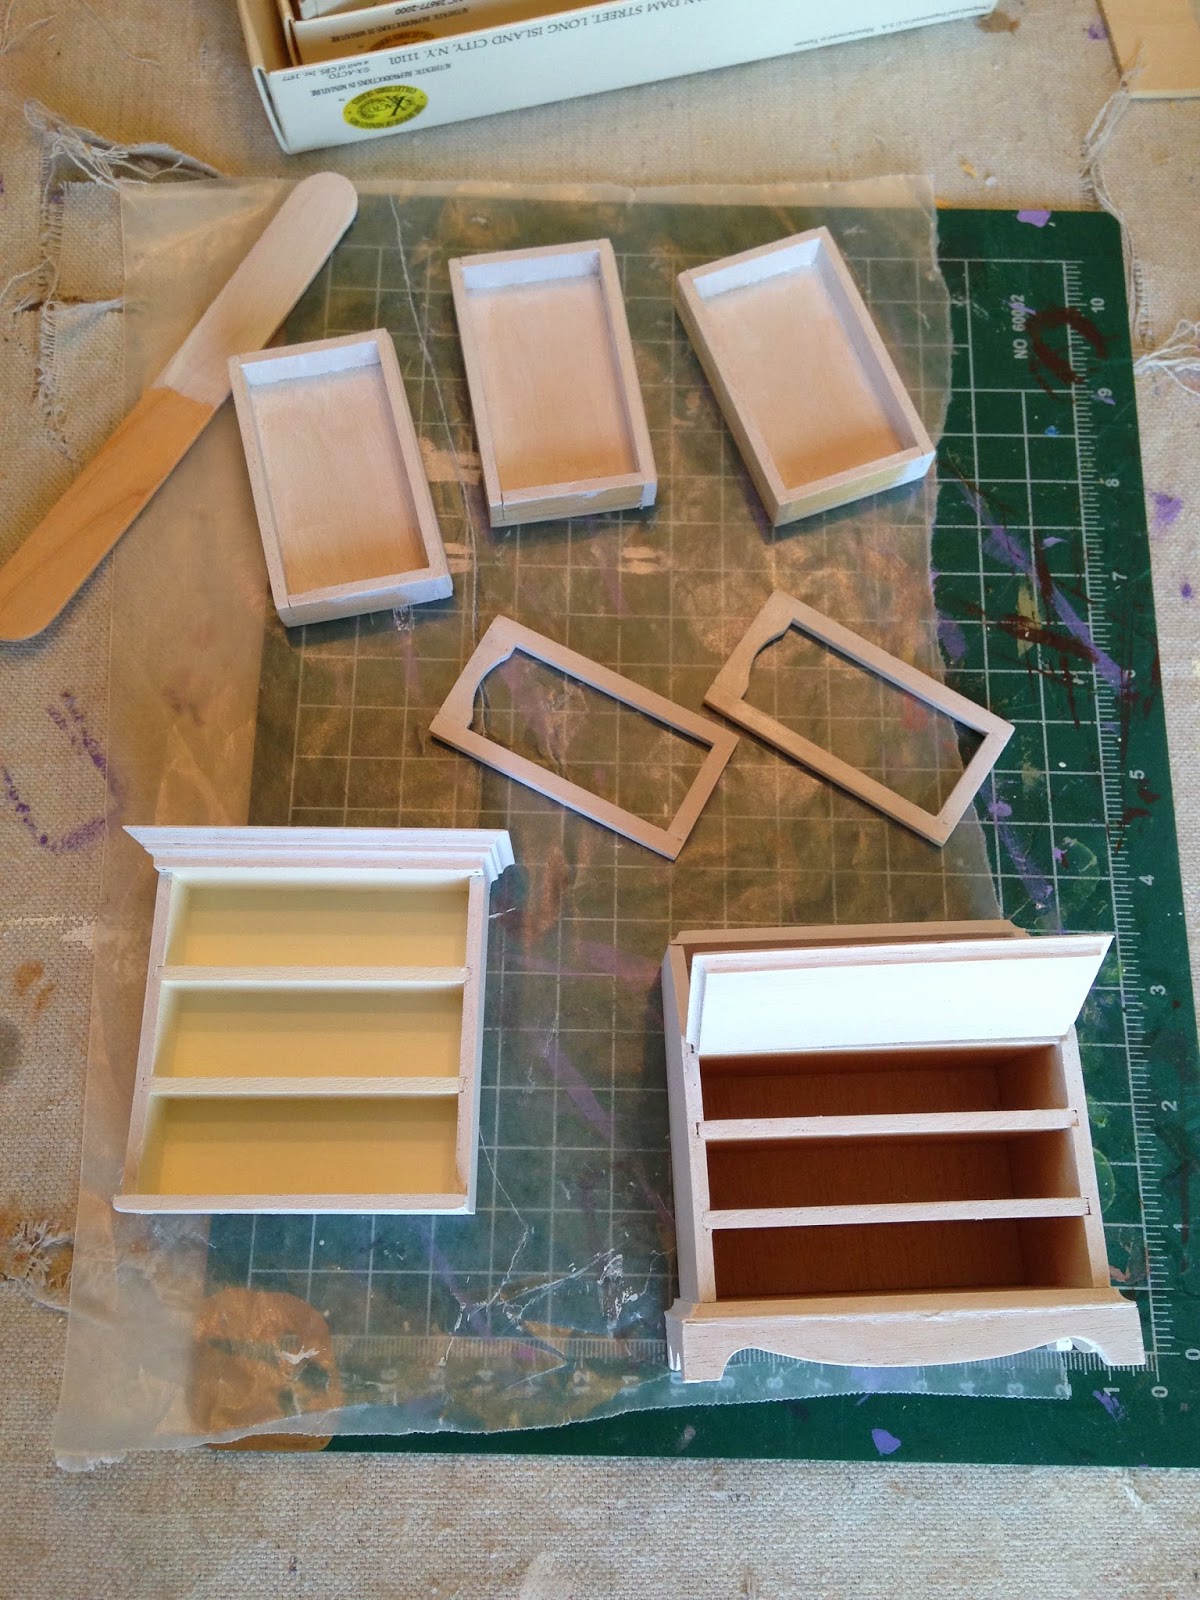
These pieces are bisque miniatures made to order by an artisan named Tim in Colorado. They are definitely the way to go - you can personalize them in a million ways, and you'll never find pre-finished miniatures so inexpensively!


After several coats (especially red) they were ready for a little spray glaze. It's stinky, but really gives the bisque a nice luster!


The little chopstick/cocktail toothpick bar stools came out really cute with some of the kitchen colors added.


Meanwhile, while I waited for paint and glaze to dry, I decided to give a plate rack a try. I found this tutorial on About.com Googling. It was enough "how to" to be able to adapt the idea to my above sink cabinet.

Take scrap wood for trim, balsa for a frame, some wire, glue, and paint. Add to that a little imagination and a willingness to maybe fail, and voila! That is all it took!


I'll post a finished picture once I have the above sink unit loaded.


I have some little plastic Chrysnbon items to add to the kitchen. Tonight I'll finish spray-painting the primary coats, then finish off the details tomorrow. I'm thinking I might paint a couple little things into le creuset lookalikes with two tone colors.


Thanks for taking time out of your busy day to look at progress on Russ & Jodi's Retirement Barn!


Tuesday, May 5, 2015

Recycle, Reuse, Repurpose...

When last I posted I was working on repurposing an older dollhouse dresser that I picked up in a big cheap lot of furniture on eBay. I sanded the old varnish down, then used a watered down country blue paint to age and restain the piece.


I then added a butcher block top to match the farmhouse sink counter unit. The piece will now become the center island, the drawers being the home for such things as silverware, foil & wrap, towels etc... All so cute, farmhousy, and wonderful... Except, where will little Russ & Jodi sit???


        Little Helper


Have you seen the stools available out there for 1:12th scale dollhouses? Well, there are a bunch that look like milking stools for about $8. There are very retro looking metal soda shop ones for about $10. There are ones like grandma used to have, the seat folded up and it became a stepstool (my Grandma's was yellow) for $22. Then there are very detailed and expensive ones starting at about $30 and going up from there. This is EACH, and I need 2!


This is where necessity is the mother of getting real creative, and at the same time a little more environmentally conscience.

I have a nice stockpile of "someday this will come in handy" type items around my house. When I need to get creative, I must look like a mad genius! I run around the house opening drawers to grab and go through the contents. I take what might work and carry my plunder to the next honey hole. Eventually, usually, something will spark an idea and I'm off like a rocket!

I found this stool on the interwebs after doing a search on "farmhouse stools". Looks pretty straight forward, I think I can make this work!


So, I rounded up some chop sticks from the misc. take-out drawer, along with some cocktail toothpicks (liberated from the whirly things on the tops) and a couple sticks of the leftover wood from the kitchen kit.


I measured my real life stools, looked up the measurements of other miniature stools, then settled on what size would look right for the counter island. I then taped together, measured and cut the materials: 2 long legs each for the back, 2 short legs for the front, seat bottoms, spindles and back supports.


I predrilled holes in the legs for the spindles, then assembled/glued both of each of the side structures


Once the sides were finished it was just a matter of fitting and gluing the seats, the front and back spindles and the seat support pieces.

I had a little trouble because I kind of cut on the fly. As I'd glue the spindles in, some would seat further in the holes, causing the seat spacing to be too large or too small. It took some patience and persistence, but in the end I won! Next time I'll pre cut all of the pieces to the proper length ahead of time, wait longer for glue to dry, and not be babysitting the puppy!


After a little wood filler and some sanding, we'll see how the stools look all painted up. If they're not up to par, I'll just have to make them over again. Good thing I still have plenty of chop sticks!


Friday, May 1, 2015

Not Much To Report...

I don't have much to report about the last couple days. Sometimes you have to clean the house and do laundry, and mini projects just get put on hold...

I am working on the last of the kits I had lying around, and also started working on updating a really old piece of furniture.


I sanded off most of the old finish (my nice vacuumed carpeting didn't last long). I sure hope there was no lead or asbestos in the old stain! If i keel over tonight, at least you'll know why.

Anyway - can you guess what this will transform into for the barn?


Stay tuned!