Search My Blog!

Use the Search box below to find keywords that you're looking for quickly and easily!

Search Feature

Showing posts sorted by date for query threshold. Sort by relevance Show all posts

Wednesday, July 21, 2021

Beachside Bungalow - Lightwork

This week, I was able to move upstairs and begin the To-Do's up there. By the time the end of the weekend came, I had walls in, trim on, lighting fixtures installed and all of the wiring nearly completed!


I began with the stairwell wall that separates the bedroom. Early on in my dry fits I had decided that I did not want a door here. It seemed like it would just make the stairwell feel crowded. Instead, I cut the wall back to create an open hallway from the stairwell to the bedroom. 


I did not want a lot of dead space, either. It's always hard to know what to do with it, nothing ever fits because it's so cramped and it just leaves me wanting. So, where the back of the stairwell and the angled roof met, I made a knee wall that would bring the wall forward.


A fringe benefit to the knee wall was that it would give the viewer the notion that there was an attic crawl space there. Storage is at a premium, even in dollhouses, so I ran with the idea. I created a faux access door and while it actually serves no purpose, it is fun to imagine that it does.


For the actual stairwell, I wanted it to have an open sky ceiling and the sensation of walking up through a garden. This would give the tight space a much roomier impression. To add to the garden feeling, I decided to make picket fence wainscoting. I made the fence posts 3-1/2" tall, then alternating pickets at 3-1/4" and 3". I rounded off the corners of the 1/16" x 1/4" pickets to embrace the traditional picket look.

I finished this section of wall before I installed it, as reaching in to the stairwell was a tight squeeze! There are more photos below of the finished picket fence with it's cross braces added.


Also, before I could install the stairwell wall, I remembered that I needed to tidy up the wiring. This looks dangerous!


Once the wiring was secure and not a trip or shock hazard anymore, the girls came up to take a look. They all love the cheerful wallpaper, and I love seeing them in the space. They demonstrate for me just how large and roomy this house is, and that makes me excited to begin filling it with everything Kairi needs to live a happy life here. 


On a side note, Betsy suggested the name Roxanne for the lovely lady in leopard (far left). I think it fits perfectly for her personality! I have also begun to imagine a home for her. Perhaps she will be the perfect candidate for the Glencroft Treehouse? But I know Rose (far right), the fun loving owner of Rosie Lee Cottage (a.k.a. the Storybook Cottage), would appreciate her bedroom and living room being finished before starting on another new project. It's so close to being done, after all!


With the wall installed, I could hang the stairwell's pendant light and center it in the space. It matches the island lights on the first floor.

Notice all the pickets and cross braces have been added.

I also installed the edge trim on the end of the wall.


It's always a good idea to check how the occupants will fit in the stairwell, and to see if there is any chance of them hitting their heads on the light fixtures. Though it looks at this camera angle like the fixture is right above Rose's head, it is actually about 2 inches behind her. It passes with flying colors!


In this photo, you can see that the quarter round trim has been installed and blends in with the sky. I am so happy that I was able to mix a paint color that matches the wallpaper so well!

The narrow side strip that borders the left side and back of the stairwell will be the perfect place to add pots of flowers and plants. We'll pretend the fourth wall has loads of windows for plenty of sunlight to pour in.


Later, I was able to install the wall separating the bedroom from the bathroom. There was quite a bit of sanding involved to get it to fit! With the final wall in place it was time to do the rest of the trim work. Those angles on the dormer trim were a challenge, but I really love the warmth of the light oak stain with the cheerful wallpaper.


For the flooring in this house, I will likely make templates so that I can work on them outside the house. Then I can just slide them in, add baseboards and be done. I am still gathering ideas and haven't settled on a material yet, though I do have lots of walnut and cherry lumber left from Tasha's Kitchen's herringbone floor. Colorful Saltillo tile would also be nice so my decision is a tough one. It would be great to make different floors on templates that could be changed out any time. A thought for a future experiment...


Here is a peek into the bathroom.


I have often reduced or eliminated the tall thresholds on dollhouse doors, but because I did not know which flooring I would go with in this house, or how thick it would be, I decided to live with them If need be, after the floor is installed, I can add quarter round to the front of each threshold to ease the transition.


Now for the inside of the bathroom. There is no way you'll be able to go to work grumpy after getting ready in this uplifting bathroom! The combination of the bubble sky, happy stripes and the blooming flower tiles are food for the soul to be eaten with the eyes!


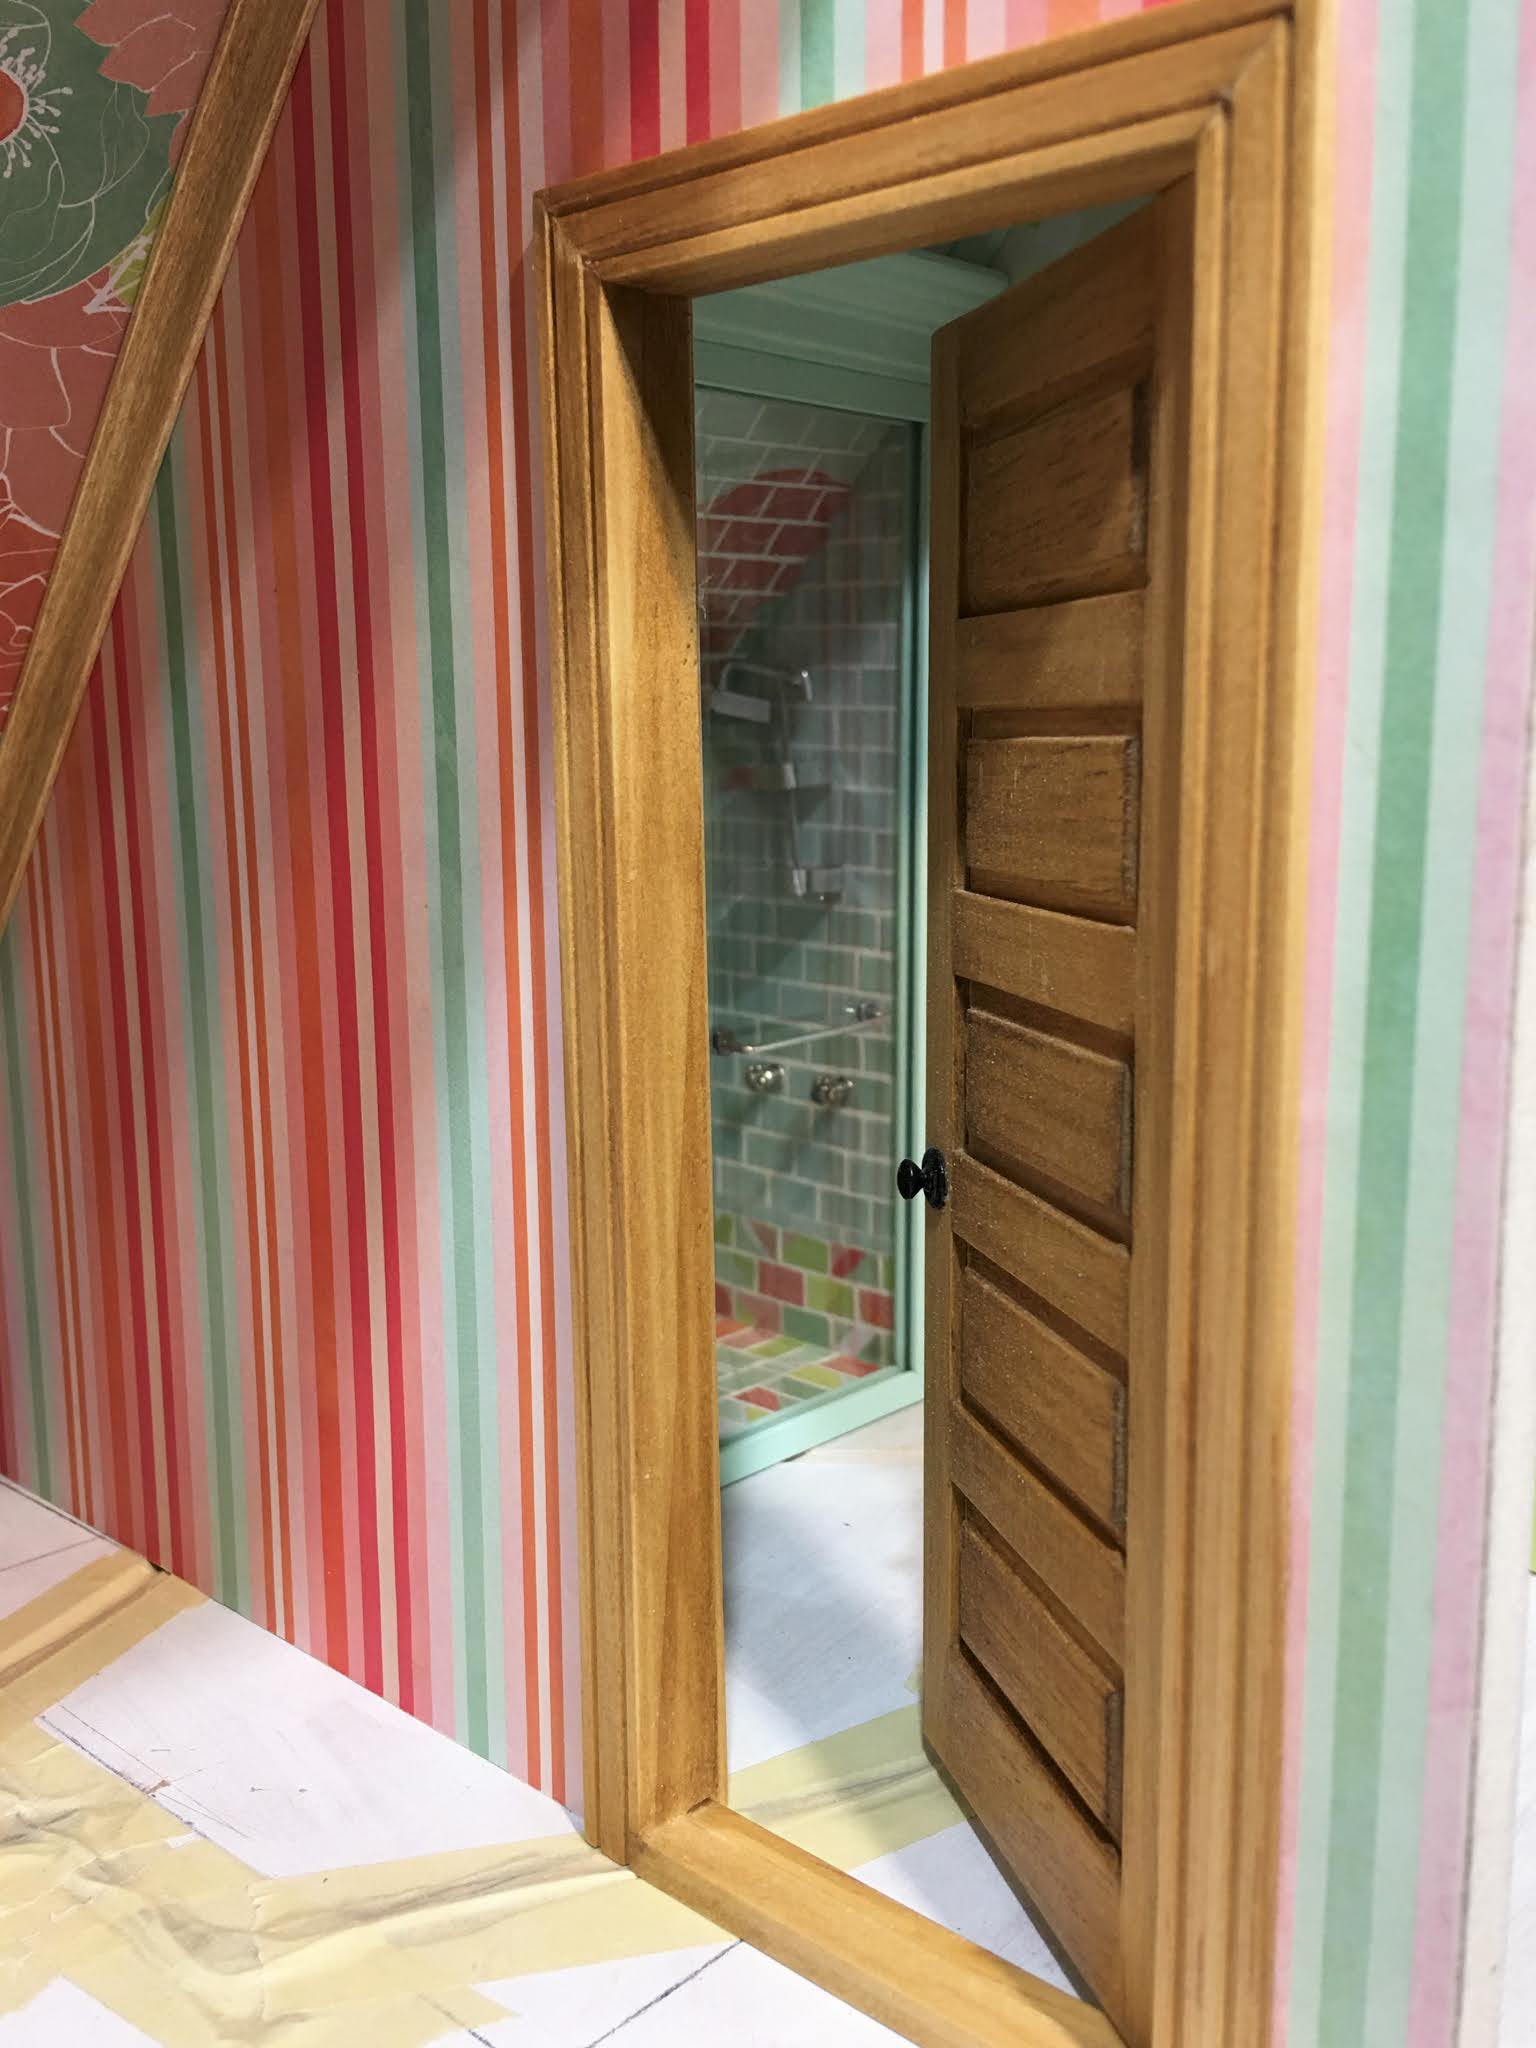
The toilet will abut the shower, then the vanity will sit under the sconces. I will have to come up with a nice mirror for Kairi, and install some towel bars and hooks. Form AND Function, I always say!


Hopefully, with the LED "can" light in the ceiling and the two sconces, she'll have plenty of light to see with. The sconces in this room are sold as Heidi Ott and match the bedroom's fixture with their tropical leaf design. A perfect style to have in a home by the beach!


Now for the big moment! It's always a thrill to test the lights and have everything working properly!


And I had just taken a moment to congratulate myself on all my accomplishments for the week when I remembered that there was still trim work to be done on the first floor! Yikes! Luckily, it wasn't anything complicated. Just some stained crown molding for the great room...


And some painted quarter round for the powder room...


And then, after feeling good about the progress, my thoughts turned to how to conceal the wiring and make it seamlessly function. We'll save that for next week's post, and I may even try to design and print some utility boxes with the 3D printer. So much fun yet to enjoy!

I hope you're enjoying this project with me, and finding inspiration and motivation toward your own mini dreams! Have a lovely weekend, everyone!

xo xo,

Jodi

P.S. - If you are making minis and sharing your creativity with the community, then you are a worker of light. If you are letting folks know you see and appreciate them, you are just as essential. I thank you all from the bottom of my heart! In many significant and innumerable ways, you are making the world a better and more hopeful place. Let those lights shine!💗

Thursday, February 20, 2020

Pound Cake: Flooring Trials

My prediction last post of trial and error with the second floor flooring was pretty accurate. My first idea was a complete failure, but as these things often go, it was in the learning from that experience that I came up with a new idea to try. Let me state emphatically that the methods for achieving my goals here are probably not the smartest or best use of the technology, but only how I got around the challenges using my limited faculties and on hand supplies. Mostly, I just wanted to "Get 'Er Done" by any means necessary!


My first plan was to create a patterned tile floor in Design Space and use the Cricut to cut it. I was going to use chipboard in two thicknesses, a thinner one for the "grout" lines and the thicker for the actual tiles. I was planning to paint the tiles but did not know at that point whether or not I would actually grout the tiles in the traditional way, or just suggest grout with an offsetting color. But first, I had to design and cut the floor.

I found a tile design online that I thought would be nice for the small corner powder room and was also in keeping with the old time style of the building. It is made up of  honeycomb shaped tiles, so I found a similar clipart pattern online and imported it into Design Space. The grout lines of the image looked to be about the right thickness and proportion.

Powder Room Tile Inspiration
Honeycomb clipart

From there, I took careful measurements and created the shape of the bathroom floor using the shapes available in Design Space. Then I filled in the honeycomb pattern, incorporating a rectangle border which, hopefully, won't be completely covered by the baseboards. The powder room door's threshold will be on the diagonal line and will partially cover tiles here, too..


My first cutting attempt on .37 mm chipboard told me I'd have to rethink my plan. It takes so many passes with the knife blade to cut through the chipboard. Having the tiles so close together to create a 1/16" grout line causes a mess of delamination of the cardboard after only a few passes.


Back to the drawing board. What if I used a much thinner material that only required one or two passes, like kraft board? Would there be enough of a height difference from grout to tile to look authentic enough? I just happened to have an almost new pack of Cricut Kraft Board in a sample pack which contained 30 sheets of white, black and natural. This seemed worthy of a try, especially the prospect that with black grout and white tiles, I may not have to paint anything at all!.
The kraft board cut perfectly with only two passes, the default setting for Kraft Board in Design Space. It also calls for the standard fine point blade instead of the knife blade. I was able to cut the backer board in natural, the grout lines in black and then the tiles in white. I printed the white tiles twice so that I could double stack them to make the grout lines deeper.


Laying the tiles was like doing a fun puzzle. Because of the grout lines, each tile fit perfectly into place


Here's the floor sitting in it's place on the subfloor. To give you an idea of the size of the powder room, with square walls it would be 5" x 7". The tiles are 1/2".


Now that I knew the concept could work, I went ahead and created the tiles in the same way for the rest of the second floor. The way I have the space laid out, you come up the stairs into the stove and baking (right) side of the bakery. It is separated by an 8" long wall from the sink/dishwasher and cake decorating (left) side of the bakery.


Since the Cricut will only cut widths up to 11.5 inches, and because the areas of the bakery kitchen will be separated by a wall (made of 3/16" foam core), I divided the tile floors for the rest of the space in sections, though the tile design will be the same on both sides. For the sink/cake decorating side, I cut this shape:


For the Oven/Baking side, it is 15" deep so I had to create an additional narrow strip section and join them after cutting. I made extra whole white tiles to help camouflage the join in the back, but will use some type of threshold in the open doorway between the two sides of the kitchen where these tile pieces join.


I created the tiles in Design Space the same way as for the powder room, only this time I used a square diamond pattern and made the tiles 1" square. I again left the grout as a single layer, the white tiles double stacked, then printed 1/4" x 1/4" square black tiles to apply in all of the corners.


Here are how the floors look just laying on top of the subfloor. Where you see wood now are where the walls are planned. I will do some experimenting with shiny finishes for the tile floors on scrap tiles before I commit to applying anything to the real floors. Better safe than sorry, especially after all of the work to make them happen!


But first, while my daughter and I spend a long weekend celebrating my mom's 70th birthday with her in Arizona, these pieces will be under boards and weights to make them stay good and flat!

See you next week!

xo xo,
Jodi