On the side that would be the first floor ceiling, I drew around the center wall with pencil so I'd know where to apply the ceiling beams. I got all the 1/4" x 1/4" beams cut, and drew around them so that I could score faux boards into the sections in between them. I tested the fit, then gave it three good coats of paint.
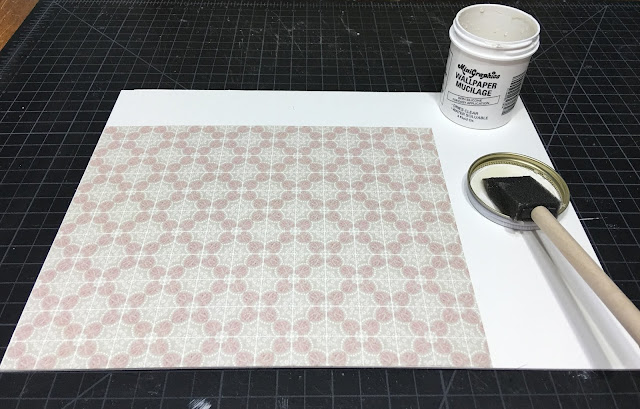
For the second floor's flooring, I decided to do tiles in the bathroom and more of the same wood floor in the bedroom. I had purchased a tile wallpaper sheet made by Itsy Bitsy Mini. I thought it was going to be perfect. So, I applied it to illustration art board with wallpaper paste, then cut it into tiles like the kitchen floor.
I laid it on the diagonal again, got it all glued down and grouted (over two evenings), then hated it. The tile pattern itself does not lend itself to being laid like that, so it just looks crooked. Also, because I worked so late, my lines got wonky and I didn't notice until it was too late or I didn't care anymore.
So, rather than rip them all off, I did the only other thing I could do: I painted over them.
These will not be grouted, as after I did the third grout and repaint session, I didn't like the grout. So, they are what they are and they are not terrible so this is how they shall remain.
Meanwhile, during endless drying times, I worked on the stairs and another little art project for the stairwell. The stairs got their treads decoupaged in shabby rug patterns found mostly on Pinterest, and then were edged in "lace"...
And then for fun the risers got words associated with teas decoupaged onto them.
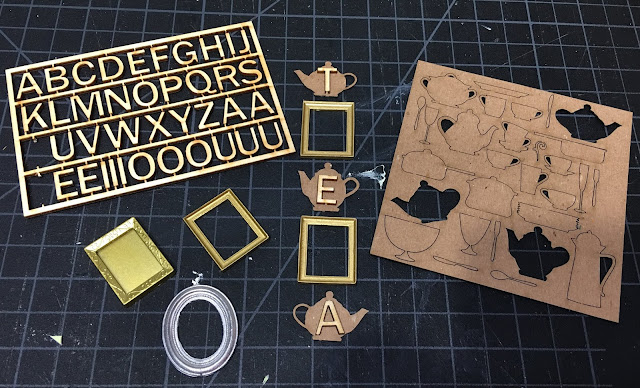
The art hanging is comprised of a clock, sign and three hanging photo frames. I made something like this for my real life house back in 2009 and I really like it.
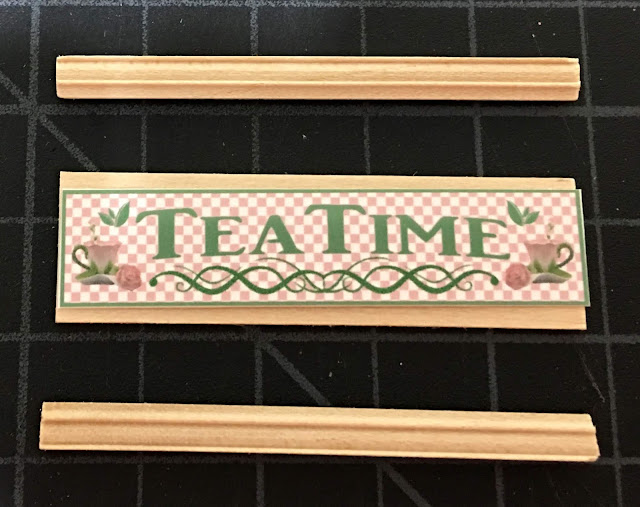
A cabochon frame holds the printed clock face with teapots for the numbers. I attached tiny watch hands and then encased the face and hands in Glossy Accents. The one thing I will do in the future is seal the clock face before applying the Glossy Accents - it seems to have blurred the ink a bit. The frames are the unfinished metal kind you find on eBay, and the sign part is 1/16" thick basswood with wainscot trim added to the top and bottom. My printer and graphics program are coming in very handy for this project!
Here's the sign in the stairwell. Once the wall is up, you'll only be able to see it through the windows.
Hopefully the next few steps will go much smoother than the bathroom tiles did. I hope to be back in a couple days with erected walls to share!
It has been pretty lonely here, mostly at night, but I am grateful to have three sweet doggies to keep me company. Russ will be home Sunday, but then back up north to work again for the week Monday morning. Keeping very busy is the only saving grace!
Have a great weekend!
xo xo,
Jodi


