I just wanted to post a couple of tips on some things that helped me this week...
I bought a couple Elf Miniatures kits for the Alki Point. This was my first time using the aluminum sheeting, and overall, it was pretty easy. I can see that practice will definitely make things more perfect, but I can live with my newbie results. Don't magnify the photos too much. Luckily, I have some thin aluminum metal sheeting from my husband's old RC truck days. I can practice practically for free! ;0)
I used contact cement, tacky glue, Weldbond, and 2 part epoxy. I have to say that the contact cement was my favorite. If any of it squirted out (even after so carefully spreading it thin and not too close to the edges), once it dried it was easy to just pull it off with no residue. I like the ability to clean things up. We won't talk about how many times I positioned things only to pull them off and quickly wipe off the adhesive!
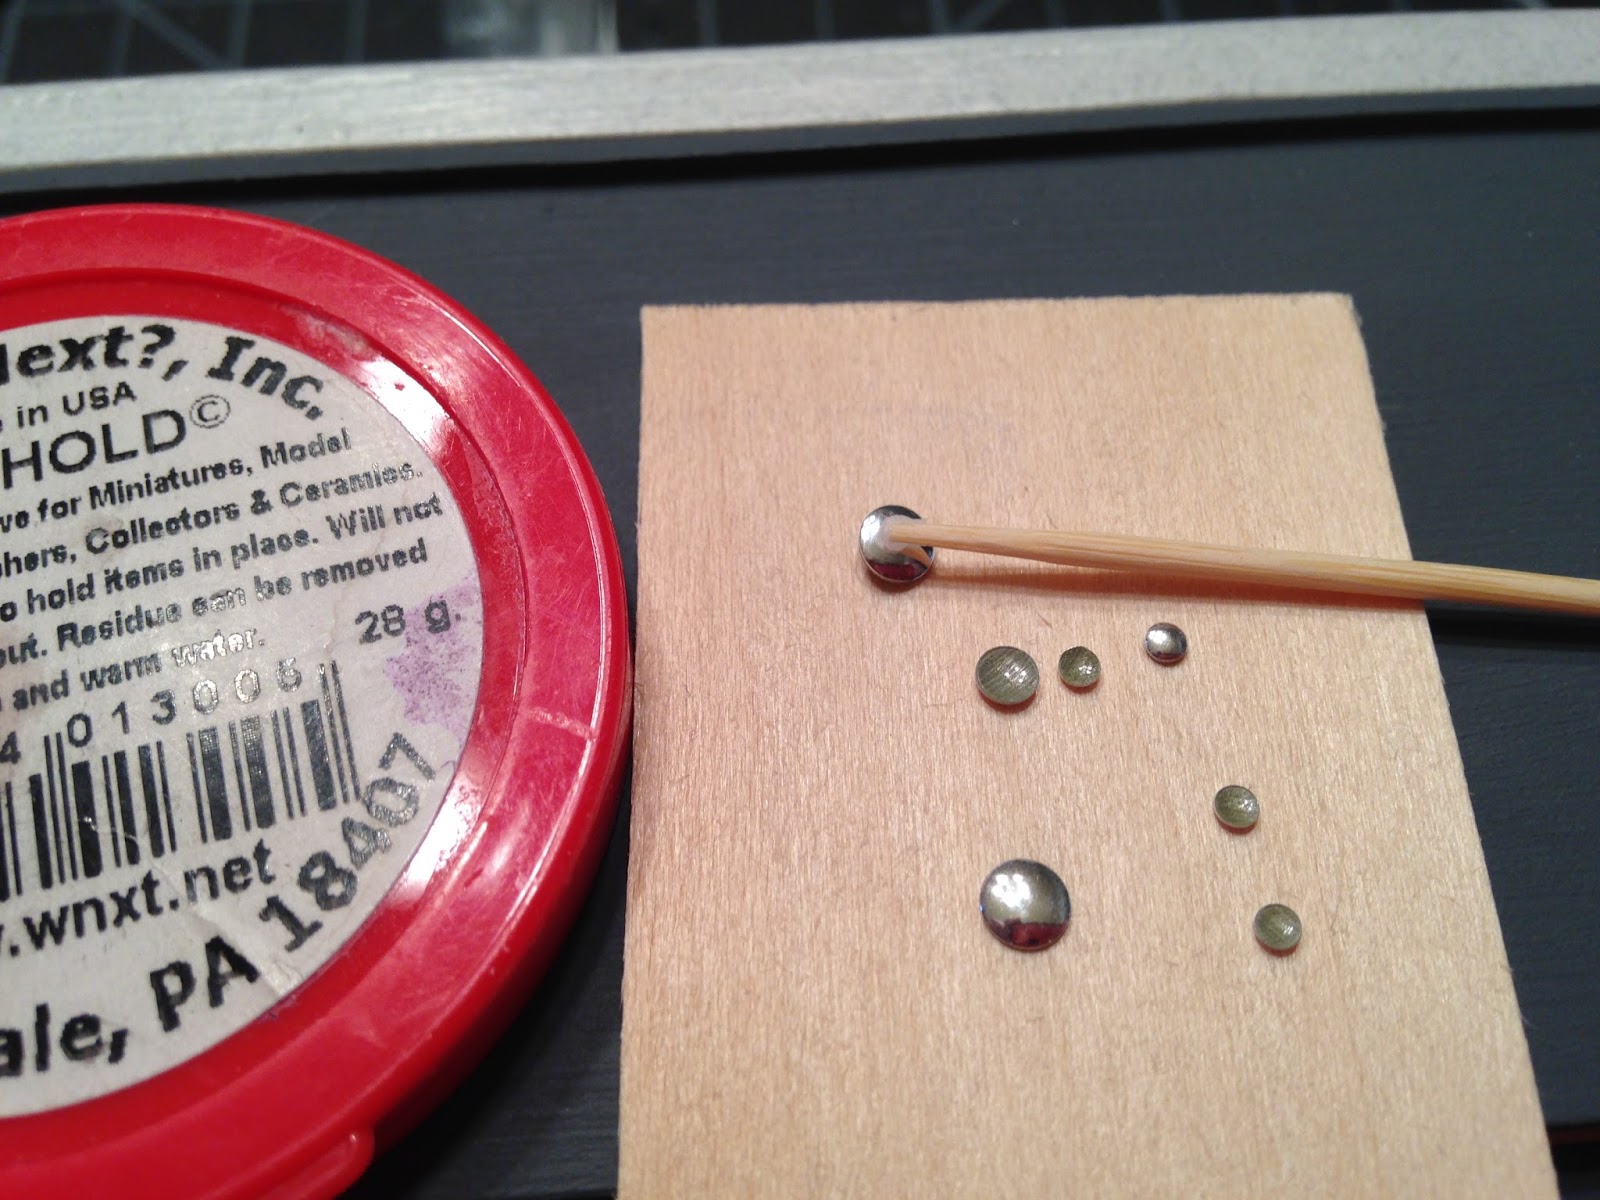
Actually, yes we will talk about it. I was getting frustrated trying to get the fridge and oven door handles straight, level and plumb using only my tweezers and my 4X magnification clip on lenses. I was dreading how I was ever going to get the little knobs equally spaced. I even considered leaving them off. Then I decided that I should not let things that are so little be the boss of me. And here is the tool I devised to do the job.

I cut down some toothpicks, sanded them flat, then added a dab of museum wax. This way, I had a handle for the little
bastards pieces.

I stuck the toothpick wax tool to the top of the knobs, used another toothpick to add the epoxy to the undersides, positioned them exactly where I wanted, then let it dry. Once the resin was set, I plucked off the handle and wiped the wax away!

I wasn't too happy with the plain Elf cooktop. I added some 1/16" basswood underneath to give it some dimension. I cut it deep enough so that I could add a piece of aluminum strip on the front edge for knobs. I had a pack of old Houseworks brass door knobs. With a coat of red paint, they don't look half bad. The knob plate thingies look like they could make great drains, too!
The next thing on the 'to do' list was to make the legs for the bathroom vanity. I had some aluminum rod, also left over from my husband's RC truck days, so thought it would be perfect. It really would have been, but cutting through the first piece broke the only "for metal" blade I have. Should have used the rip saw and not the scroll saw, I guess... (post note: Husband now informs me that he has a specific tool for cutting metal tubing. Day late, dollar short...)

So, I had to punt. I remembered that I have a nice big container of every sized dowel you could ever want. I thought 1/8" would look chunky enough but not too "Melissa & Doug" if you know what I mean. I also remembered something else I acquired from my wonderful, handsome, crafty and handy husband - aluminum tape!
It's the stuff that is used on HVAC ducting. It really is made of aluminum. It is very thin, comes on a roll and best of all it is adhesive! Oh this opens up a whole new world of possibilities!

I cut the pieces to size, peeled off the paper backing, and rolled the dowel on it. The one on the left is the aluminum that broke my blade, and the right is the taped dowel, Not so bad! And if you @#%^ it up, pull it off and try again!

Here is the vanity with it's new legs.
And here is the link for the Venture Tape. I think from now on I'll just call it Adventure Tape!


 M3 1:12 - My Shapeways Store