Search My Blog!

Use the Search box below to find keywords that you're looking for quickly and easily!

Search Feature

Wednesday, November 18, 2015

Ramping Up For The Holidays

I've been supremely lucky to have extra free time for the past few weeks. I have taken advantage, and really enjoyed working on projects, reading blogs, and just being in an overall relaxed atmosphere!

But, that's all about to change. Coincidentally, both my job and the holidays ramp up at the same time. Tomorrow is really my last slacker day for a while. Work and getting the house ready for holiday guests will take precedence over my mini life.

I've gotten enough done on Alki Point to see it begin to take shape. Once I made the decision to order the textured white scrapbook paper for the wall covering, I kind of found my way again. It is 12" x 12",  80#.  I love the texture, it went on easy, and painted up really nicely. Now I'll have a good supply for future projects!


Framing side of wall
Knowing that the paper was on its way, I went to bed Monday night thinking about how to construct the bedroom/bathroom separater wall. I needed it to conceal the future bedside lamp wires, so I decided to construct it like a RL wall. Well, sort of. I don't think my studs would pass inspection. There are really no fire breaks in it, but hey, it does the job, right?


Wall in the jig
I knew I would put wallpaper on the bedroom side, but I wasn't quite sure about the bathroom side. I debated; should I order more tile walls from Shapeways, or do something else? In the end I decided to use more of the flooring strips I used on the upper portion of the bathroom and kitchen walls.

Wall after constructing
Wall with paper and newly mixed paint color


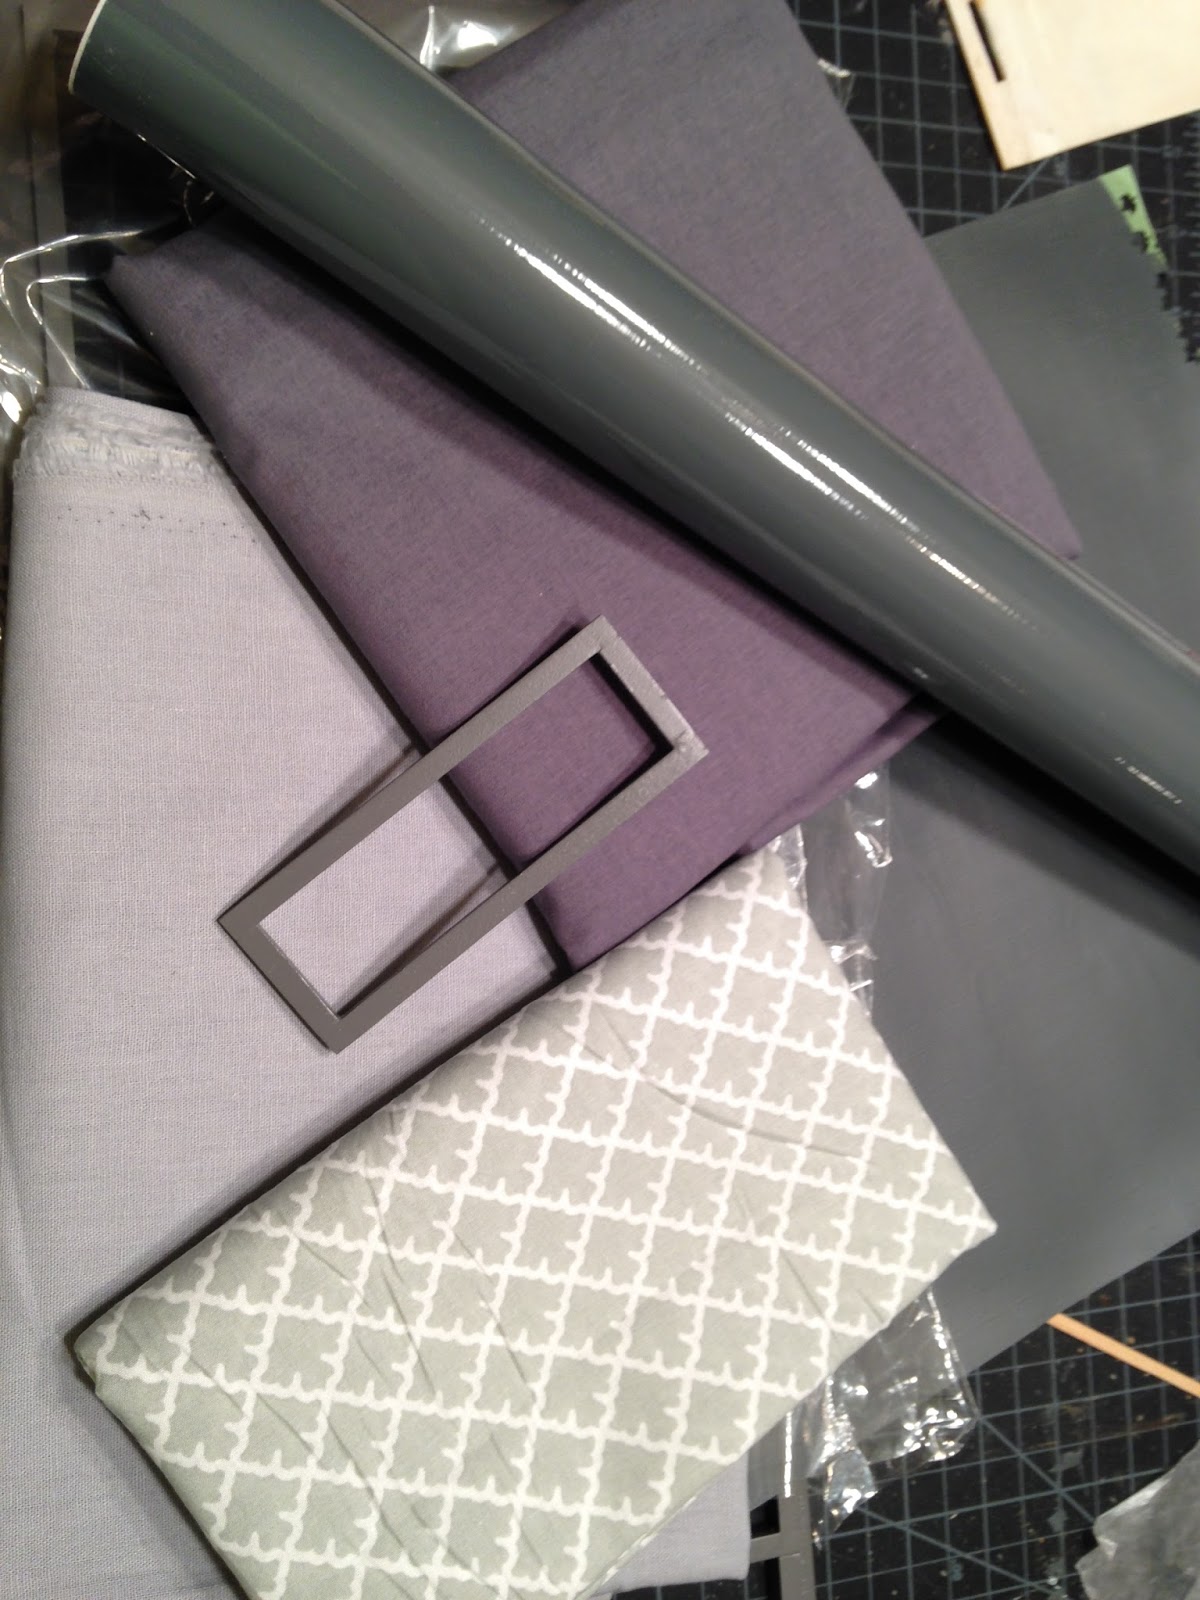
Speaking of paint... The grey sample I ordered (Behr Paramount from Home Depot) was really too dark for such a small space. I mixed it with white until I got more of a silvery grey. I decided to paint only one accent wall in the living/kitchen area, then the partial wall behind the bed.


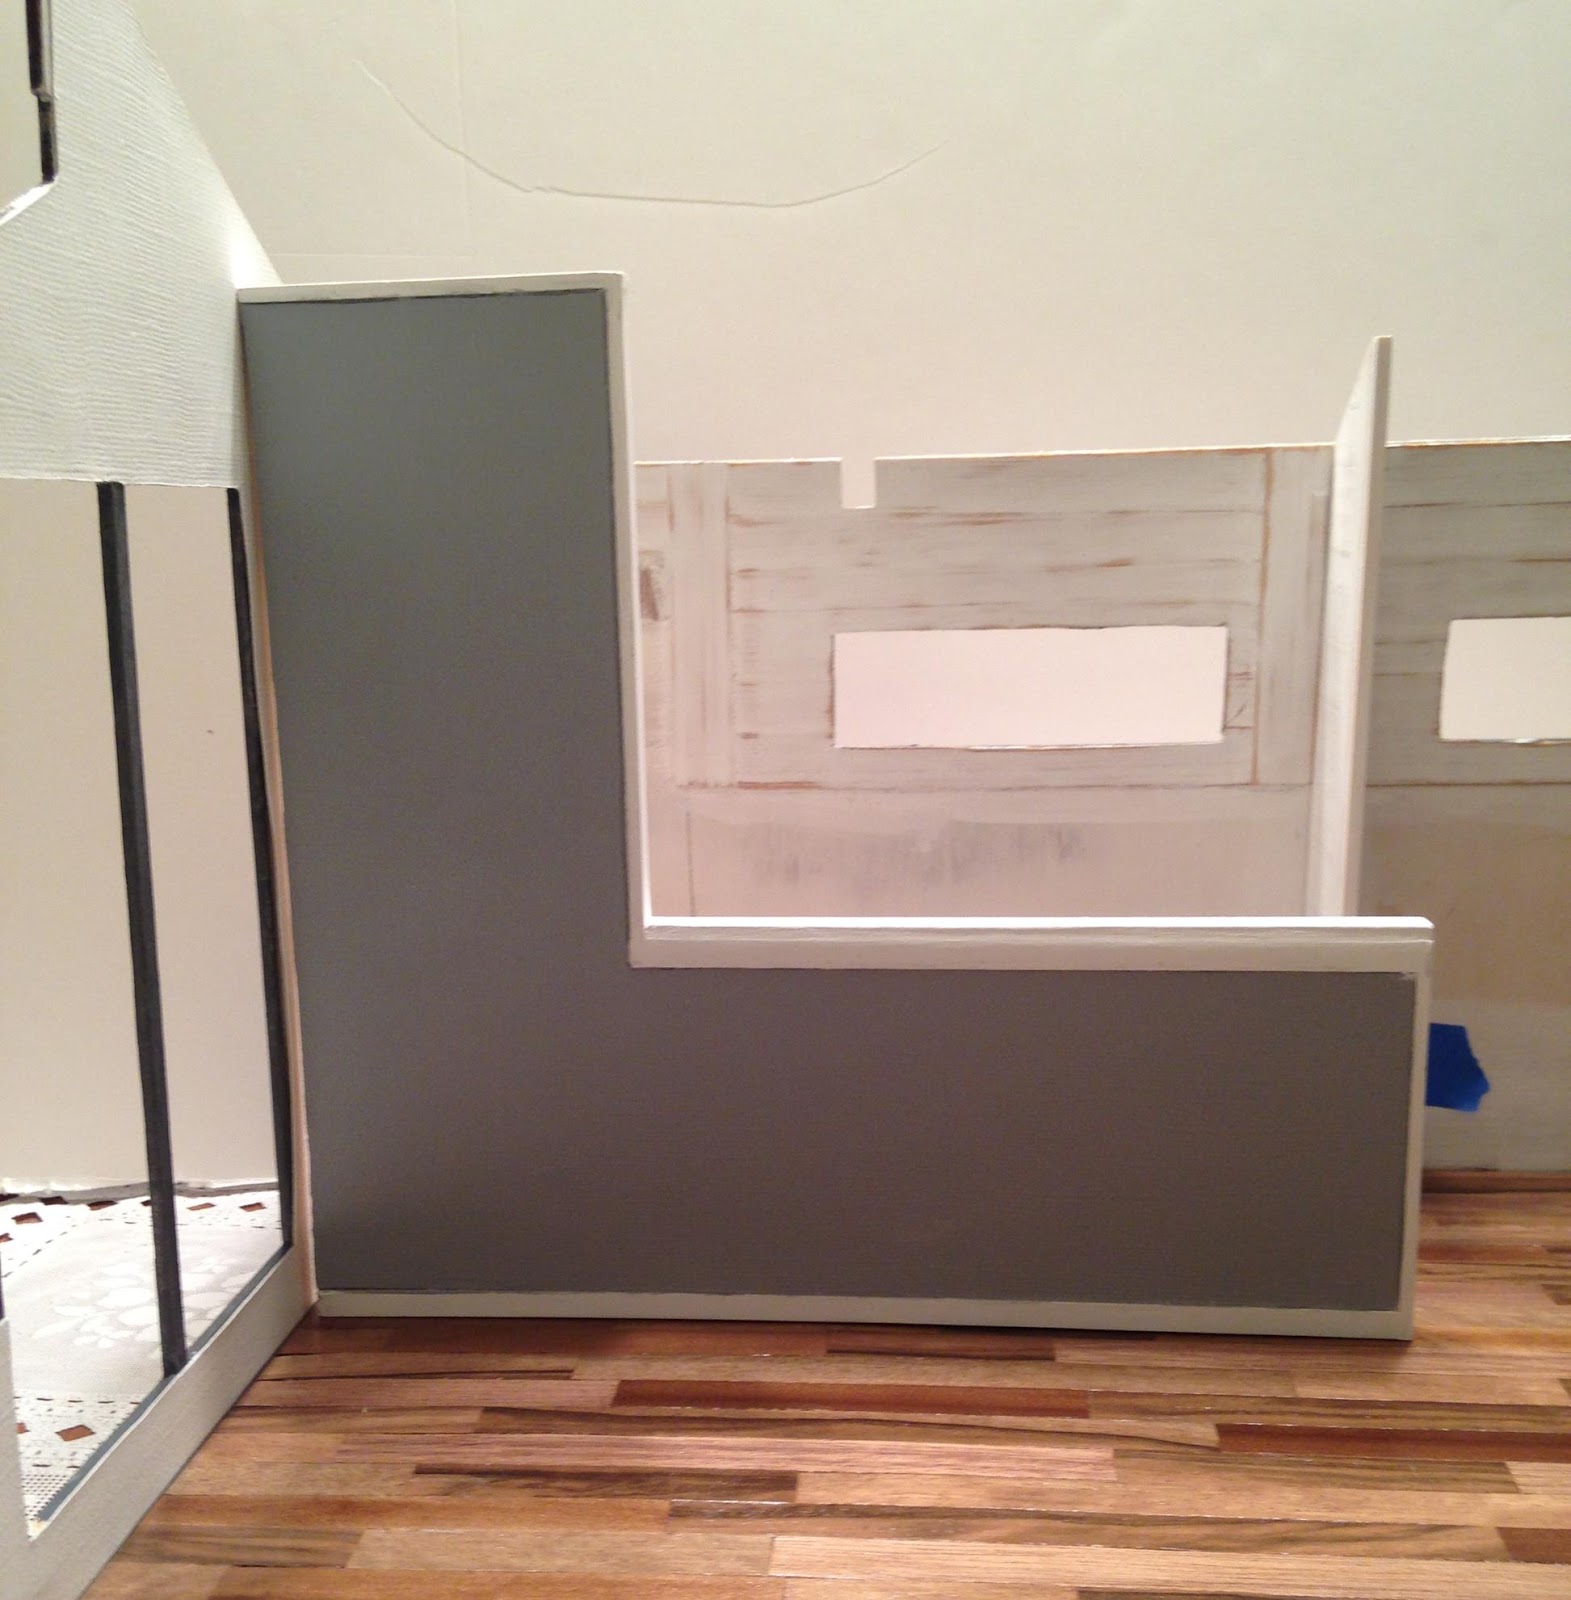
This photo shows the bathroom side of the partial wall. I am still trying to decide whether to leave it as is, or add a piece of plexi as a see thru wall. I guess I'll know once I cut the plexi for the shower and see how that looks and installs. I'll be using two part epoy to adhere it to the White, Strong and Flexible tile wall and shower pan. That's what was suggested on the Shapeways forum, so I'll let you know how that turns out.


It was a little stressful trying to decide how to finish the flooring strips on the walls. I tried a little grey stain on a sample piece, but didn't end up liking the way it looked. Too uniform. I might as well have painted the wall grey.

I wanted some texture, and to mix the modern elements with a little shabby and reclaimed. I tried a little light grey acrylic wash, but the water was really raising too many hairs on the wood. I could sand them after, but I found that most of the color also sanded away.


Then I thought I might just paint them white. After I applied the second coat, I'd lost most of the wood slat texture. Oh poop!

So, I searched again for my favorite inspiration photos, read a couple RL whitewashing articles, and decided to try my luck doing a little sanding after the second white coat was thoroughly dried. I loved it! So that's what I did!


Here's the dry fit, and sadly, this is where my progress will most likely stop for the next couple weeks. I'll try to sneak in a few hours here and there. Shhhhh!


Monday, November 16, 2015

They're Here!!!


A few weeks ago I posted how I started watching tutorials on Skillshare. That lead me to a 3D iterating software called Tinkercad. I started playing around with making modern 3D miniature stuff for the Alki Point project. That lead me to upload about 50 different designs to Shapeways. And that lead me to printing them. The above photo is the bulk of my designs, although I have several more either being printed now or that I am saving up to order. I know that I am behind the curve by a couple years with this stuff, but I say better late than never! It's just so exciting to finally get to see these little gems in real life!

My photos are taken with my phone so are not the best, and these are the raw Strong, White and Flexable prints. I am still deciding how I am going to finish each piece.

Afterglow Lamp Base - Cost $5.59. Shade Cost $5.51. I love the "stepping" from the printing. It gives it a pottery or natural fiber look and feel.

Shown without Shade to illustrate how bulb and socket fit perfectly.

Channel exit for the cord. I made six different lamp styles. All are designed with the bulbs and wiring in mind.

Persuasion Bedside Table. It has non opening drawers on both sides. Cost on this one is expensive (IMO) - $36.11

Forethought Headboard. I'll make it into a platform bed for the Alki Point. I made three different headboard styles. This is the only one I have had printed, so far. Cost $32.98

Enliven Undermount Kitchen Double Sink Cost $13.31. Faucet sold separately, cost $2.13

Enliven Square Nesting Bowls Cost $12.04

Large Coastlight Modern Planters. Cost $18.86

Steadfast Shelf Sized Vase Set. Cost $5.83

Exhilarate Back and Side Tiled Shower Walls. 1/16" grove can be grouted for contrast. 4" x 7" Back wall $22.78, 3" x 7" side wall $15.85. Shower pan is made to fit and is 4" x 3" x 1/8" and costs $12.14. Shower unit with mixer and rain head costs $4.89. Wall mounted low profile toilet costs $11.14. I'll get better "in use" photos once they go into my project.

Exhilarate bathroom accessories include: Sink $8.28, Faucet $2.22, Trash Can & Soap Pump Set $6.57, Towel Bar, Towel Holder, TP holder and 3 Hooks Set $11.66. 


I also made pendant light shades for the kitchen and bathroom that accommodate standard 12 volt sized bulb and socket sets. Two different styles of modern cabinet hardware, modern door handles, wall art pieces, a brunch set and subway tile kitchen side and back splashes. Those are in production now, so keep your fingers crossed with me!

If you want to give 3D designing and printing a shot, I'll be happy to answer questions or help in any way I can! All you need is an idea, some measurements to convert to scale, and a willingness to spend a little time and money. Believe me - if you love to make, you'll love this process!

Sunday, November 15, 2015

Second, Third, Fourth Guessing...

I'm in that part of the project where I am second guessing my color choices and wondering why I hadn't thought about certain things - like wall coverings. Really, Jodi? Is this your first time?

I could have just painted the walls, but not me! Nope! I wanted to complicate everything as much as possible texture. So, I dug through all my little stash places to see what I could come up with. I found some scrapbook pages left over from some project and thought I'd try painting it to see how it looked.


It was green with a bit of a cross hatch texture, so I thought I'd better put a couple coats of primer on it. It looked like the texture was going to show through, so I decided to paint it next.


I put two coats of the grey paint sample paint from Home Depot. It definitely dried a little darker than I was anticipating. It also has a surprising bit of sheen on it for being flat paint.


That's where I started questioning my choices in color combinations. I brought everything I have gathered so far to the table to look at all of it together. Paints, fabrics, flooring, exterior, interior, textures.


Some of my grey fabric looks kind of blue. Some of it looks as though it has a greenish tinge to it. The primary grey paint matches the high gloss cabinet film from Elf Miniatures, and that matches the solid grey fabric, but is that too matchy matchy and too much grey? The grey that I sprayed all of the trim is definitely light, but is that a good thing? Suddenly I realize that I am inadvertently and literally making a 50 Shades Of Gray vacation rental!


What's my solution? Oh! Great idea! Buy 3 more yards of fabric online that "look" like the right grey and wait a few days for them to arrive!

Then my brain decides to second guess the painted scrapbook paper. Will it unwrinkle itself with the wallpaper paste? Should I put a couple coats of matte sealer on it before I put it on? Is that too much grey? Maybe I should buy some white textured scrapbook paper and just give myself a couple days to decide.

Once I start in on this kind of thinking I begin and end in exactly the same place. Like 15 rounds of this. Before I decide to just go for it. Most times, everything turns out great and I am happy. But then, the Barn happened. And now, I am afraid to mess everything up again. Hump. There's no hope for me...

So, I spent HOURS on Etsy. Distraction was good. Then I went through my stash of leftover project parts and pieces and decided to put wooden strips on the upper half of the back wall. I started this after 10:00pm and did not go to bed until 1:00am. I like the texture, but am I going to stain it? Will it compete with the wood floor?


I managed to get the wood wall finished, and get the divider wall between the kitchen/bathroom cut. sanded, wood installed etc.


I managed to start thinking about the ceiling/roof and make sure I had wood for that.


I finished up the spray painting, and checked that the window frames still fit.


But really, it doesn't seem like I got much done over the weekend. I'll try to make some decisions, then get back to it on Tuesday...