Soon after getting back from our two week camping adventure, I learned that the belated surprise 70th birthday party for my aunt Jackie (organized and funded by my aunt Terry) would be held at my house. On September 19th. That's two weeks from today. I have a lot of work ahead of me... A LOT!
Russ was also feeling very ambitious, so he agreed to help my brother Mike (Bulldog Construction), along with my son, Ande, do a roof replacement on the house of an old high school friend. This means it's just me & the puppies for the long Labor Day weekend.
I decided it would be a great idea to put the gardening and housework off until Tuesday. Three days of minis it is!

In celebration of the working loft lights, I decided to get the Sasquatch lamps out of their safely stored zip top bag and plug them in. After all of the issues I've had on this barn project, you'd think I would have expected something to go wrong. I kind of did, but ever the eternal optimist, I hoped... No. Such. Luck.
The plug on the left side of the room is having the same seating issue as so many of the other 11 plugs - by the time you drill deeply enough into the MDF, too much of the copper strip has been eaten by the drill to make good contact with the plug.
Unfortunately, it just so happens that the plug showed no sign of an issue before I installed the wood strips over the tape runs. Now the strip is covered, with the exception of the actual plug space. My only option is to try to carefully remove some of the plastic covering from the tape run under the plug. Then attempt to re-seat the plug and hope the new contact is sufficient and stable.
If this does not fix the issue, I may have to tear out some of the wood strips and try in a new area that hasn't already been excavated.
Oh Boy! Wish me luck. I'll update this post with photos and hopefully, good news later...
UPDATE
After peeling some of the plastic away and testing, there was still not enough contact with the copper/plug prongs. I was having compounded issues because:
- My dedicated mini glasses lost a nose piece pad and they hurt me too badly to wear them.
- My regular everyday glasses have wide earpieces. They do not fit well into my head strap, which I need to wear so that when I attach my 4x magnifier clip on lenses, the glasses are not pulled off of my face from the weight.
- I could not see well enough with just my glasses on. I tried the clip on, but the wall is set too far back in the loft so the clip on just made it worse.
- I turned on the flashlight feature in my iPhone, but having it and my hands in the tiny space only caused the work area to be in shadow.
- The room is really not wide enough to comfortably and effectively work on something so delicate and small.
- The barn is sitting on a table. The loft is naturally the second floor. That makes the room about 5'3" and I am only 5'5". I could not sit to perform the task. Between twisting my body to fit my hands into the space and attempting to reach the back, I experienced back spasms. I could only work for a minute or so at a time before I had to stop long enough for the spasm to subside. No progress can be made in that amount of time.
- I think I may have mooned my neighbor, as too late, I realized that in my acrobatic attempt, butt to the window, the nightie I am still wearing had ridden up exposing places that no neighbor should see. Not if you still expect to exchange pleasantries with them at the mail boxes.
At this point I just had to laugh. Once again, the barn had me by the short hairs.
Good thing I am very stubborn.
Rather than ripping out the wood strip (which I couldn't really reach very well anyway), I had an idea. What about adding some copper wire to make the brass post on the plug thicker, and therefore make better contact with the copper strip? I started stripping wire and winding it around the post. I quickly realized that today is not a good day to buy a lottery ticket, and that this idea was a bust.
Then suddenly, out of nowhere, I hear the long lost voice of my mini muse. "How about encasing the posts in an eyelet?"
Brilliant!

And then there was light! A real steady Freddy kind of light! And then I got excited and got all of the bedroom stuff out so that I could take a few moments and play! Oh how I love this part!

Here is the bedroom, lamps in and working! Lots of details to make and add, but man I am so relieved to have conquered the lighting issues!

Bathroom lights are hardwired in and working wonderfully!
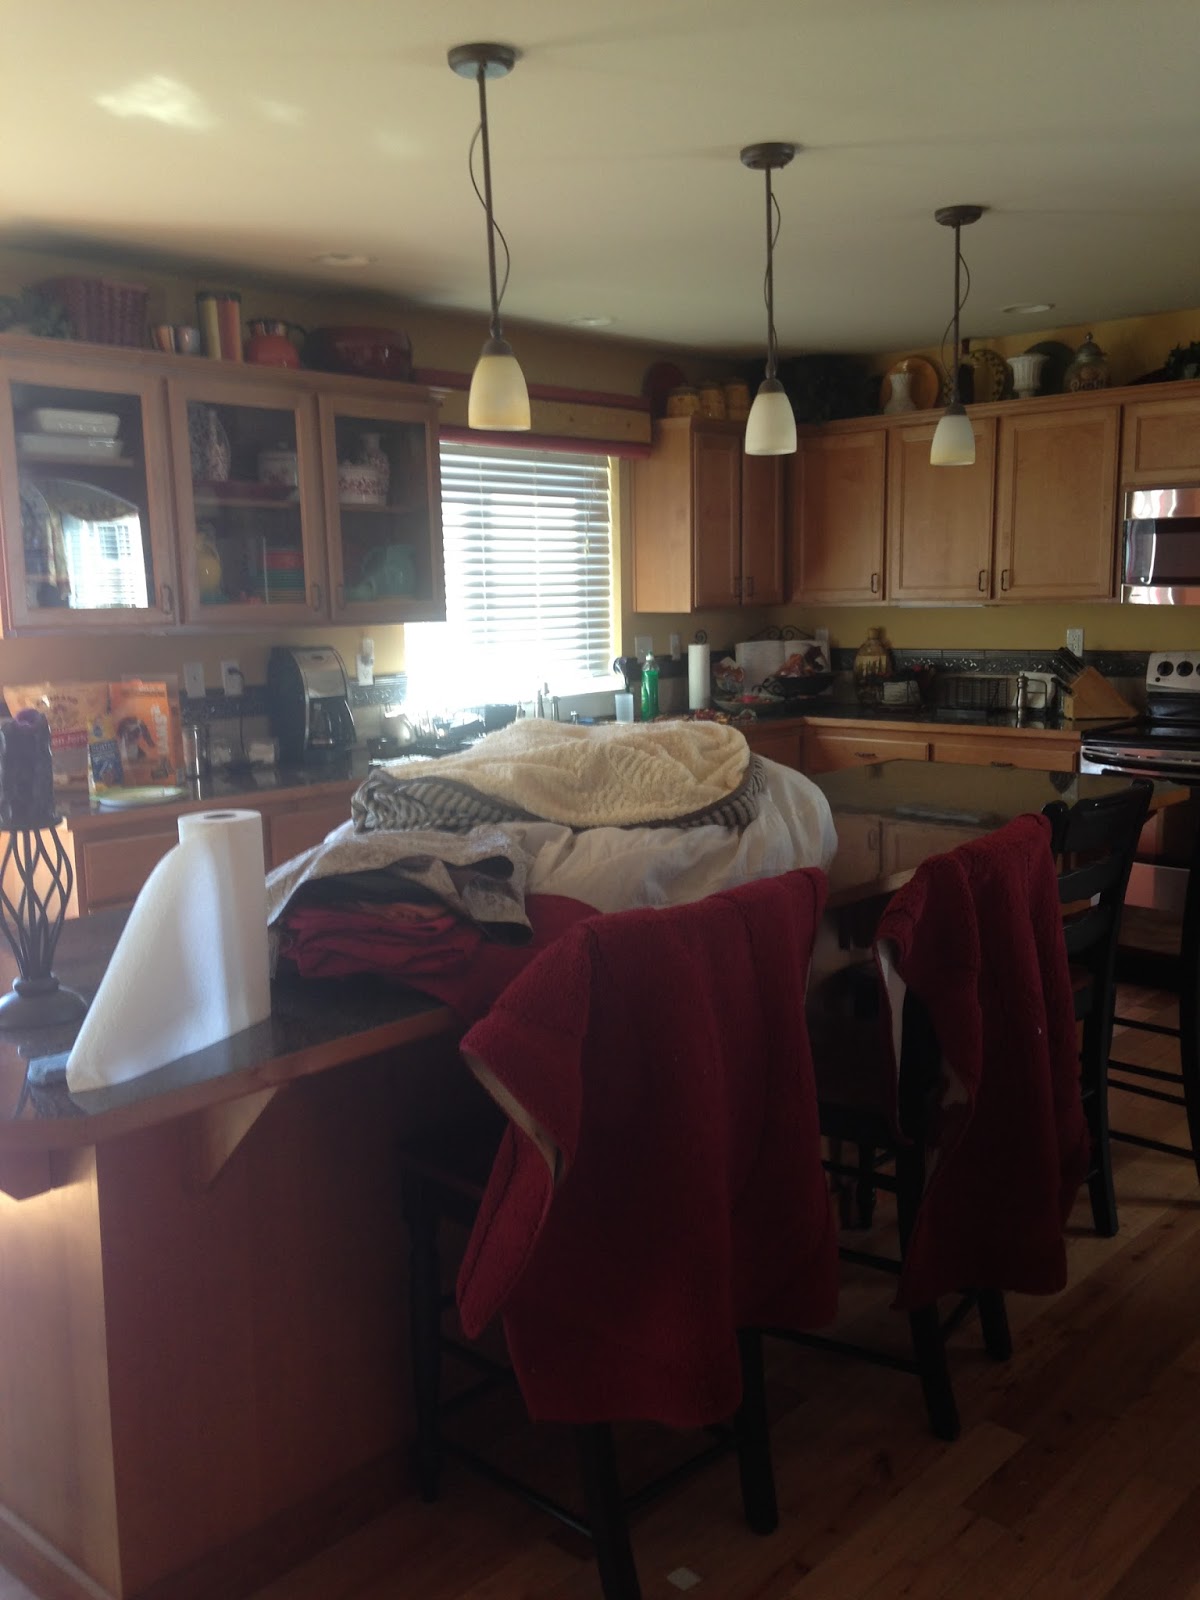
Kitchen and stairwell lights are working! The necklace findings I found on Amazon have worked out beautifully for making pendant lights!
Garage shop lights turned out and are working great!
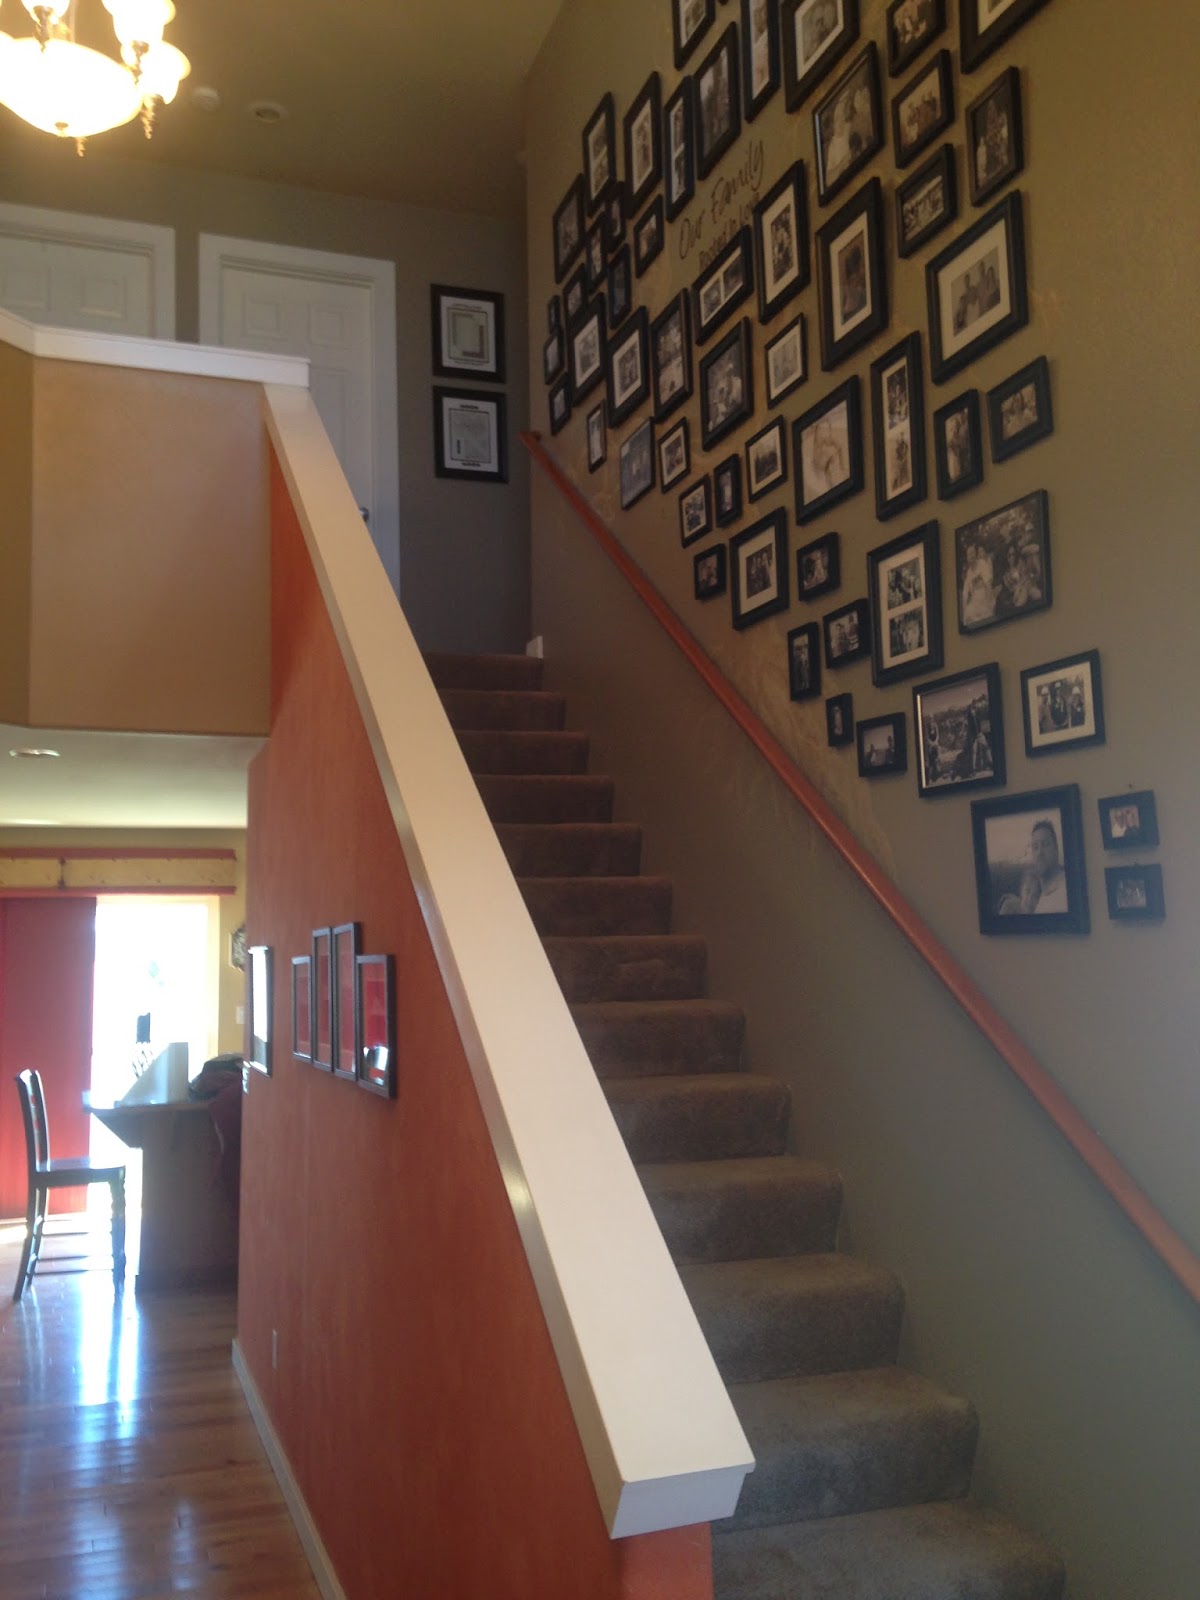
Entry, stairway and living room lights - check!
All lights now working, new wallpaper section is in - just have to cut out the window then reattach the window trim.
Grateful, grateful, grateful!
Now what's next...


 That still leaves the family room, not to mention the entire upstairs! Which includes 5 rooms, 2 bathrooms, and a loft.


