Search My Blog!

Use the Search box below to find keywords that you're looking for quickly and easily!

Search Feature

Thursday, July 30, 2015

From Ordinary to Interesting...

Like I mentioned in my earlier post, I really needed a creative project to keep me excited about finishing the barn. Sometimes, I lose interest in stuff pretty easily, and then it sits there collecting dust until I find some new inspiration. All these functionality issues I've dealt with on the barn lately had me yearning to get to the fun stuff...

Several months back I had purchased a lot of 7 old dollhouse furniture pieces on ebay that I knew could turn into treasures with a little creativity and some love. They were so cheap (under $2.00) I really could not pass them up!


I knew this sad little bed could be the inspiration for several pieces. I'm going to use the frame to make a log bed for the barn, and later I will use the head and foot boards to upholster for a fancy bed.

These "wood" pencils are available on Amazon in several different lengths in a pack of 10 or 12 for about $4.00. I've had the grapevine wreath stashed away for some time, and the sticks are huckleberry branches brought home from a hiking trip a couple of years ago. With my mini eye, I see awesome country type furniture!


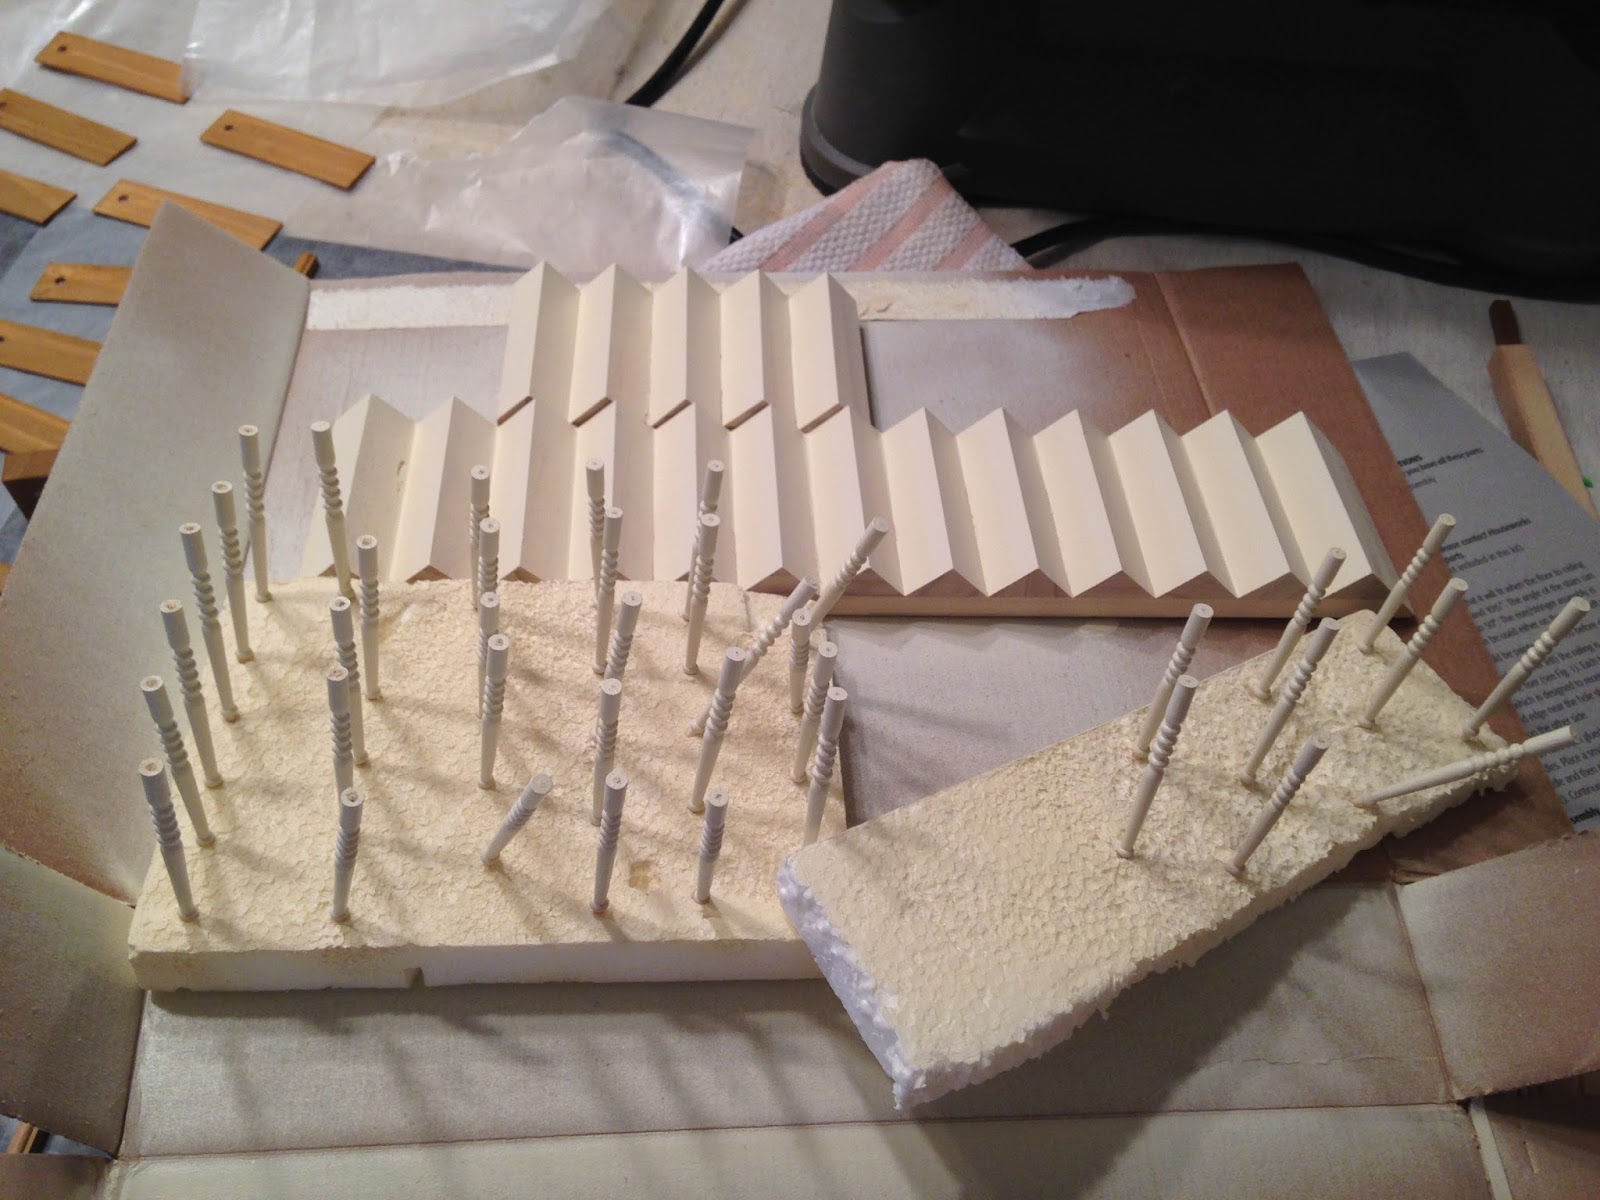
First I had to carefully deconstruct the old bed so as to keep the reusable pieces in tact. Then I sanded with 80 grit sandpaper to remove the nuclear varnish that Chinese manufactured minis are famous for. WARNING: As you sand the varnish off, your nose gets full of crud and your throat feels a little sore. Use a mask if you have one. I got a little rough and needed to re-glue a support to the rail.


I decided it would be better to attach the main logs onto the frame with screws in order to have a more stable bed to start off with. I pre-drilled holes into both the braces and the logs to make getting the screws in easy. Since the logs were actually pencils, I had to trim several of them down to length.


Four main logs, and four screws later we had the base. Now comes was the fun part - getting creative with the style. I had a dollar store Fairy Chair that I could borrow bent wood pieces from. You'd never know it from looking at them, but they are actually held in place with staples. This means removing them, re-positioning the pieces you want to keep, then reinserting the staples where necessary.


Of course with all things mini, you have to patiently do things in steps as glue dries. I am not good at sitting idle, so I decided now would be a great time to make the little end tables for the bedside sasquatch lamps. I collected a giant walking stick on last summer's Redwoods vacation, so I was able to cut several 1/4" tops on my rip saw until I found ones I liked the wood pattern on. The bases are from another wood stick treasure I got on our Gifford Pinchot vacation in 2012. A little gue, stain and varnish and ta-da!


I also sanded, assembled, stained, varnished and installed the hardware on the House Of Miniatures dresser kit during "drying time". Other than pictures and a rug, I think the little bedroom is about complete.


Here was the reward for a good creative day's work! I won't show the bed with the bedding on yet until I get the entire bedroom decorated and ready for unveiling. 

Have a great weekend everyone! Get creative with something! The worst thing that can happen is that you make something horrid and then get to laugh at yourself! It's all good, either way!


Finishing Up The Hardscape

The next little segment to complete on the barn was to finish off the entrance/stairway/living room area. My goal is to complete all of the "hardscape" tasks so that I can get to the most exciting part - the decorating!


I took several of my tongue depressor type craft sticks and taped them together at the ends and in the middle. Then I used my saw to cut off the curved ends, and then cut them in half.


I stained them all and let them dry for several hours. Then I cut pieces of cardstock to the length and height of the walls they were going on. I then glued the strips to the cardstock and sandwiched them between two boards. I clamped and weighted them until the glue was dry. This was a much more efficient method than gluing them piece by piece and trying to keep them from warping.


I glued in the baseboard molding, then glued the cardstock strips just above them. I then added the trim board above that. I clamped again and let them dry several hours.


While the glue was drying, I set to work trimming out the rest of the room with baseboard, window trim, door trim, and even decided to make a doggie door for Georgia, my beloved beagle who likes to constantly go in and out between naps.


After everything was installed and dry I placed a bit of wood filler into gaps in the trim. When I do my final touch up in the room before the furnishings go in I'll touch up the stain and add more detailed finishing. I'll also address the access deck to the front door and add the adorable factor to that area, as well.

I'm glad to have this part of the work finished up, but am really needing a creative project in the meantime to keep my excitement going. I think the next project will be turning an old ebay bed into a log bed for little Russ and I to dream in. Check back soon for details!

Monday, July 27, 2015

Solving The Stair Puzzle


When I thought back to all of the mini projects I've ever done, even the ones prior to my nine year hiatus, I was surprised to realize that I had never done stairs! No wonder this has been such a challenge, especially when you consider the complicated configuration necessary for the barn!

There are a lot of steps to making stairs, so if you decide to take them on, patience is a requirement.


First, if you need to make alterations, you have to get that all figured out (see previous post) prior to starting. Then you have to sand every stair, every tread, every spindle, every post and every handrail. Then you have to stain the parts getting stain and paint the parts getting painted. Remember, you are working with very thin wood, so you have to do both sides at once to avoid warping.


Thanks to many mini blogs out there, I knew to stick the spindles into styrofoam upside down to spray paint them. Then when I installed them, I just had to touch up the ends going into the railing.


If I was doing a fancy house (yes, please! Someday), I would have sanded everything again after the first coat, painted/stained again, sanded again with 1500 grit, then applied three coats of varnish, also sanding between those coats. But this is a barn house. See the attraction now? A light sanding and a coat of satin varnish was all I needed to do!


Next came gluing the treads to the stair assembly. I toiled. If I used contact cement, I'd have to align them perfectly because you only get one shot. Once it touches the surface of anything, it's stuck. I was not too confident in my placement precision, so I went with the old stand by. I used very little and thinly spread out tacky glue and hoped they would not warp. That worked out really well. 

If anyone out there has a great thin wood non warping glue solution, I'll trade you a plate rack for the info!


Each of the treads have a pre-drilled hole for the spindle to sit in. Once you get a couple coats of spray paint on them, you have to really wedge them in. I was concerned I'd break them, but these little guys are tough! After I'd got all the treads and spindles attached to the lower stairs, it was time to add wood flooring and wallpaper to the landing. Once that was dry (I cleaned my dining/living rooms while I waited for everything to dry) I could attach the lower stairs to the landing. I kept the wide stair landing tread as the top piece because I liked the way it looked, and also because it gave me more surface area to glue to the landing. I used a heavy lead weight on top of the tread while this dried.


Once the landing/stair assembly was ready, I needed to dry fit it into place so I could measure the upper stair case. In the meantime I had installed, stained and varnished the wood floor in the living room. The fit was perfect; snug bet not too tight!

Where the wallpaper ends on the walls, I'll be adding (hopefully today) wood strip wainscoting. I have a bunch of those craft tongue depressors, so I'll cut off the curved ends and then cut them in half. Then stain and varnish, of course, and hope they don't warp... 


You probably noticed that I had cut the hole where the front door needed to be raised, and added another square window opening. I tried the plunge router attachment on the dremel with an all purpose bit, but that was a disaster. I could not stay on my line to save my life, and the wood was getting so hot it was smoking! Apparently, that was not the right tool for the job. I didn't want to pull the hubs away from his project (repairing chain in transaxel and installing a new drive line in the Jeep) so I got out my little miter box saw, then my coping saw. That was also futile. Good thing I was practicing on scrap wood, right!

Again, Russ saves the day with his trusty jig saw. That thing scares me, and every time I have tried to use it on small projects I end up not being able to turn a tight angle and messing up my work. I am going to look at Micro-Mark at some point for a smaller reciprocating saw option.
Again, I'll trade minis for knowledge if you can enlighten me!
The new door hole is cut, the new window hole is cut, and I used my trusty rip saw to cut the piece to fill in the old lower door hole. I even matched the clapboard perfectly!


Here's the new look to the front of the barn. Imagine a deck with stairs to get up to the door.


The upper stairs needed a little modification now that the landing was all complete. I ended up having to cut only one stair from the bottom. It was not a straight cut, though. It had to continue the angle of the stairs to tie in to the landing. For this, I used my scroll saw. I had to hold the stairs at the correct angle and slide it through the saw blade. Oh man! The blade wanted to bind up on me a couple of times, and I had to come at the cut from both sides of the stairs in preservation of my fingers, but I got the job done! Just a little sanding afterwards, and the stairs fit really well.


I attached the spindles on the upper stairs and made sure they fit through the hole in the ceiling. I added the railing pieces to the landing between the staircases, and I think it passes the miniature building code requirements for safety. I finished the weekend off by gluing the upper stairs to the landing and to the side wall. I am going to wait to install the handrail until I finish all of the trim in the room. This way, I have more hand room to work.


For my first set of stairs, this has been a gigantic learning curve for me. But, that's how we get better, and by the time I do my next project with stairs, I'll go in with more knowledge and confidence! I think the room is going to turn out great!