Search My Blog!

Use the Search box below to find keywords that you're looking for quickly and easily!

Search Feature

Showing posts with label Shabby Chic Soap Shop. Show all posts

Friday, May 6, 2016

Thank Goodness For Quick Shipping!

When I last posted, I was waiting for some things to arrive in order to move forward on the soap shop: White paint, a variety of trims, and the half scale speed shingles for the main roof. I am happy to report that I had the trims by Monday (thank you Manchester Wood Works on ebay!), the paint on Tuesday (thank you Amazon for the 8oz white paint for $4.33 and free 2 Day Prime shipping), and the speed shingles on Wednesday (thank you Greenleaf for the Priority Mail). I was able to tackle each little project as the shipments arrived!

The overwhelming consensus on the bay roof, both on the blog and by real life viewers, was to go with the "metal" option. I liked the idea! I thought it would add just another little textural detail to make it look extra yummy! I had some nasty gaps in the little roof where I had to make adjustments to the slots, so I needed to get those filled in. I used a piece of scrap wood (a poked out tab from the kit) to fill in the gap, then slathered everything in a couple layers of spackle. Once it was dried and sanded, the surface was smooth enough to pass for "metal". I added some trims, painted it with a few coats of trim color and then applied several coats of satin varnish so it would have a little metal sheen.


I received the trim that I needed to finish off the back roof edges. I had a heck of a time getting the mitered corners to match up. It was one of those days that I had to struggle through and wonder why everything was so hard. In the end, it worked out - it just literally took more than 2 hours for a 15 minute job. Meh... That's the miniatures business - it just makes the successes that much sweeter.


I got the paint and then went after all of the gaps and scrapes and things that needed touching up on the interior. You know, it's kind of difficult for me to keep some of the shabby! I just tend toward trying to fix everything, even when I remind myself that I 'don't want it perfect'. It's supposed to be a bit shabby and have some character. Do you find yourself doing that, too?


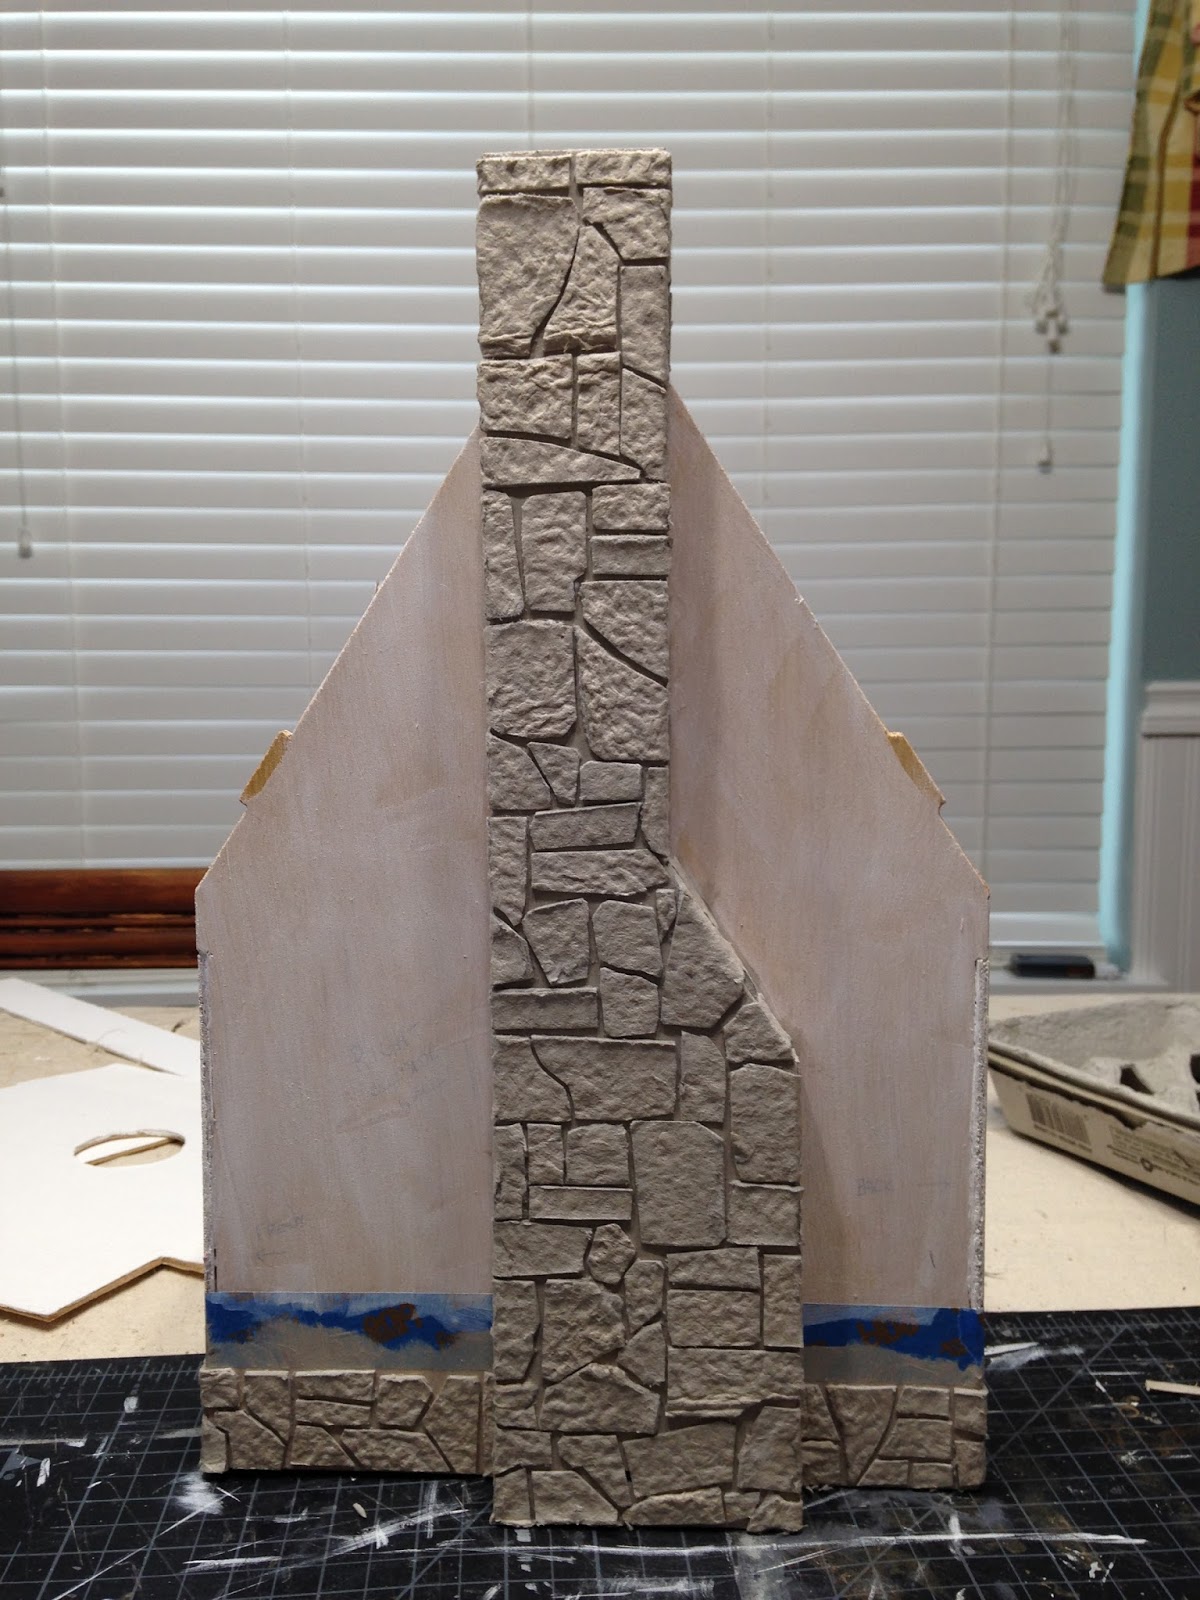
I had some of the hexagon speed shingles left over from the gable ends, so I went to work on the dormer area of the roof. I knew that once it was shingled, you weren't going to see it, but I painted the background color on just in case. Then I shingled the area and gave it a whitewash just like all the other hex shingled areas.


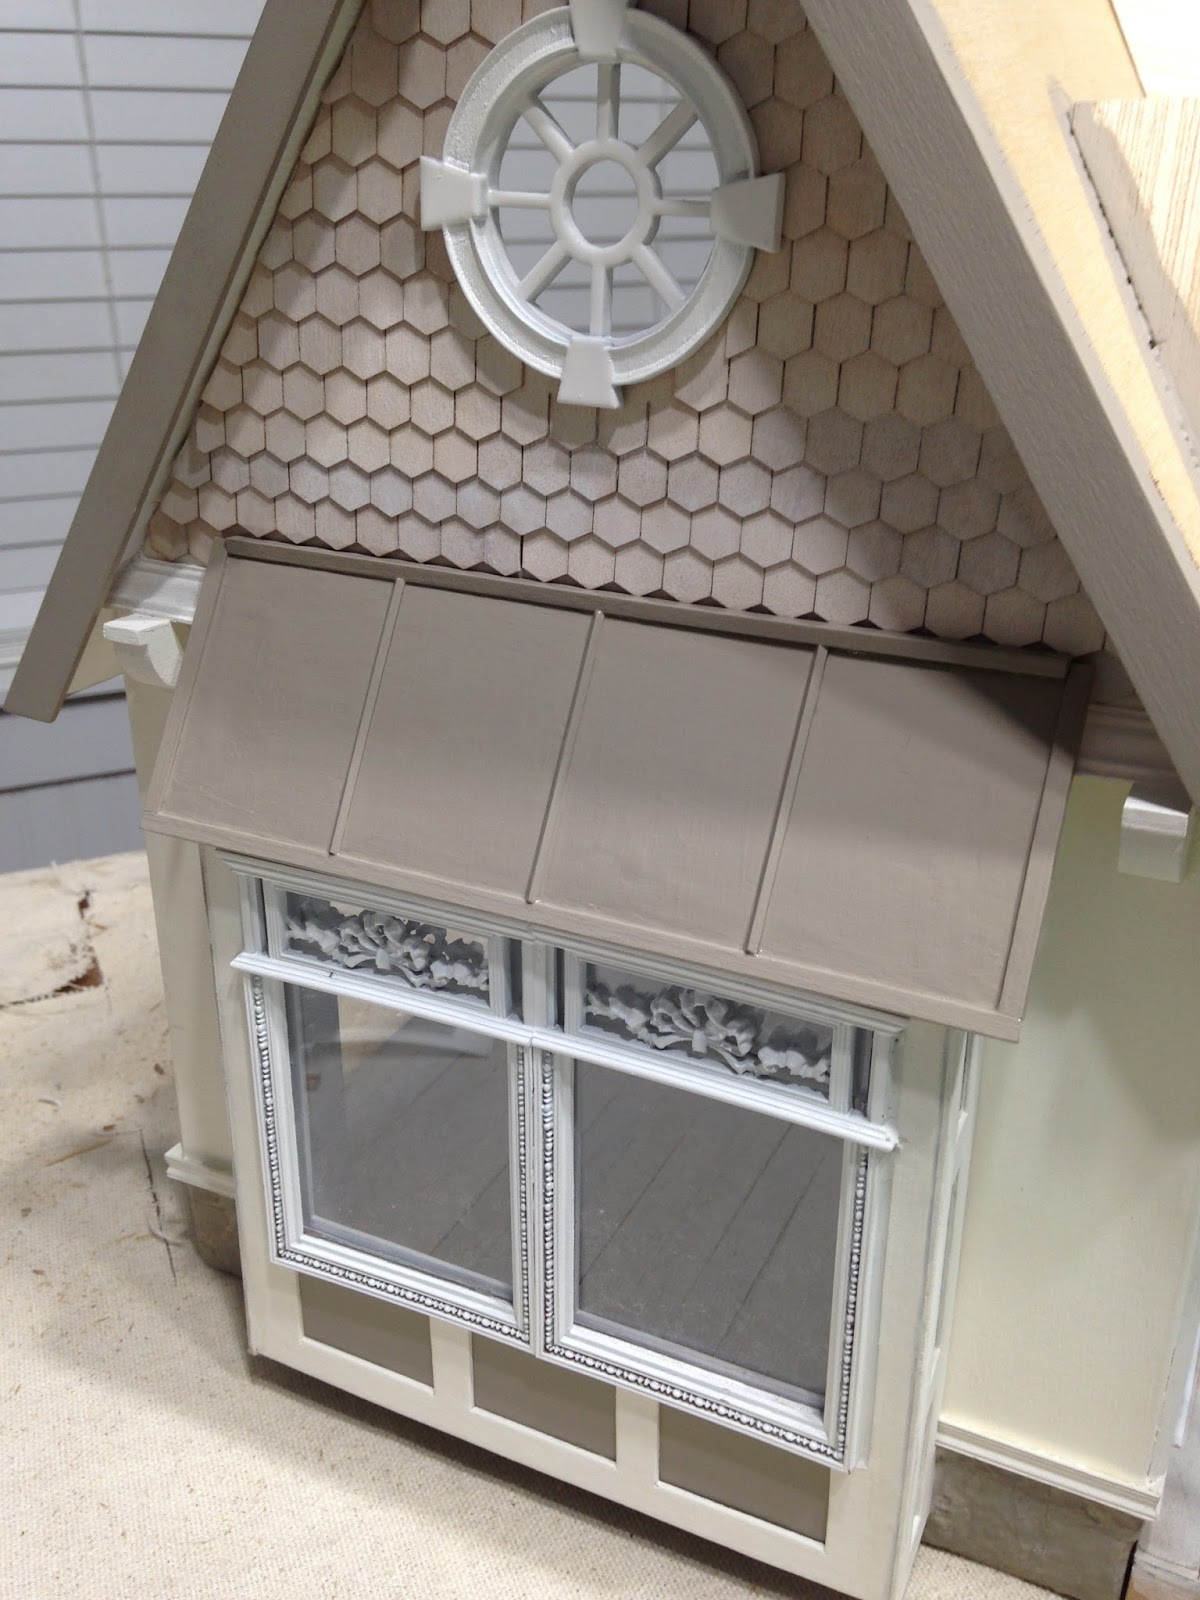
I did a final dry fit on the dormer and installed the window, I traced around it so that I had my line of where to roof up to. I need some input as to weather I should add a flower box under the dormer or just leave it alone? I'll take suggestions now and then later, after I post a mock up, so we can all get a visual on size/scale/placement etc...


Look at the photo below. Do you know what these are? They are little packages of speed shingles. 3 diamond, and 1 hex just in case I needed more. This photo represents $43.30 of roofing material (including $7.50 for shipping). That is the most expensive roof ever for a dollhouse! Well, I am sure not ever. There are monster roofs out there. But it is the most for me, so they had better look darn cute for years to come! :O) They do go on super fast, so if you have a short attention span like me and want the roof DONE, I recommend them highly!


I started a few rows of roofing Wednesday night. The hubs came back from his California trip (with son to bring home VW Bug which wonderful auntie Dayo gave to son) early Thursday morning, so there it sat until this morning. Just an FYI and note to self... Don't try to shingle a roof while talking to your mother about emotional family drama. I got a little wonky and had to pull stuff off to fix it  - after I got off the phone... I did 7 rows of diamonds, then 3 rows of hex, then back to diamond etc... I have a ways to go, but got a brainstorm type headache this afternoon, so I am on hold again until tomorrow.


Now here's another dilemma; shall I make the dormer and porch roofs metal as well, or just continue with the diamonds on them, too? I am not the best roofer in the world, so that teeny scared part of me is a little intimidated about the dormers. I want to do what's best for the shop, though, so I'll get over the fear if that's what I need to do. What do you think?

One last note before I go try to find my last Imitrex (for migraine)...

I have started a page for the 2016 Creatin' Contest build. Nothing too interesting yet, but I do have a theme picked out and plan to get started soon. Once the roofing is completed on the soap shop, but before I begin on the interior. If I start on the layout of the contest kit, I can get a better idea of a timeline and if I need to start freaking out yet or not. You can check it out here...

Hope you all have a wonderfully fun and relaxing weekend!

Jodi

Sunday, May 1, 2016

Easy Teacup Chandelier


When I was dreaming and planning the Shabby Chic Soap Shop I looked for ideas everywhere. When I saw something I liked and wanted to replicate, I saved the photos and links in folders both on my computer and in my Google Favorites. I looked at all sorts of things, and while browsing on Pintrest, saw many chandeliers made with old teacups. I knew I had to make something like them for the shop.


My ideas always seem to start out very grandiose. That is until I hit a road block and have to alter my plans. I wanted to use copper tubing as the chandelier arms, conceal the wiring, and hold the teacups and saucers. Then, I'd paint it black, then white, then sand in spots and apply aging washes until it looked perfectly shabby. Great idea, right?!?


Let's digress into copper tubing for a moment. Specifically, cutting it without crimping and mucking it up. I made several attempts with the affordable "tubing bender" that the manufacturer of the tubing also manufactures. It was a miserable and costly disaster. It did not bend the copper tubing into a perfect J. It just barely bent it before it BROKE COMPLETELY AND GOT STUCK IN THE BENDER APPARATUS.  Is it me? Really?


The instructions say that you can heat it up first. What? Then melt the skin right off of your hands while trying to bend the HOT METAL in the now conducted HOT METAL of the bendy thing? AND! Don't you think that they should let you in on this before you purchase? 


Pretty copper tubing will not be in my immediate future. Until I can afford the MicroMark tubing bender for real hobbyists, I'm not going to try this again. Humph...

PLAN B

Beads, precious!

Gathered all of the possible Plan B materials...


Drilled wiring holes into the tiny plastic teacups and saucers...


Starting parts...


Strung wire through the parts... Did not realize that these cups and saucers were so tiny. Otherwise I could have used smaller candle bulbs... Oh well, still cute...


Made 10, 5 for each chandelier...


Played and played with bead arrangement. Liked it, then didn't...


Too small?


Not sure... I'll keep working at it and post again once I figure it out...

Meanwhile... Started working on more trim. This time for the roof soffit/facia in anticipation of the diamond speed shingles that I hope to receive this week.

Trimming out that curve on the back roof was going to be a bitch real challenge. I could not come up with any creative remedy, so, I just got out a big box cutter and made it square.


I am out of molding in that size, so that means I am also waiting on package #2 this week.

I finished up all of the roof edge moldings (that I had material for).


On the bay roof: Should I wait to roof it in the diamond, or make a faux metal roof?


I have more sanding, filling, painting, repeat to come, so I can keep working while I wait for packages......

Have a great Real Life week my Mini Life friends!


Thursday, April 28, 2016

So Many Details...


The Sugarplum is such a little kit, but that's a good thing if you already have a house full of finished miniature projects and don't plan to ever stop making more. The kit was intended to be a Tudor style, but when I looked at the kit, I saw fru fru moldings and lots of textural detail in my mind's eye. Because it's small, I can do a lot in terms of detail, but not get burnt out by having a ton of it to do. I admire those of you that work on monster kits! I would really lose patience (I have been known to do this. Just ask my poor Starbucks and the other two deserted Street Of Shops kits in my buffet). My attention span needs work...

Since the whole Dreadful Egg Carton Stones debacle (more on that later) I have been on a roll! I won't bore you with a lot of details on the details - a picture is worth a lot of words...

Starting the entry shingles...


Finished entry shingling...

Whitewashed entry shingles... Oh and installed door!

Installing the porch roof - notice the enlarged and finished porch floor...

Installing the porch braces...

Bay - check, window + plexi - check, round window - check, whitewashed shingles - check!
Just need to go around with caulk and touch up paint! We're making progress (by we I mean the little six year old inside my head who's jumping up and down right now!).

Now, for the update on the Dreadful Egg Carton Stones...

Chalked...

Sealed... Mod Podge won... And...

Done!!!
Next... Waiting on more half scale shingles. The regular sized diamond speed shingles I ordered in December from Greenleaf are GIANT! Since this kit is so small, I'm thinking smaller shingles is a good idea. Meanwhile, more trim and touch up!

I hope all the little details in your life are falling into place, too!

Tuesday, April 26, 2016

The Dreadful Egg Carton Stones

Last week I was delighted at all of the mini time that had suddenly been dropped in my lap. It seemed like things were progressing quickly, and I could see the project taking shape. You know - the exciting part when your vision becomes tangible!

Then, the next step arrived - the dreaded egg carton stones. I was enthusiastic about doing them! That was until I had worked on them for many, many hours over two days. Then I realized my pace had slowed to a crawl. So much for progress...


The cutting and applying part, though excruciatingly long, went fairly well. I used the pattern from the vacation photo of the Mt. St Helens path wall as a guide. I loved how they looked and thought maybe they just needed a bit of dimension.


Okay - I'll just sponge on a little paint in contrasting but muted colors. That ought to do the trick. Well, it might have, if I could just leave well enough alone. But I can't. 47 years on this planet and still I can't just Leave Well Enough Alone! I swear, they looked fine on Saturday evening.


They didn't become completely disagreeable until I had the Grout Idea on Sunday! You see, I had several different grout options, but each also had a drawback:

1. The powdered grout from the hardware store where you just add water. Drawback - It was already colored, and being a bit of a medium brown just didn't fit with the vision for the project.

2. Spackling compound. Drawback - Too easy!

3. The tub of mosaic tile grout that I purchased from Northwest Art & Frame in 2002 which by now of course was a completely hard and solid rock inside the container. Drawback - Why, none of course! Let's prove a point and bring to life and make new again something completely dead and useless! Frankenstein was not crazy! He was a visionary!

So once option #3 was chosen and committed to I began to attempt to resuscitate the dried up grout. I took a rather large Xaxto implement (to scare) and cut the substance into chunks and out of the container.  Once I had dispatched about half of said grout into a paper towel I added about 1/4 cup of hot water to the container with the remaining (now scolded, freaked out and ready to submit) grout. I let it sit a few moments after which time I further forced it into submission by smashing and stirring it vigorously with a large paint brush handle. After several minutes of such treatment the grout relented, and was just as liquidy smooth as the day it was purchased. Ha! Try to waste my $3.99 will you! To this now yielding batch I added more and more of the paper towel contents until I, once again and satisfied, had a full jar of perfectly good grout. :O)

I mixed in a little complementary color, put it in an applicator bottle and began the grouting process.......... It Was A Mess........... Apparently, little bitty chunks of the resistance party remained, clogging up my applicator bottle, exploding under the pressure and causing a great disaster of a mess. I stopped trying to apply the grout into the cracks, I began to, in frustration, pour great globs into my hand and apply the grout smearing and pushing and hoping some would make it into the places it was supposed to be! It Was Awful! Then it got worse...


Now, with warm wash cloth and sponge in hand, I began to attempt to try to remove the grout off of the rocks only to find that in the motion of scrubbing off the grout that the surface of the Egg Cartons were coming off too! Never Have I Ever Had This Kind Of Holy Terror With Egg Carton Masonry!!!

At this point I went to bed. To distract myself from the grouting horror with which I have never seen the like, and being at home alone (due to hubs and son doing an out of town job), I thought listening to the Dark Waters YouTube Channel would be just the thing to fall asleep to........... I have come to the understanding, after lying awake and afraid to move until 4:00 in the morning, that I am an appalling decision maker, and that apparently, my bad decisions come in groups. Unless you want to truly terrify yourself while home alone with "real" encounter stories, Never, Never Listen To Dark Waters!

The next morning I made the decision (remember? Me + Decisions?) to just coat all of it in a wash. I mixed a little of the grout color into some water and brushed a coat over everything. It does look a little better, but still so one dimensional. Now I have decided not to do Anything! I need to wait a few days and  see if I can figure out what to do next. More sponged on color? Some Mod Podge? Leave it alone? I am just afraid to do anything.

So, in the meantime, I am doing some trim and some detailing. Thank goodness, that is going much better than the Egg Carton Stones!


And, in other Bad Decision News I have resolved to quit being such a big sissy and just enter the darn HBS Creatin' Contest. I finally had a fun idea (my ideas are still okay) for the structure, and it's so fun to share with everyone! Don't think I'll start until this project is done, but I bet that decision will come back to Bite Me too!


Thursday, April 21, 2016

Lots Of Mini Time!


The hubs and son have been away from the house working a lot lately, and my "day job" is in a pretty relaxed period again until the end of May. This means that there are long stretches of mini time, and that is great news for me! I have been able to work on the shabby chic soap shop and it feels like I've gotten a lot accomplished this week! I am really going to have to come up with a better name for it, though!

I got a lot of the inside trim installed, and it's nearing completion. I'm at that stage where I can only go so far on it until some other pieces fall into place. I need to make decisions on raw wall edges etc before I can finish the trim there, and also have to install the roof before I can install quarter round etc... Once all of it is done I'll need to attempt some tiny caulking and touch up the paint job - or mess it up depending on the look it needs to have.


So the progress of the day has been to work on extending the front porch and getting the chimney attached in preparation for the egg carton stone that I have settled on.


Using the left over plywood from the second floor that is now only a shelf, I enlarged the porch floor to 3-1/2" x 6". I think it will make the front of the shop a little more inviting.


I also took some of the same material and used it to extend the porch eaves to cover the larger floor space.


Once that was done I gave everything another dry fit, and figured out what modifications I needed to make for the thicker chimney. I needed to cut some of the roof material away. I made two attempts, both not having taken away enough, and then taking too much on the third attempt. Oh well, "you know what" happens. Us miniaturists are used to camouflage, smoke and mirrors so it will all work out in the end...


At present I am, of course, waiting for glue to dry. Then it's on to the egg carton stone making process. I took a couple photos from Mt. St. Helens on vacation last summer, and just love the rocks they used to line the walking paths. I might just try to replicate it, if I can...


I hope you all are having a lovely and stress free moment where imaginings are conceived and dreams are born!