The tasks that I was just itching to do this week on Tasha's Kitchen were: Skylights, Exterior Cladding, Front Sliding Panel and Lighting Fixtures. Some nights, at bed time, I was just sad that I had to stop working and that I needed to sleep at all! I love being so excited and motivated to work on minis!

I'll start with the skylights since those have actually been completed and waiting to be installed for a few weeks. I don't know if I have ever seen mass produced skylights in miniature, but knew from the conception of the idea that I would need to make them myself. I pondered the best way to go about this for a couple weeks, looked at photos online and then ultimately decided to make both the interior and exterior frames out of 1/4" corner molding. On the interior, the molding covered the inside of the window opening and wrapped around to form the interior frame. I painted them white like the ceiling so they'd blend in.

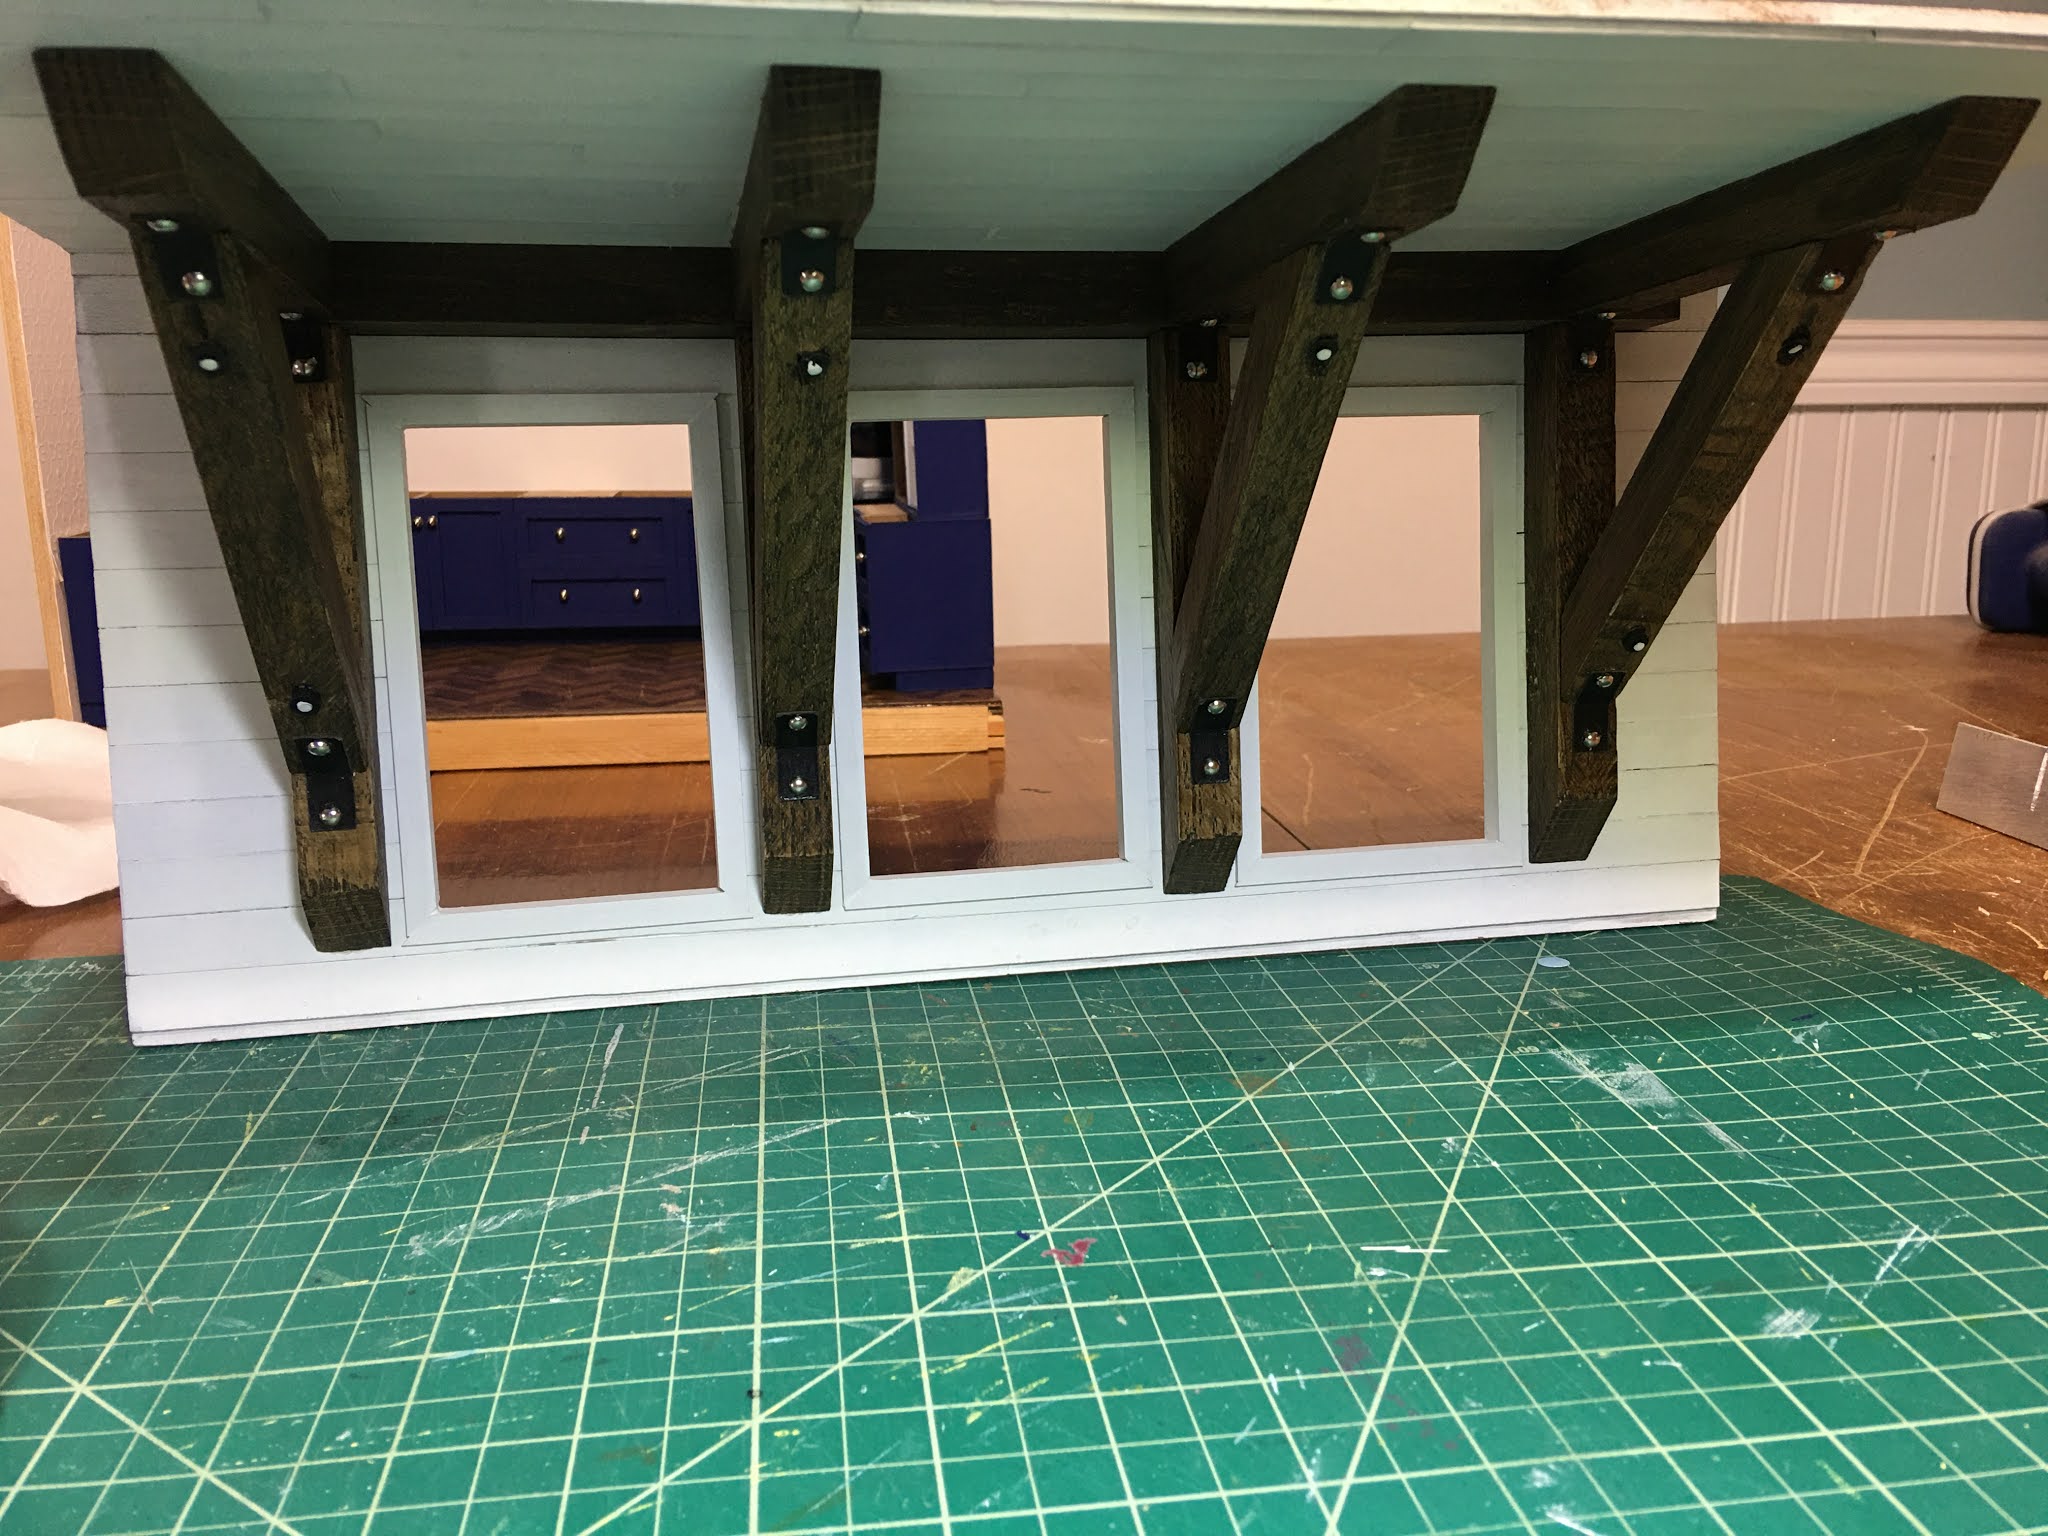
For the exterior, I also used the corner molding but built the frames as separate pieces. I made the outer frames, cut 1/16" Lexan to fit into them, then cut an interior frame from 1/8" x 1/8" basswood to sandwich the "glass" in. These frames were then attached to the exterior of the roof, sitting proud of the surface like many skylights do.


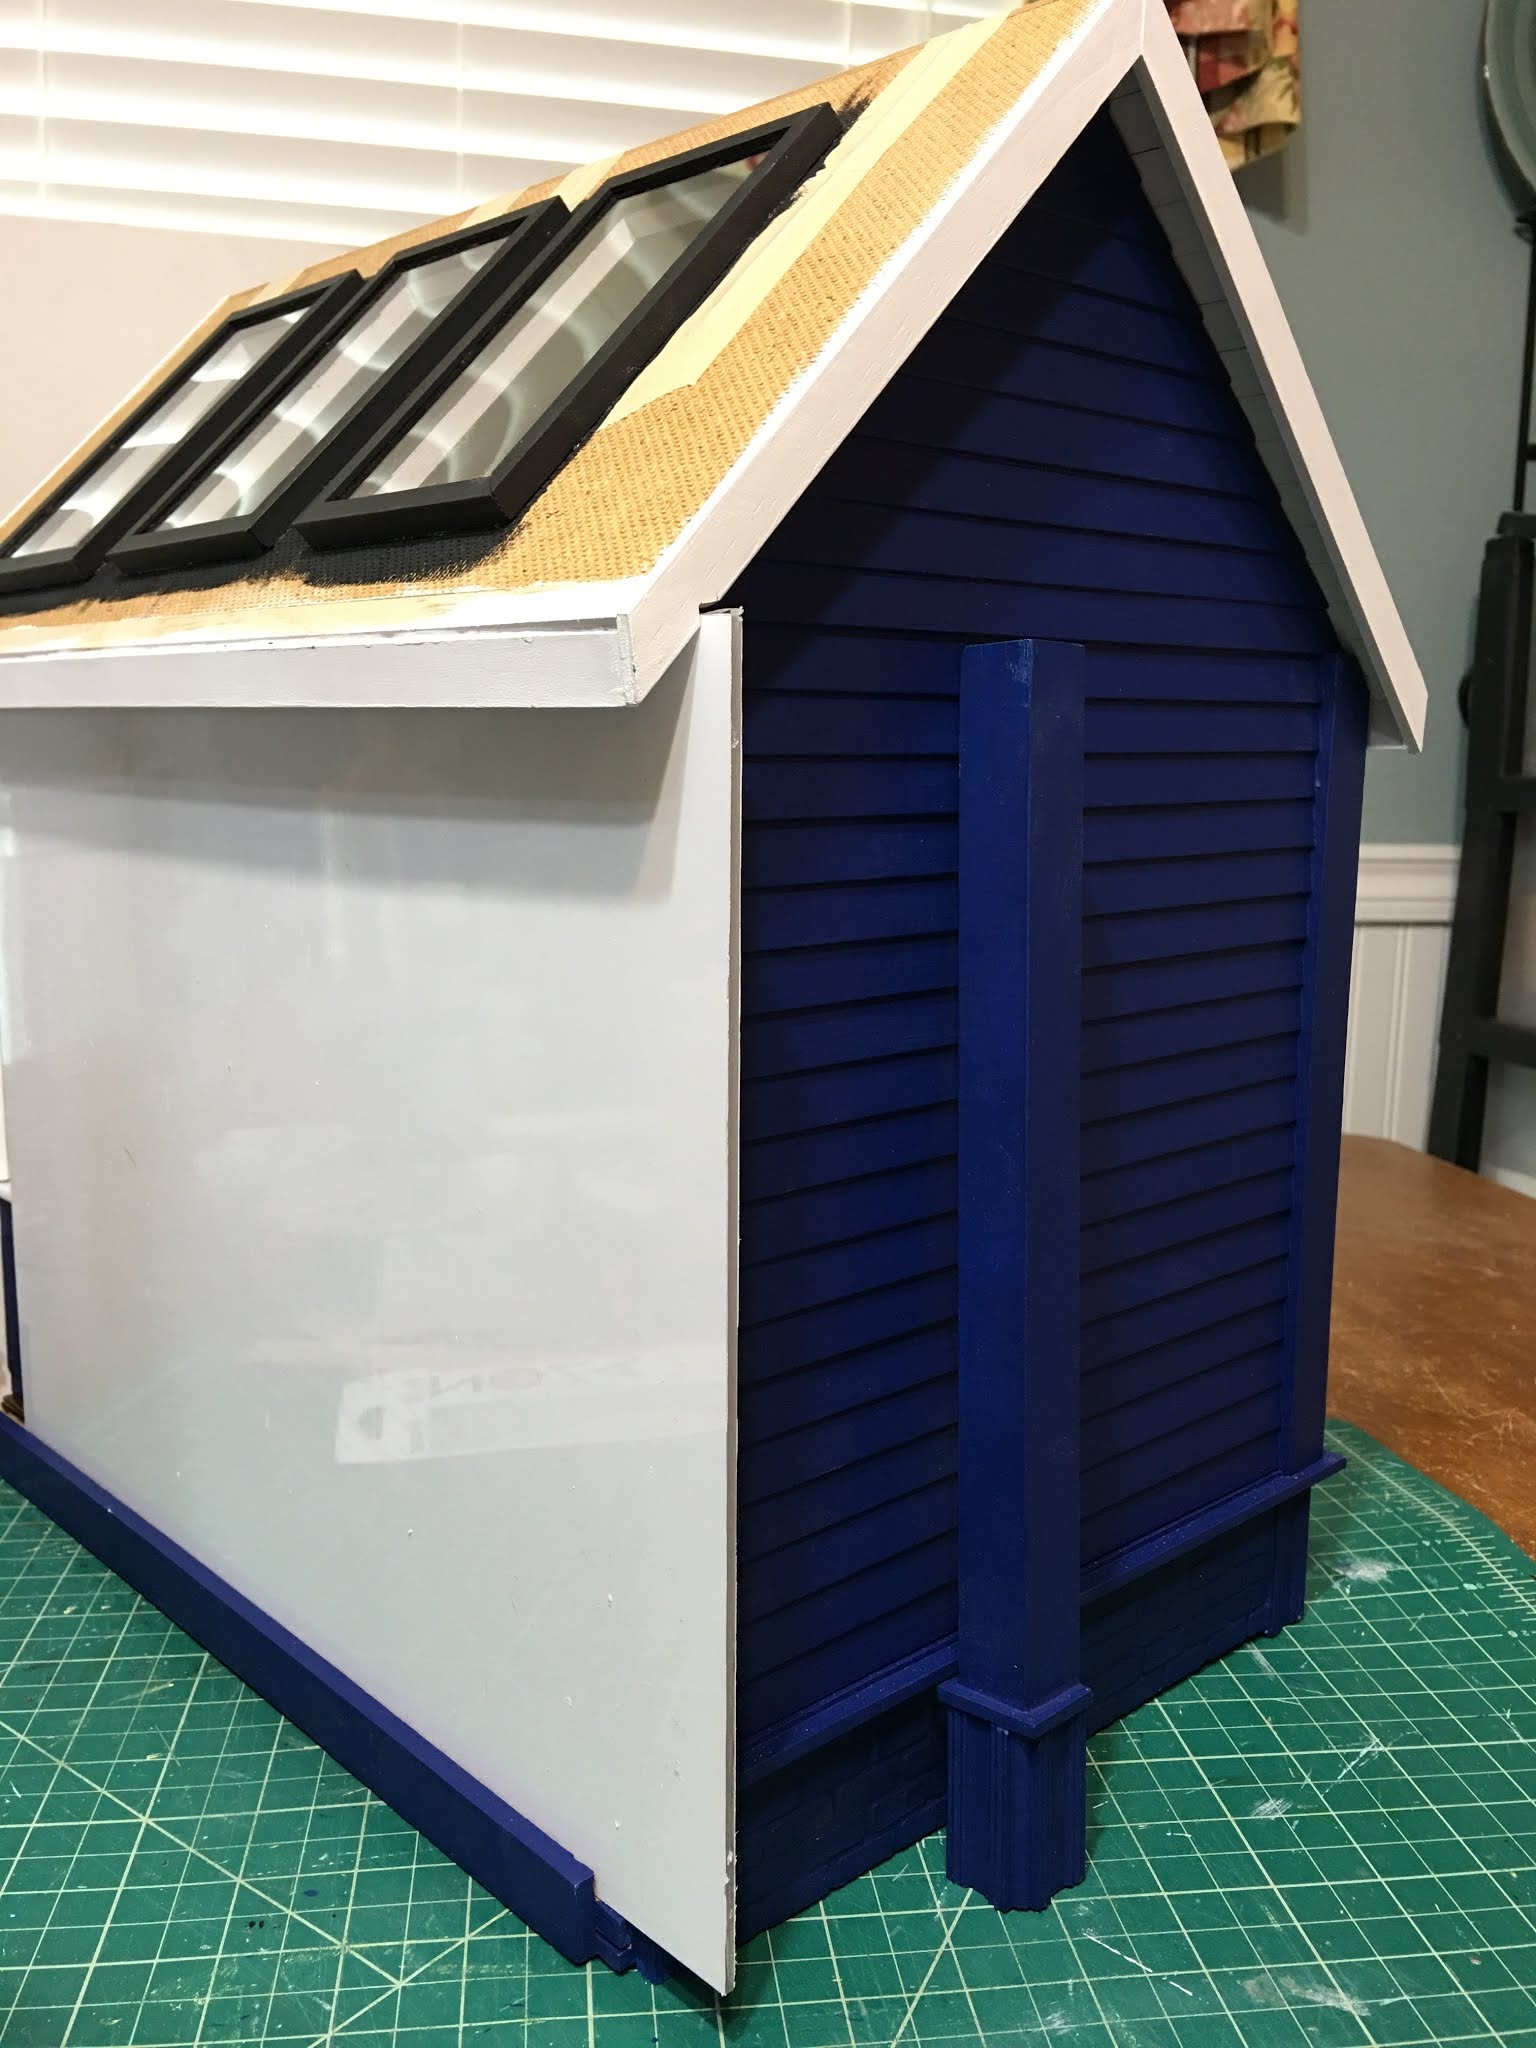
Next was the exterior. This kit was really neat in that it provided pre-cut clapboard siding for the right and left exterior walls, and thick corner molding for all four corners. The siding even had the 45 degree angle pieces pre-cut for the gables! Because I had added the extra 1-1/2" of height to make the walls higher, I needed to make up that difference on the exterior walls and on the corner molding pieces. I decided to create a foundation for the room box out of some nifty old white bricks I have. For the corner molding, I used a combination of ridge cap and plinth molding stacked up to make fancy corners.


 |
| The kit did not include any material for the back, but I have something special in mind. |


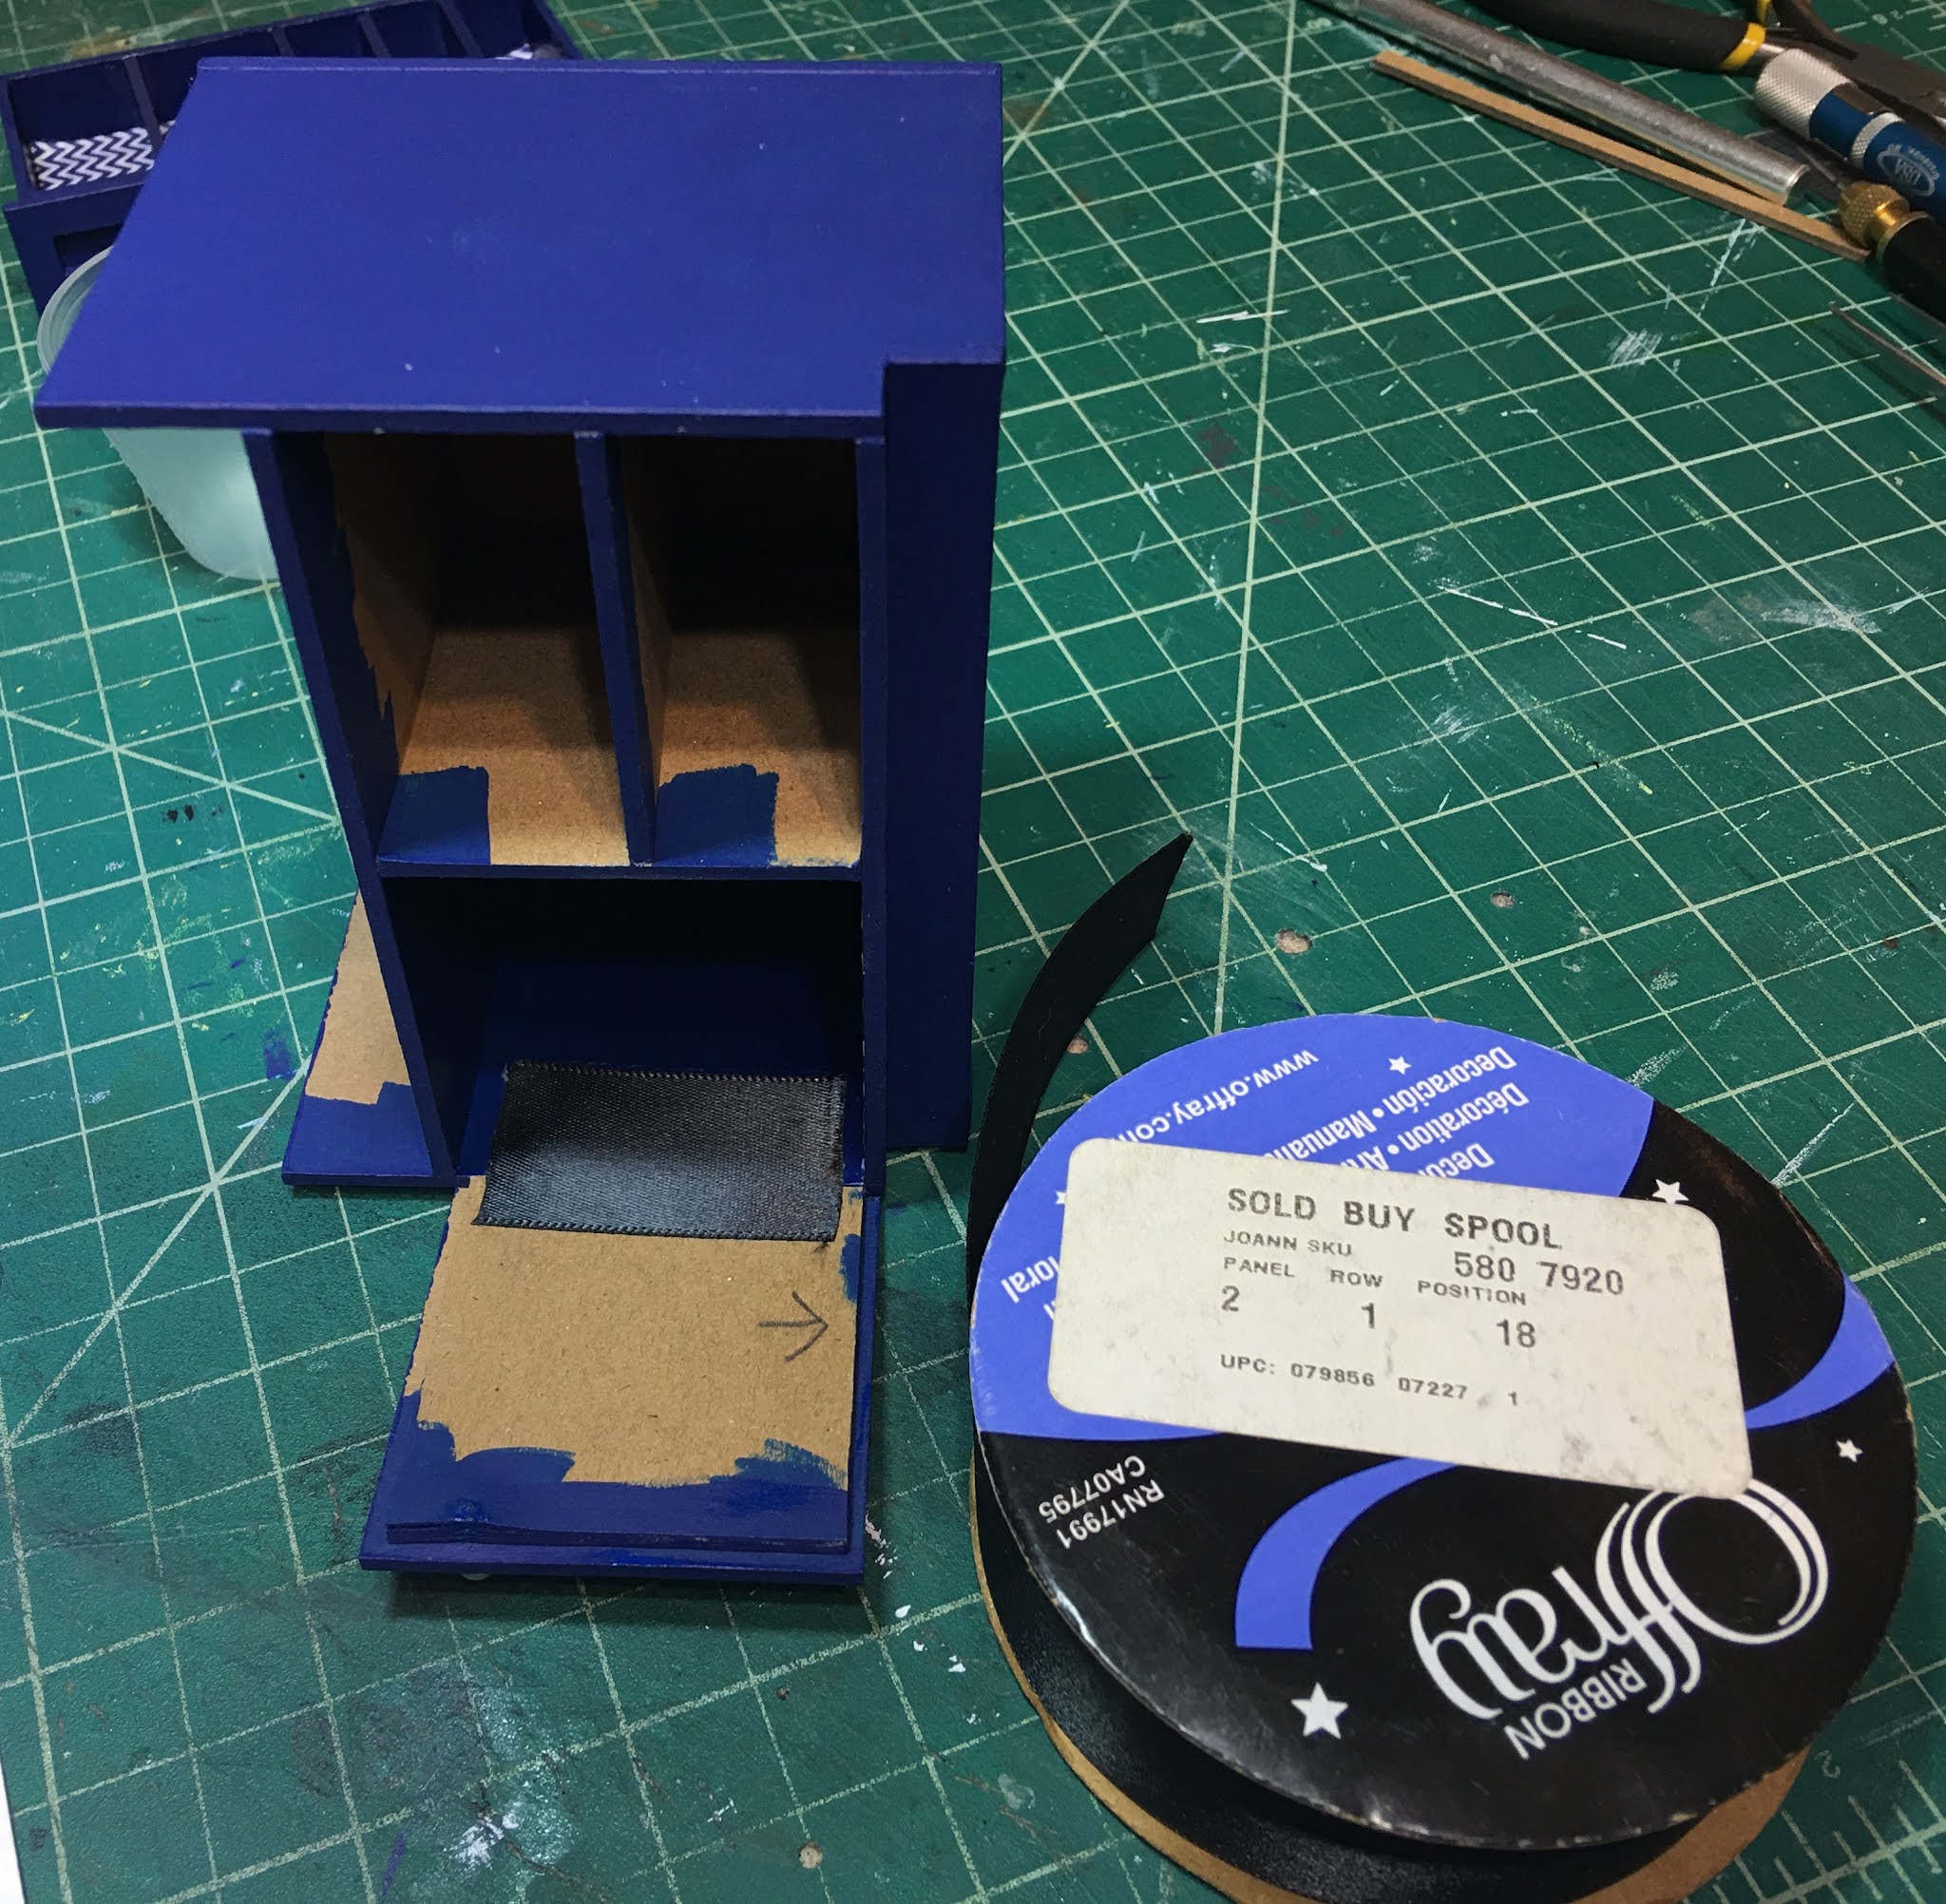
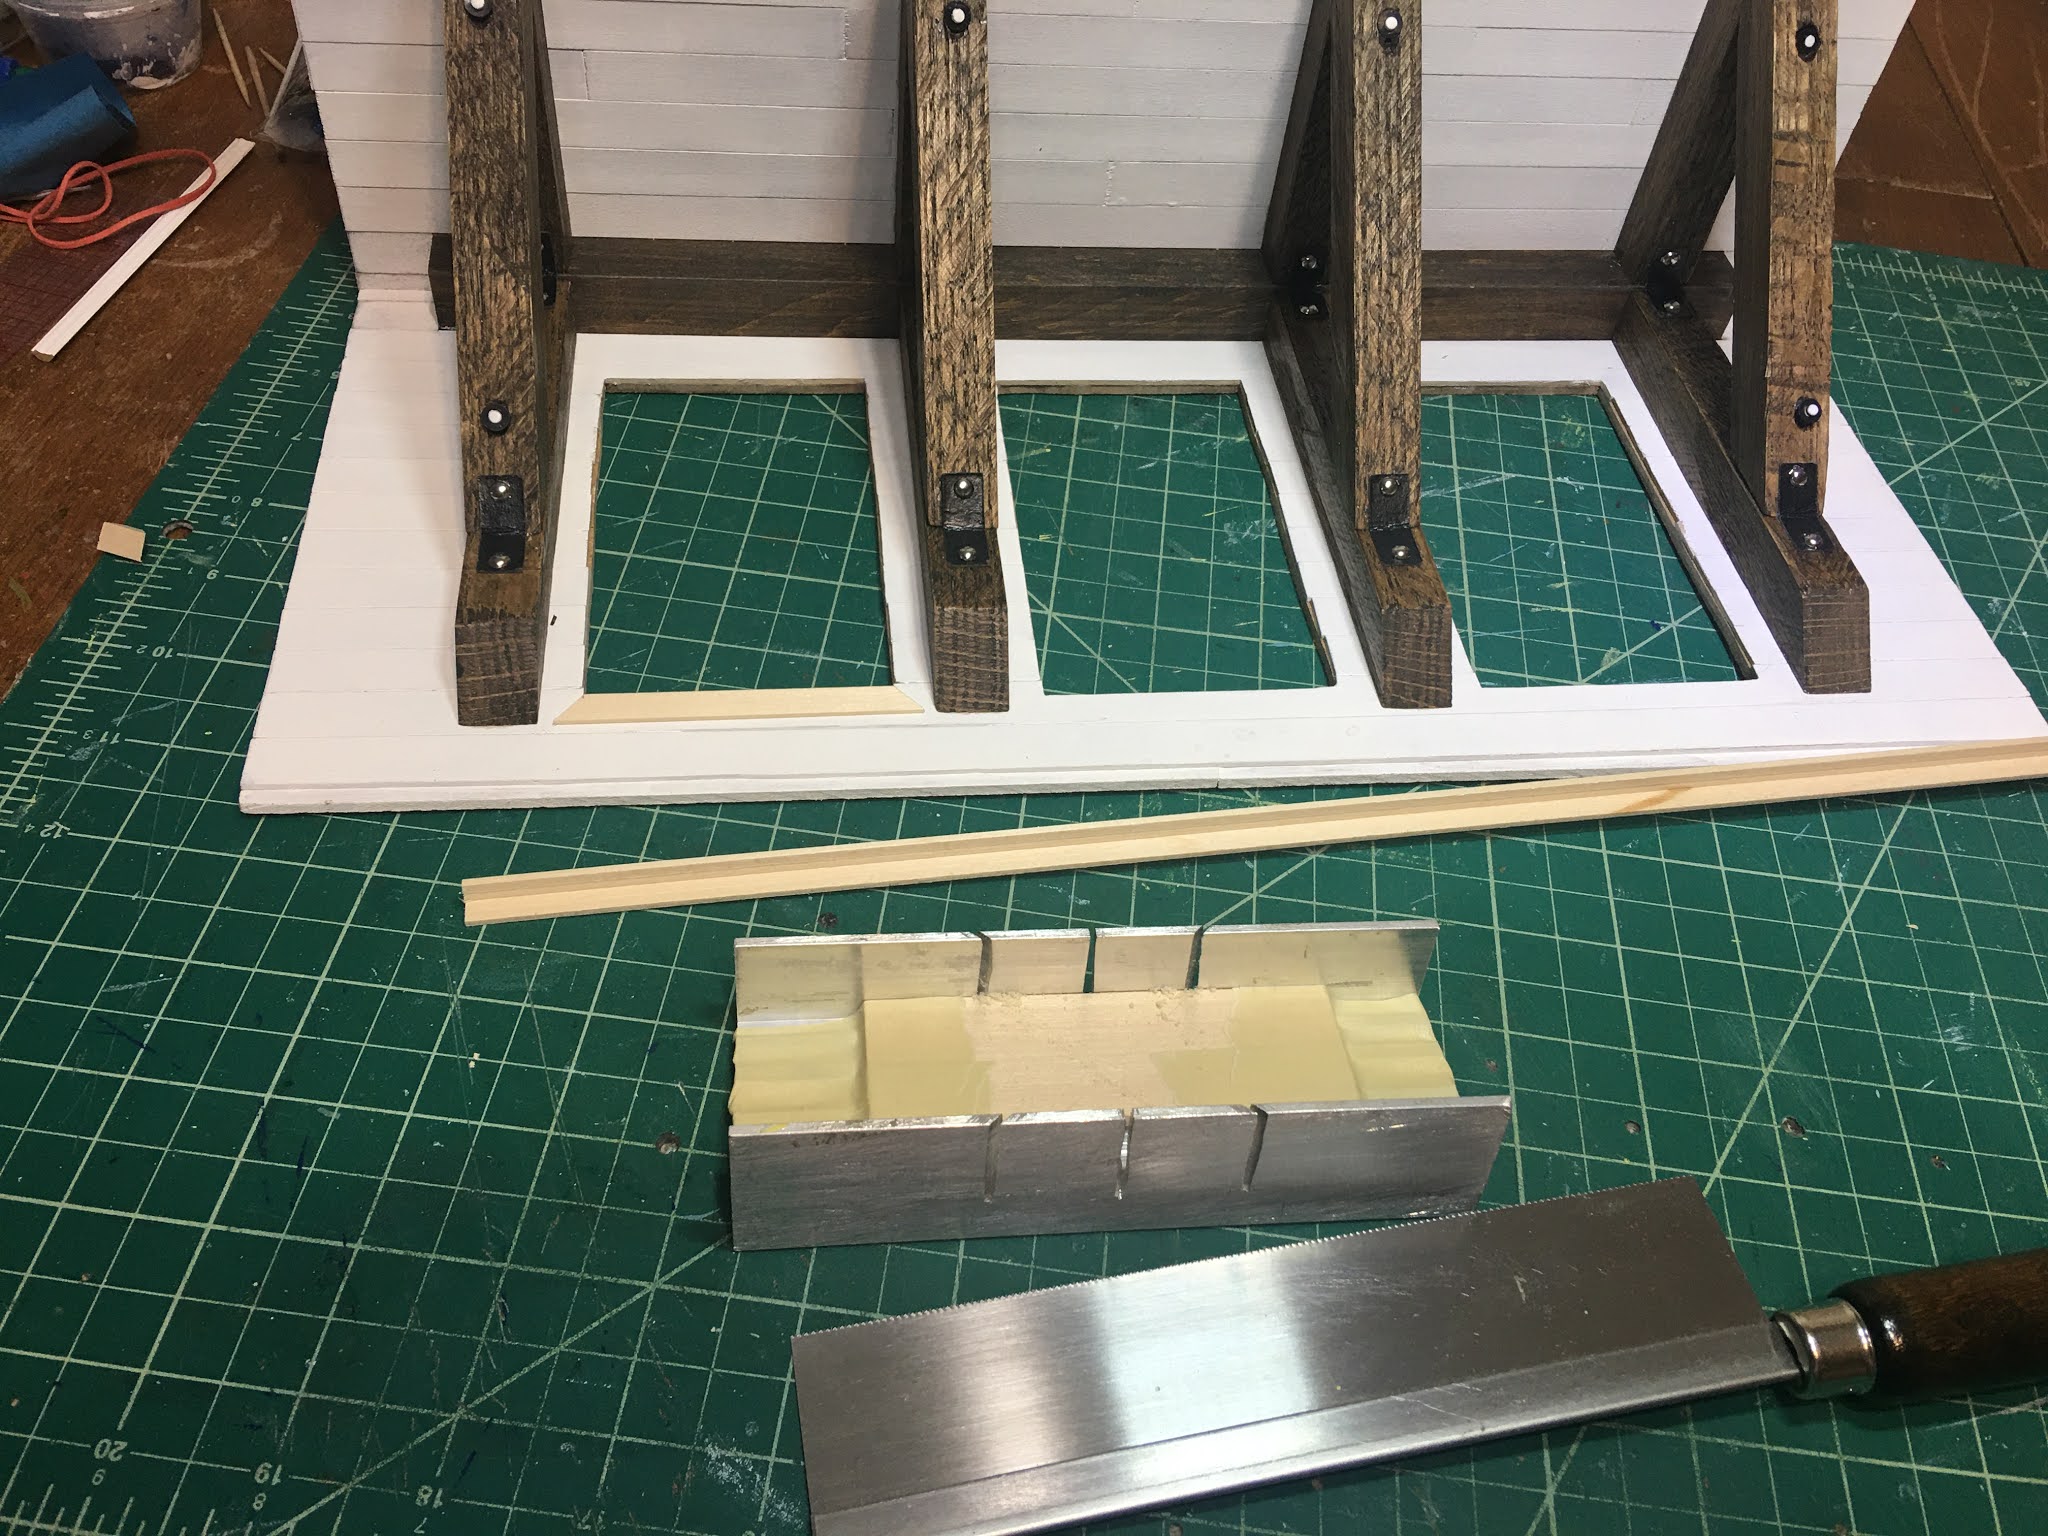
Since the right front corner molding piece will need to be removed to slide the plexiglass front in and out, I used ten 3mm magnets imbedded into the molding and on the room box to hold it in place. These are tiny magnets, but are very strong! Just holding the piece close allows you to feel the power of attraction! By drilling 3mm holes about 1mm deep, I was able to countersink the magnets so they sit flush to each surface.

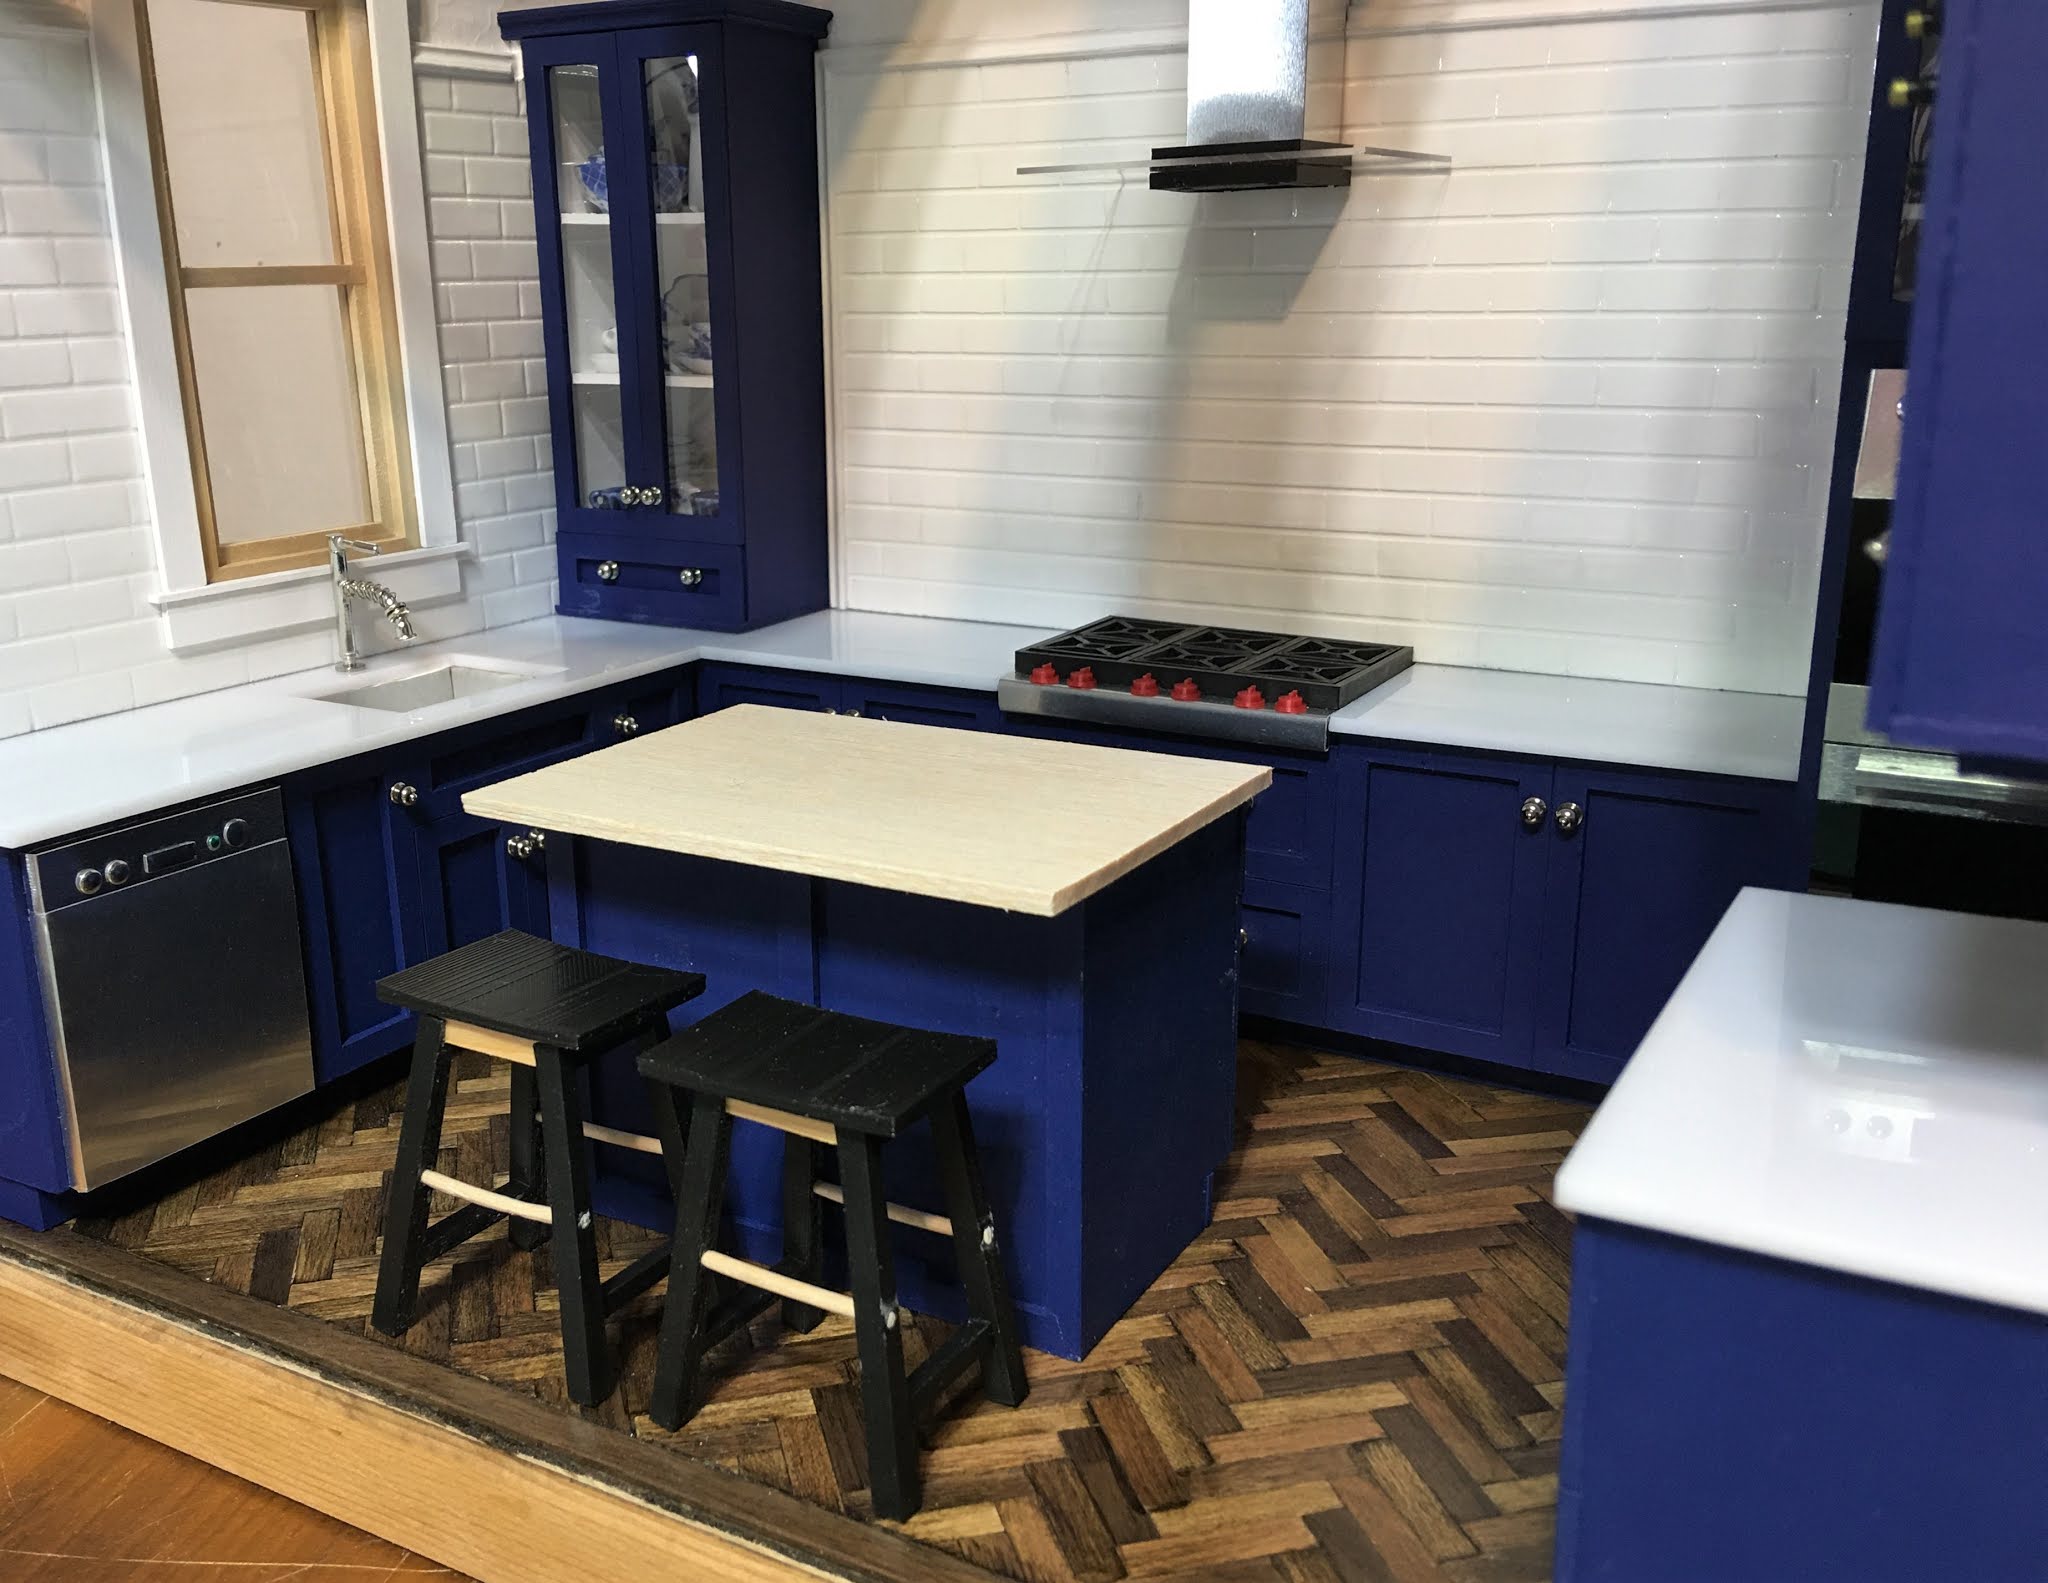
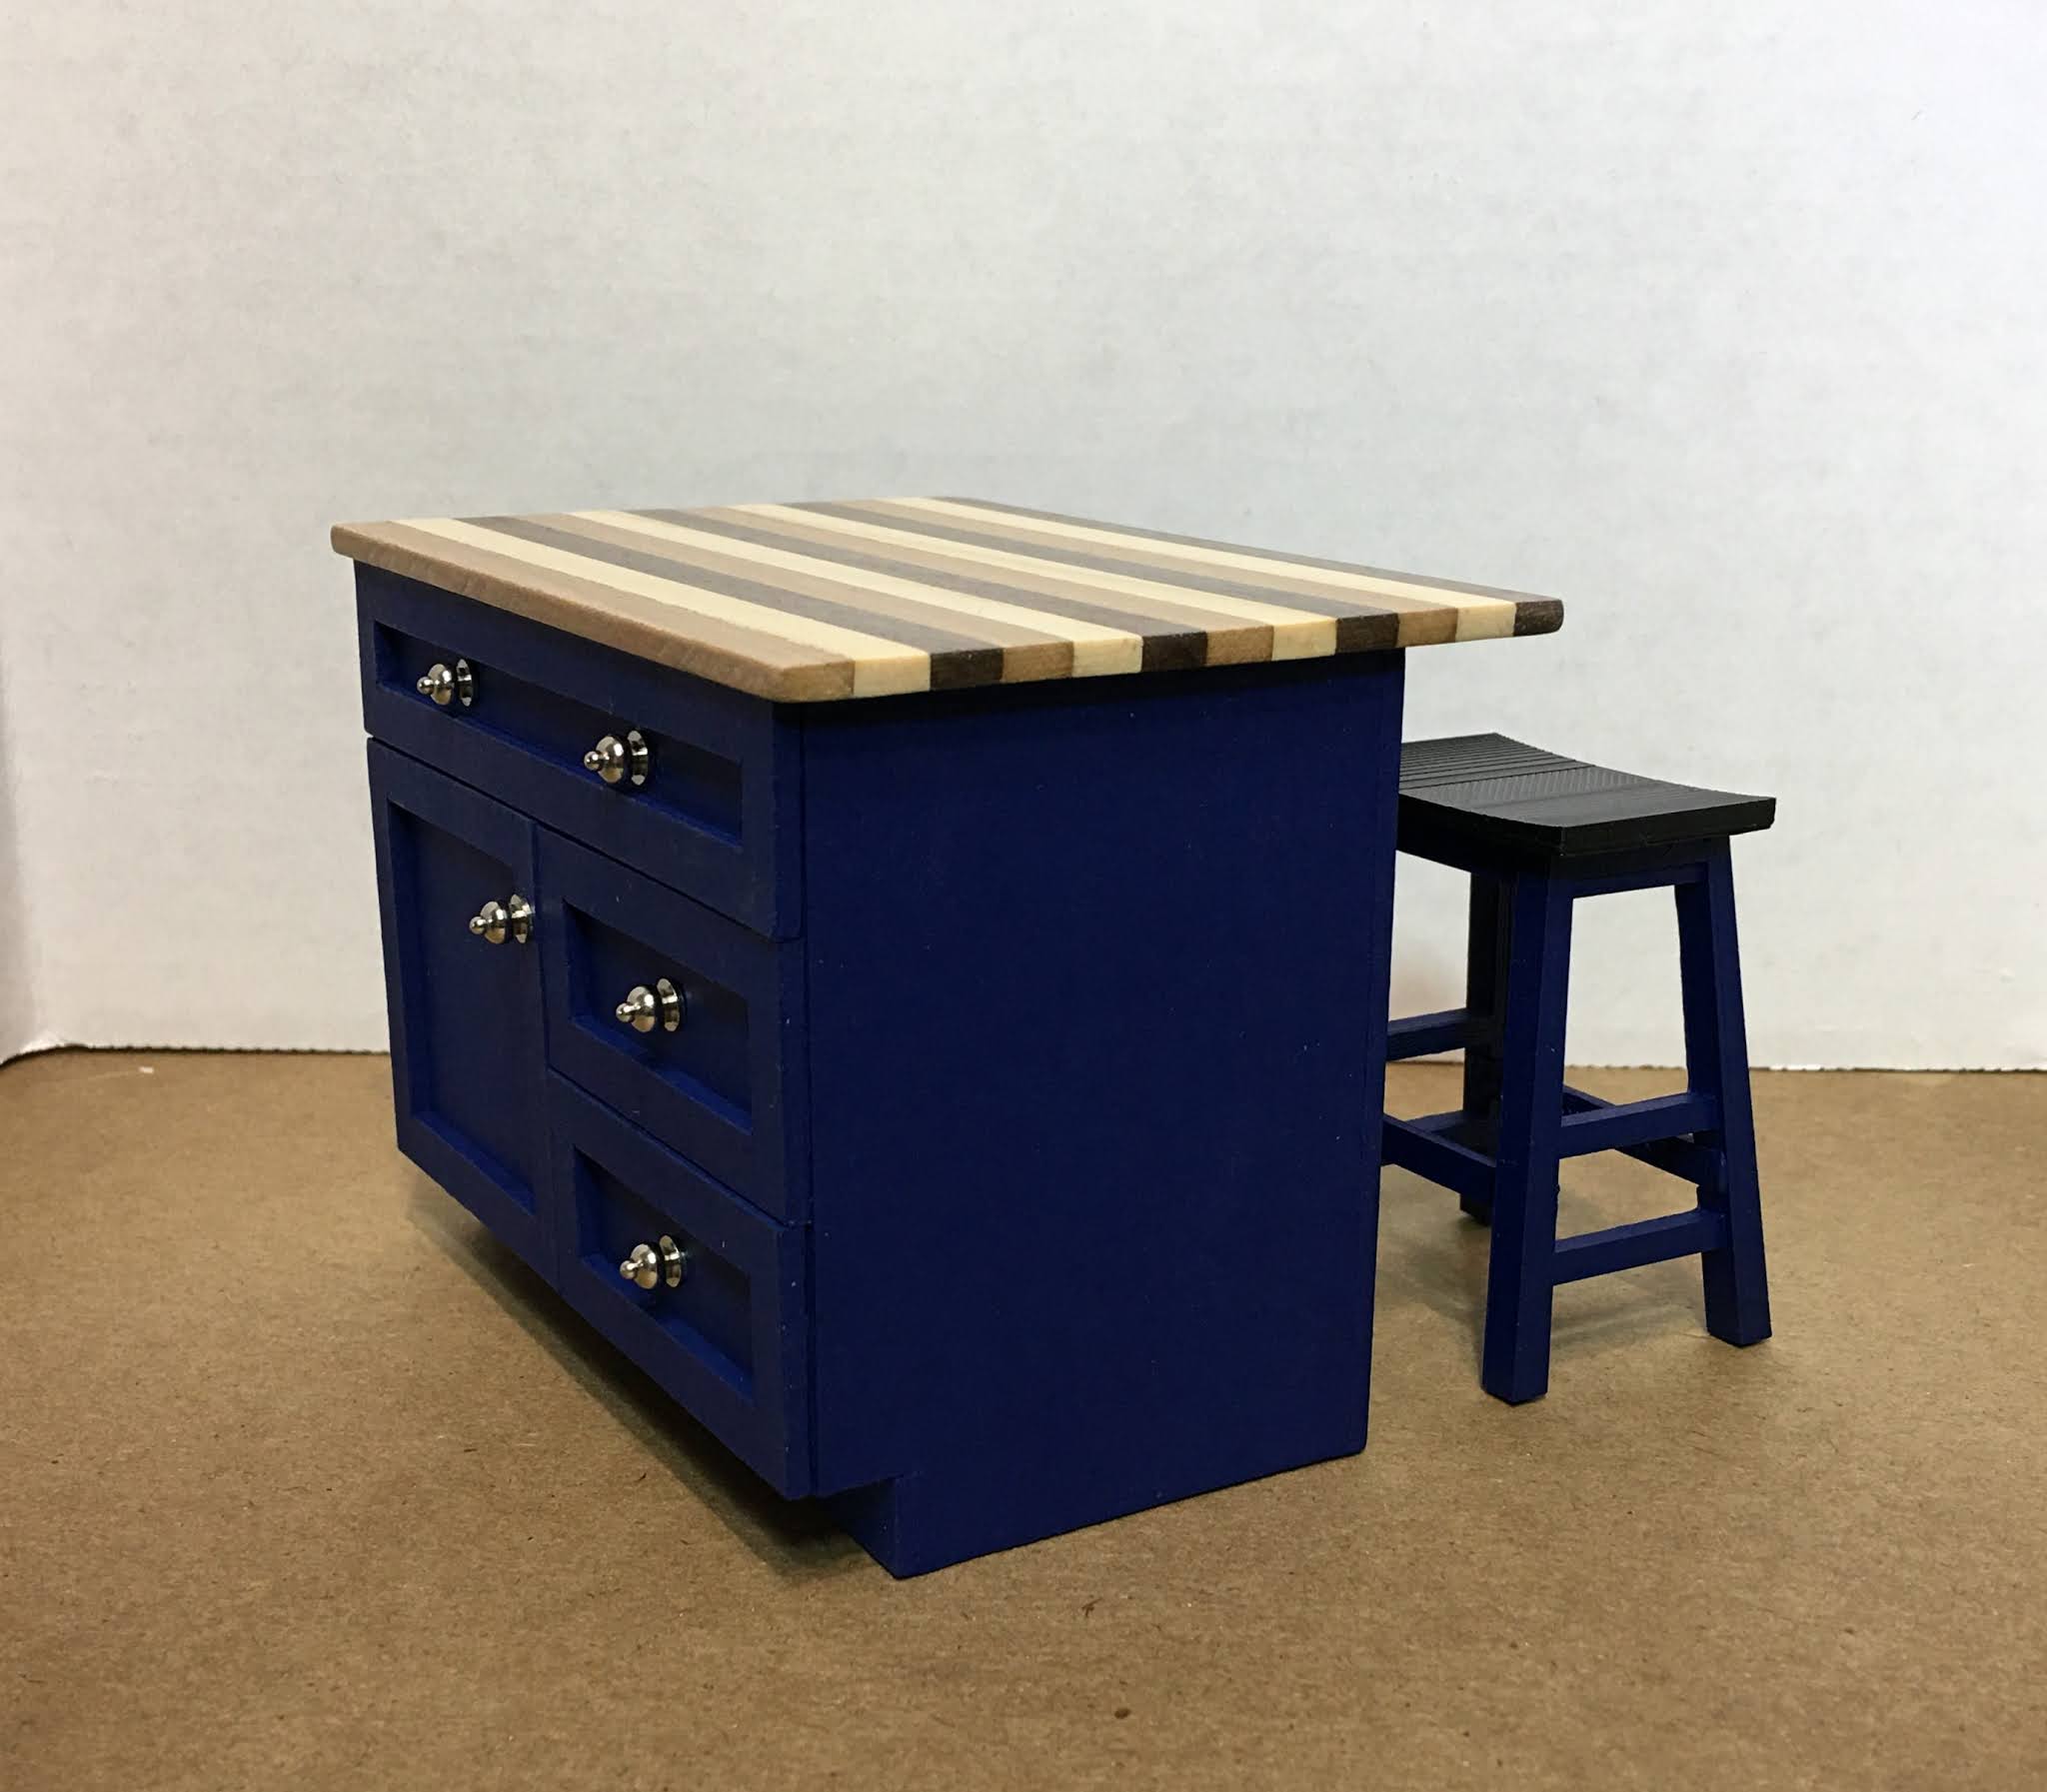
I decided to go with the same navy blue that I used on the cabinets for the exterior. Once the painting was nearly finished, I applied the bricks, grouted them with spackle, painted them white and did not like the contrast. I tried them with the navy and liked them much better. This way, they are a textural feature rather than a competitor for everything else. Also, the navy will show less wear and dirt so will be less of a maintenance issue for Tasha. I installed the window and a small but elegant detail with the black shutters.


I added fascia boards all the way around the roof - boy what a difference a little detail can make!


I cut the front sliding panel from a large sheet of 1/8" thick Lexan - I'm so glad I purchased it when I did because it is 2-1/2 times more expensive now! I needed a 14" x 10-3/16" piece. Anything larger than 12" can get expensive, especially if you have a plastics company do it for you. Using the plastic cutter and some patience, it is easy enough to DIY. I won't risk removing the protective plastic until I take final photos before wrapping it for Tasha's birthday in July.


 |
| Remove the corner piece and slide the dust cover out. |
The last task I was itching to accomplish for the week was creating the pendant lights. I had three of these plastic containers in my stash and thought they would make a good basis for some lanterns.

Utilizing the 3D printer again, I made some decorative tops with holes through the center for the wires, then drilled a hole through the tops of the containers. I also created a cap piece to attach to the ceiling that you'll see in a later photo.

I strung Evan Designs 5mm bulbs up through the bottom of them, painted the tops a unifying black with a Posca marker, sealed them with matte Mod Podge, made the bulbs opaque with white paint and yellow label Mod Podge, encased the wires in a series of shrink tubing and then glued on the clear shades.


 |
| Ceiling caps have been added. |

I am thinking the same type of lanterns can be made in the future with glass jars of all kinds and shapes. How exciting! I love them in the kitchen and can't wait to light them up!


Speaking of lighting... I know what my task list will include starting this weekend... Look at this labyrinth of wires!


I've also got a fun idea for the back of the room box, which will include some handy storage for all of the items that Tasha will have to play with. Hopefully, next week, I'll have some fun progress to show after scratching more creative itches!
One last word to encourage any of you that are finding yourself stuck or uninspired to create...
Perfectionists are often that way because of a fear of failure. If you are seeking perfection, you probably tend toward getting in your own creative way. Just do your best. If you want to do better, try again. Share with someone who won't judge you but will celebrate the spirit of creativity with you. Us fellow miniaturists are great for that! Whatever you do, do not let fear, for any reason, stop you from scratching that creative itch. You must give your own unique masterpiece the opportunity to materialize. Who cares if it's not perfect? The point is to be joyful and to have fun!
xo xo,
Jodi