

Program I Use
I began using Publisher back in the late 90's and have stuck with using it for the majority of my printing projects. It is easy to use, and has all of the basic functions you need to get great labels. Most Microsoft Office Professional Suites now come standard with Publisher.
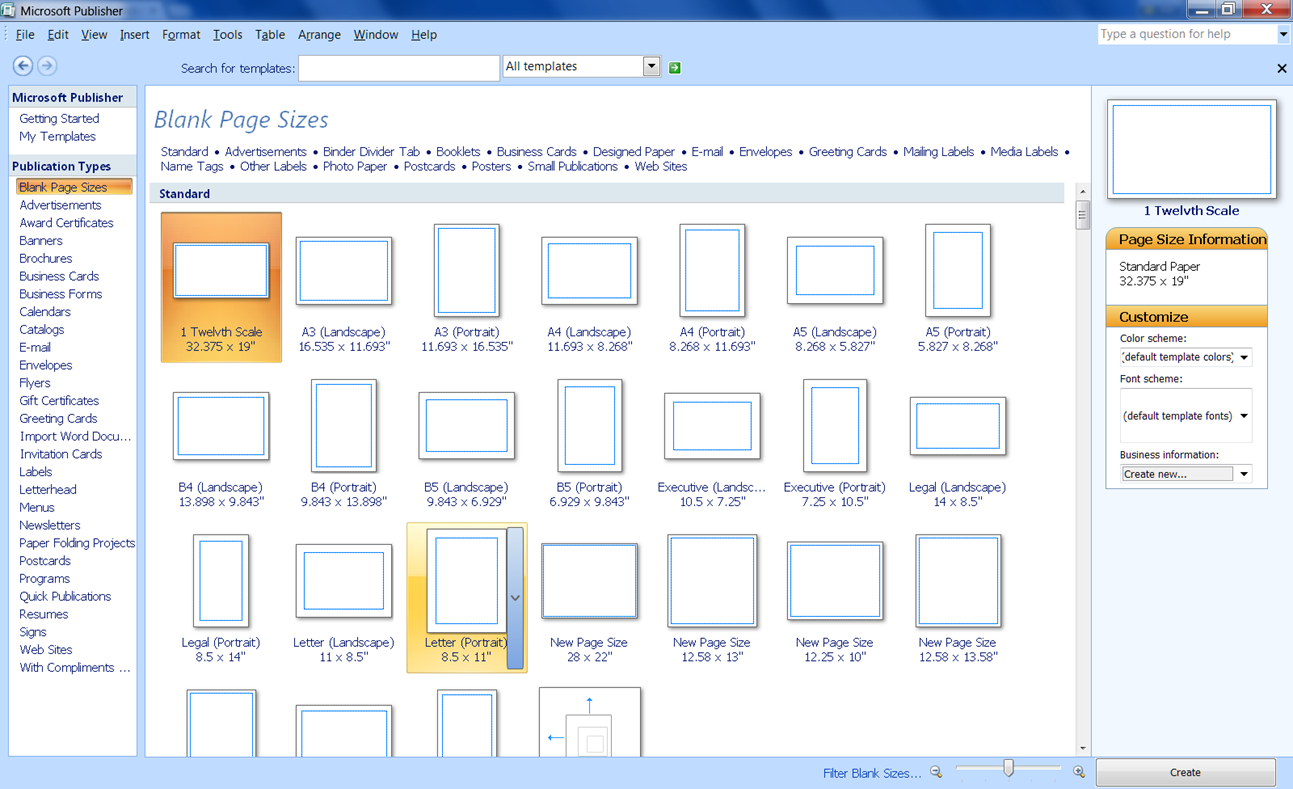 I start with a blank page that is the size and orientation of the paper I am printing to. Once you have the page in layout view in front of you, change the page margins to .25 on all four sides. >File/Page Setup/Margin Guides. You'll notice that the blue margin guides allow for more print space.
Be Prepaired
I am frugal, so I like to use up as much of the paper as I can in one print. For this reason, I decide what I need several steps ahead and make up a print list.

Have the measurements you need all figured out and written next to the item on your list.
If you have bottle/jar blanks, measure height. Write that down.
Then measure depth and width (remember all four sides). Add that number together. Add 1/16 to 1/8" extra to your depth+width number. Write that down.
How many do you need? Write it next to the measurements and circle it. This also helps to avoid forgetting something.
Just under each of the measurements, you are going to write the decimal conversion. You'll need this number soon.
Here are the decimal conversion charts I have used for years:
http://www.hamuniverse.com/antfrac.html
Or for figuring larger fractions over 1"
http://www.printmini.com/calc.html
(thank you to HamUniverse and Printmini!)
Make A Template
 In Publisher, use the Auto Shape tool to draw a rectangle.
Once the rectangle has been drawn, right click and select Format Auto Shape, then click the Size tab.
Enter the decimals from your list for height and width. Click OK.
Now you know that the image file for that item must fit within that box. If so, and if you are a careful trimmer, your label will fit perfectly!
Here is a .pdf file to some boxes I have created. Feel free to use and share.
What To Print On
Glossy photo paper is the best product to use (imo) for a realistic looking label. There are a couple precautions, though. This paper is very thick and that can help or hurt your end product.
Use If - you are using a box pattern and are making the paper into the actual product packaging, this thickness will help you. The end box will be strong.
Use If - You can peel off the paper backing and have a thinner veneer to work with. This method is best for adhering to blanks and/or wood blanks you have made.

Don't use If - Your item needs a matte finish. In that case, use plain paper or cardstock.
What Adhesive To Use
Glossy Photo Paper
Yes - Tacky Glue (I use Fast Grab)
No - Modpodge. This will result in curling and no adhesion.
Cardstock or Plain Photo Paper
Yes - Mod Podge (matte or gloss) will give weight and add vibrancy.
As as this writing, I have not used a glue stick on either. I go for what I know, but am always interested in knowing more! Feel free to leave comments and I will update the post!
No comments:
Post a Comment