Hello My Friends! Long time no see! Speaking of long, you might want a beverage and some snacks for this post!
It may seem as though I dropped off the face of the Earth, but in truth, real life's demands forced minis, and by association the blog, out of the picture. I have a lot of explaining to do, but let me assure everyone that I am super duper, still alive and certainly not sitting around on my thumbs.
First, Tasha and Brent finally had their wedding last fall. Covid, a college degree, a new job and a new house/farm really postponed their nuptials. But the delayed ceremony and celebration were totally worth the wait! It was all the things a wedding should be, absolutely beautiful and many dreams came true that day! While I missed all my goals on the trailer project, and all of you so much, getting to be part of the planning for Tasha's special day was well worth it!
 |
Don't be alarmed!!! It was a costume wedding and
Tasha and Brent went as Mr. & Mrs. Frankenstein! |
We also had several folks coming into town for the wedding, so we needed to improve our guest quarters. What was once a catch-all room for "stuff" is now a nice place to host loved ones who come to visit. We have two swanky guest rooms available now! You may also remember that we updated our master bed and bathrooms last summer (2024).
For a miniature enthusiast and dreamer, even upgrading a guest room is kind of dangerous. When we refreshed and improved the 2nd guest room, the rest of the house began to seem dated and shabby. What started out as a small project to reconfigure my kitchen pantry closet turned into a full kitchen and family room remodel. We took down walls, painted walls and cabinets, added a wall of pantry cabinets, reconfigured the island, completely changed the lighting, made faux beams for the ceiling, got new countertops and backsplash tile and even replaced our 17 year old appliances (only the new range is installed so far). And that was just the kitchen!
 |
| Kitchen Before |
 |
| Kitchen After (so far) |
 |
| Pantry Before. It stuck into the room about 33 inches. |
 |
Pantry wall/doorway gone and replaced with cabinets.
Square footage of storage increased 4 times. |
 |
| Stove before with microwave above. Very dangerous! |
 |
| Slide in counter height range with hood. Much better! |
 |
New lighting fixtures and added can lights
makes seeing much easier! |
In the family room we removed the corner fireplace (it took up so much room and made furniture arranging very limited) and surrounding walls. We eliminated an odd, long, high up and skinny window that only looked North onto our neighbor's garage wall. We made built in custom shelving and a new fireplace across the entire North wall. We continued the ceiling beams, are installing tongue and groove (whitewashed by me) cedar ceiling planks and replacing the flooring. Eventually we'll get new furniture but it already looks like a completely new house!
 |
| Family room when we bought the house in 2008 |
 |
| New configuration |
 |
| Shelf wall at night |
 |
| Looking at the length of the rooms. Still so far to go! |
And while we had that part of the house in shambles, it seemed smart to give the laundry, utility hall and powder rooms on the first floor an upgrade, too. We used one of the base cabinets that we removed from the island to create a much more functional sink and counter area in the laundry room. There used to be a freestanding laundry room sink in the back corner where the drywall is gone. It was cramped and hardly functional.
 |
The cabinet was rescued from the island. The old color theme from 2008.
This linoleum will be replaced with LVP |
 |
| Cabinets installed and painted, waiting for backsplash tile. |
 |
| New shelf for the laundry products. |
 |
| Backsplash tile finished. Recycled old kitchen sink is an upgrade! |
In the powder room, we clad the walls in barn wood and the ceiling in tin to replicate an outhouse. I know - sounds crazy, but it's really rather adorable! The garage and powder room doors, if opened at the same time, hit one another. It was a poor design and has been so frustrating all the years we've lived here. To fix the issue, we'll be installing a sliding barn door on the powder room. That's a ways down the list - there is still so much to do on the kitchen and family rooms!
 |
| Walls clad in barn wood. Niches in wall for décor. |
 |
| I made the sign to look like Old West signs. |
 |
| I added x's to many of the cabinet doors with dollhouse basswood |
 |
| Tin "outhouse" ceiling. |
We always thought the entry staircase could look much better, so we made plans and bought materials for a remodel there, too. As we took on various tasks for each space, ideas grew and so did the work load. When we start tearing out the old stair elements, we might as well paint the entry, which is a two story room. Yikes! Russ and I are really enjoying doing every stitch ourselves (and still have jobs), so we're at 10 months and counting. Ah well... It will be really lovely someday when we finish!
In mid August, Russ, at the pleading of one of his bosses, took on a side job to "help" his boss put up a metal building. At the same time, my dad came up from Arizona for a visit. For the last three weeks, all reno activities stopped. That meant between sharing my dad with my brother, I had an unexpected opportunity to work on a mini activity - making flowers and plants. I also converted an old Carlson's lantern kit into a mini greenhouse. It's not direct progress on the travel trailer project, but since the trailer project will eventually have a greenhouse, its progress adjacent. I've also gotten to work on making a potting table, plant stands and trellis prototypes with the Maker. Happy, happy, happy!!!


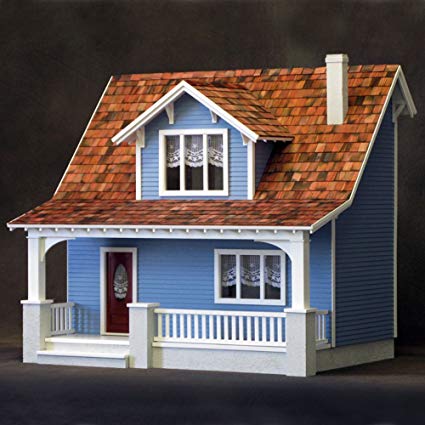
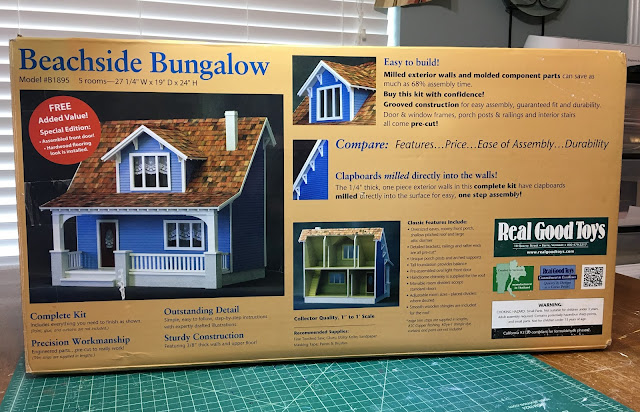
I did manage to sneak in a couple more "small" mini projects while at various standstills with the renos. I decided not to finish the Willowcrest so that in the future I can concentrate on smaller, more manageable projects. But I did want to keep the kitchen since I spent so much time on every detail. I carefully dismantled every aspect and recreated it in a set of hollowed out books. It will live on my cookbook shelf in the new kitchen.
 |
| Looking Inside |
 |
The story on the back pays homage to the original project.
Don't worry - the kit shell and components are being
rehomed along with all the custom door/window/arch frames
I designed and 3D printed. |
Other "arty" things have kept my creativity satisfied this year, too. For Mother's Day I made plant stand "scales" for all of the special ladies in my life. They are made up of various pot and saucer components from the dollar store, hot glued then spray painted. I used outdoor thermometers rather than fake scale faces so they'd be useful and cute. In the background you may notice that I painted grandma's hutch... again, and gave a facelift to all of my old décor pieces so that I could recycle them into the new aesthetic.


For the family room I wanted to create a gallery wall, so embarked on a journey to create various nature themed art pieces using a wide variety of media. So far, I've made 56 different art pieces. It has been one of the most rewarding goals I've ever accomplished! Now when it comes time to hang everything, I may lament at the number of items to hang, but at least I'll know where every one of them is going thanks to the diagram I created as I went. All pieces are in scale with the background, which represents 18 ft x 8 ft of the family room wall.
Well friends, as you can see I have plenty of excuses for my absence. I hope you will forgive me and come back again next time I share not only our beloved minis, but (hopefully) progress on life's other engrossing (and fun) projects. I pray it's much sooner than a year!
Hope all has been well with all of you!
xo xo,
Jodi


