When last I left you I was finishing up all of the prep work and marking of the kit pieces while it was still in dry fit. I am happy to report that since then great progress has been made!
I pulled the kit apart, wallpapered the walls while they were flat, and then got them put back together! With glue this time!

Somewhere in the midst of all the marking, I also made a lighting plan. In this build I will be using a combination of traditional 12 volt dollhouse lights and 12 volt LED "can" lights from Even Designs. I had to decide where the fixtures would go and how I was going to run them. Since this kit has pre-milled clapboard siding in the MDF walls, any wiring going through the outside walls would have to be carefully planned and concealed in a clever and realistic way. Because of this, I decided to utilize mostly ceiling fixtures. For the first floor ceiling lights, I would run the wiring via channels in the floor, exiting the bathroom wall in one bundle. The second floor ceiling lights would come out of the roof, be hidden under the shingles, run down the same side of the house as all of the other wires and be bundled into one downspout or some such subterfuge.
I marked on the second floor/first floor ceiling where I wanted "can" lights and where fixtures would go, drilled holes and then used a fantastic new tool to make the channels. This is a 1/4" wide chisel I purchased from Amazon for around $8.00. I used a metal ruler to mark the outside of each 1/4" wide channel, then used the chisel to cut the channel in the MDF. It simply slides between the lines and peels up about 1/16" depth at a time. What a dream! I highly recommend this tool and this method! I can't say yet how well it will work on plywood, but I am betting it is a lot better than my old method of chipping it out slowly with a screwdriver!


I used 5mm "can" lights and mounting clips to give the lights a clean look when mounted in the ceiling - four in the first floor ceiling and three imbedded into the roof support beam upstairs. I am hoping this will add nice supplemental lighting to the traditional 12 volt dollhouse fixtures.


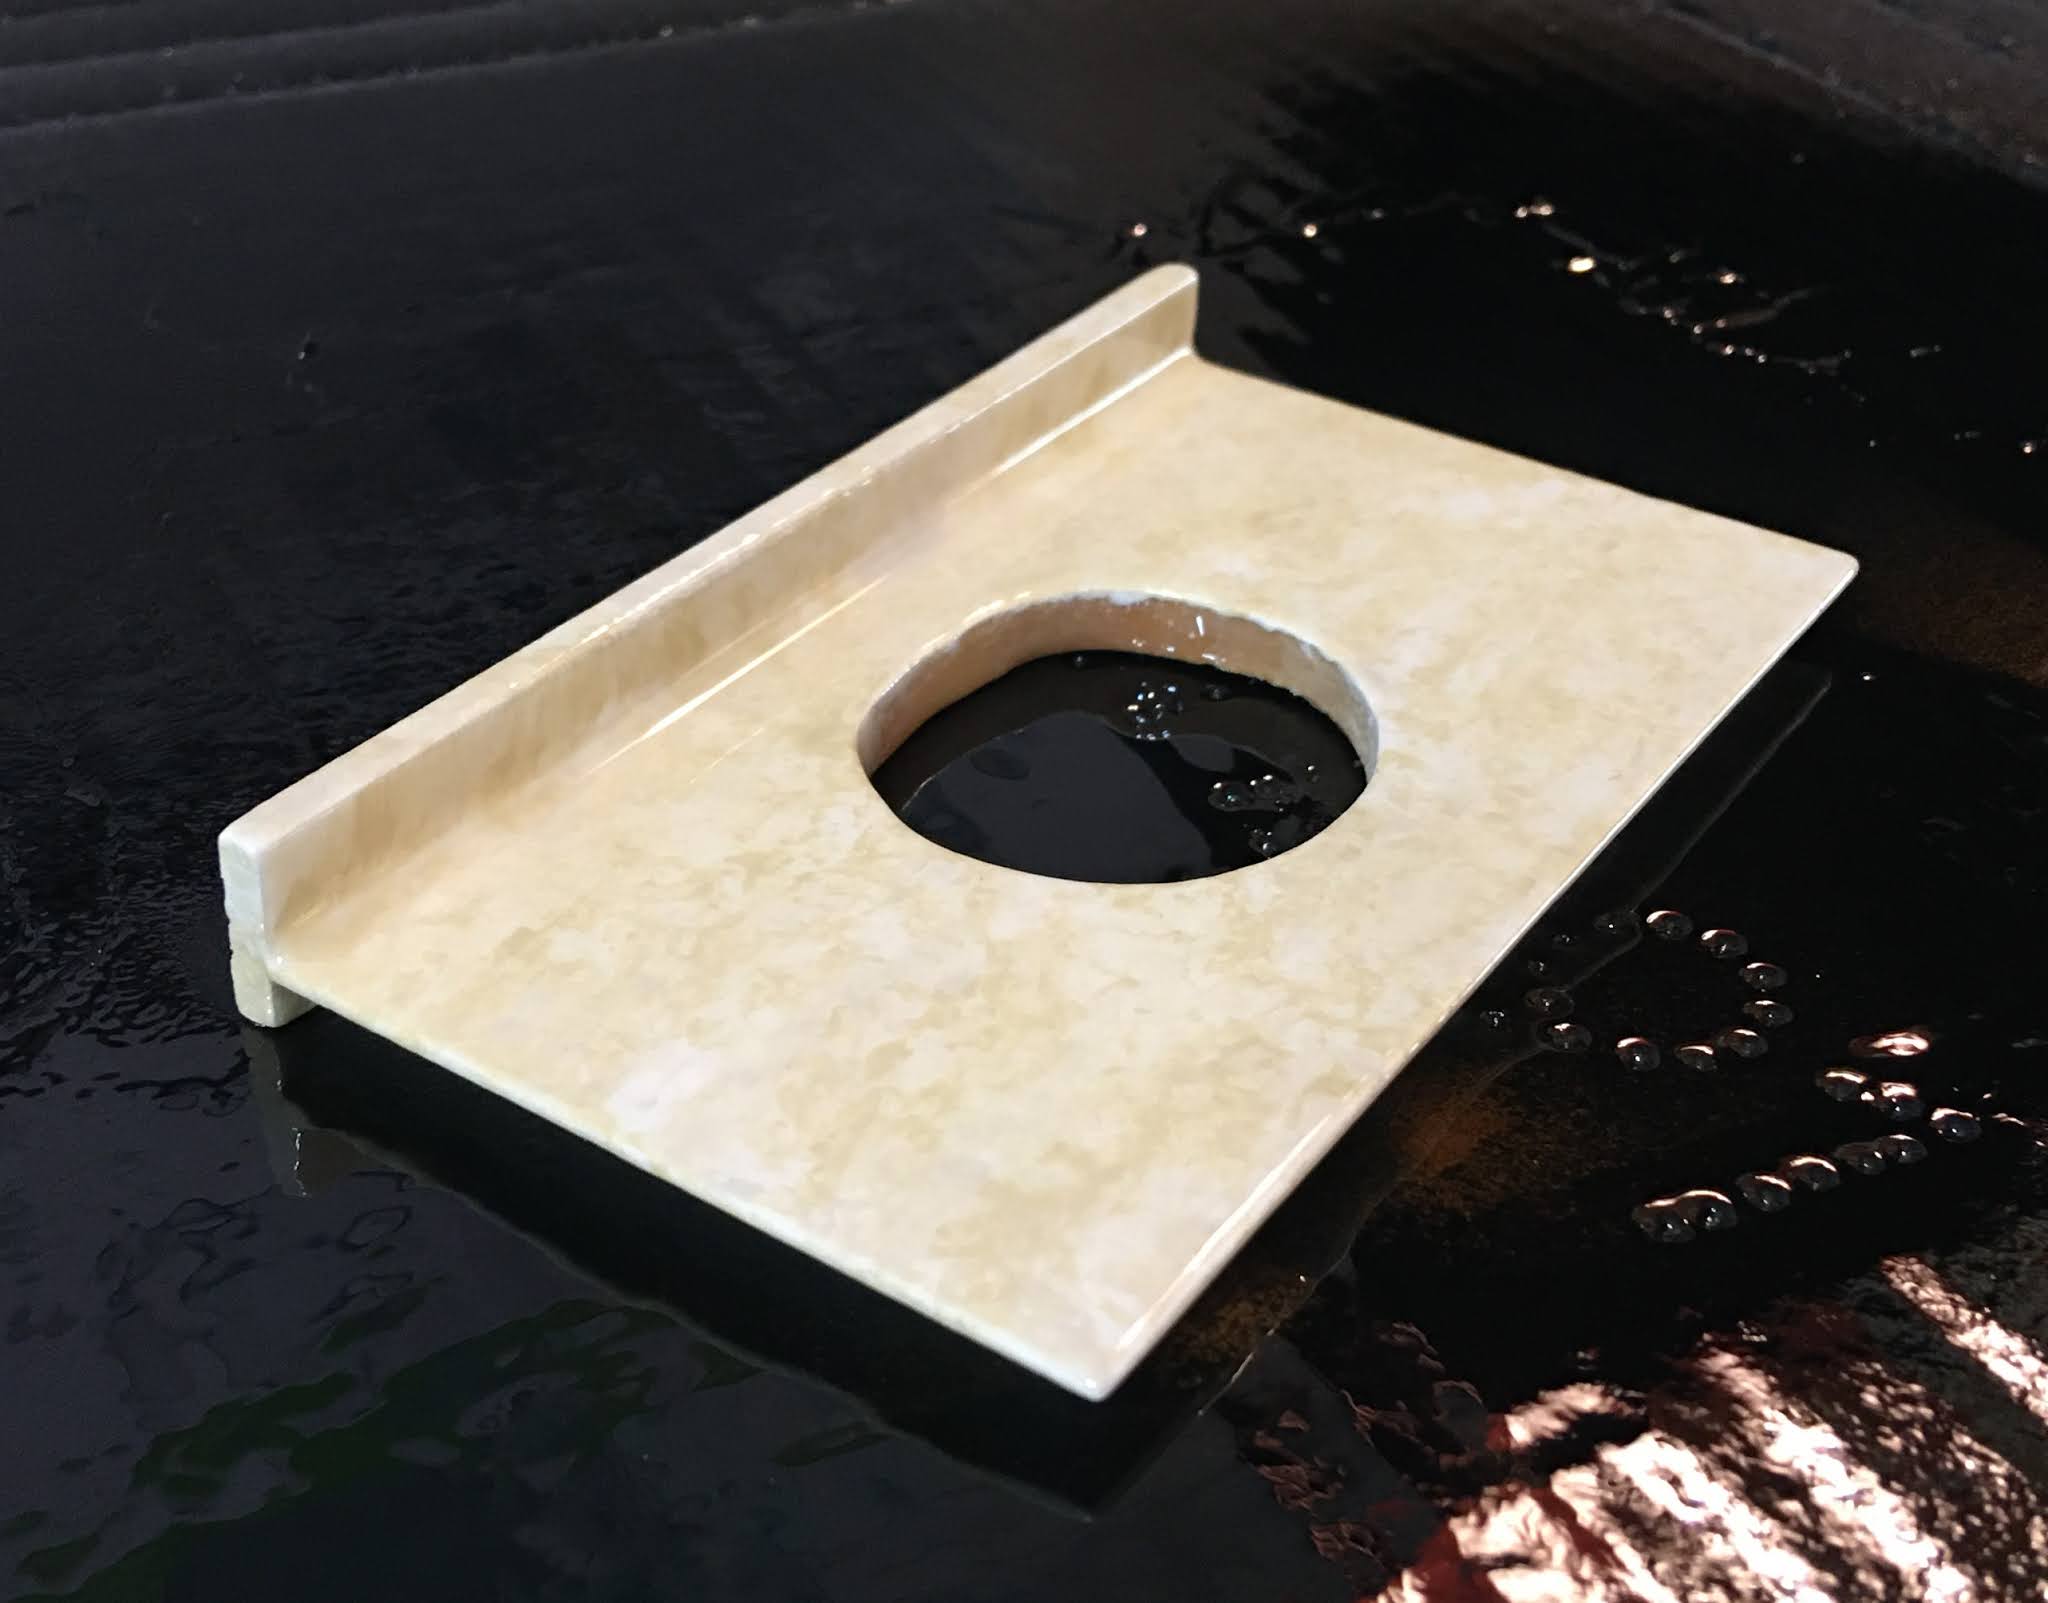
The bulbs are a little long and weirdly rounded, but you can file them down pretty far as long as you don't get too close to the actual bulb imbedded in the plastic. I liked the opaque quality left by the sanding process, too. The bulb on the left has been sanded down and seated into the mounting clip. The one on the right is how they come. Below the light on the left is the actual "can" light installed in the ceiling. Once filed down, they seat nicely into the 3/8" floor, leaving only the wire's end which can be bent down and recessed into the channel on the floor.


Again because of the milled clapboard on the porch walls, I decided to install three can lights in the porch ceiling instead of adding a traditional porch light on the wall. You can see I have installed the porch railings, posts and supports so I might as well get to that part of the story!

Because of the order in which the kit goes together, I had to go back to following the instructions. Side walls and floors, front wall, attach the foundation and then install all of the porch elements. Before you can add the second floor ceiling you must first install all of the porch pieces because each supports the next. You may also have noticed that I changed the porch floor color from blue to gray.


Here are where the porch "can" lights are with the porch ceiling installed.

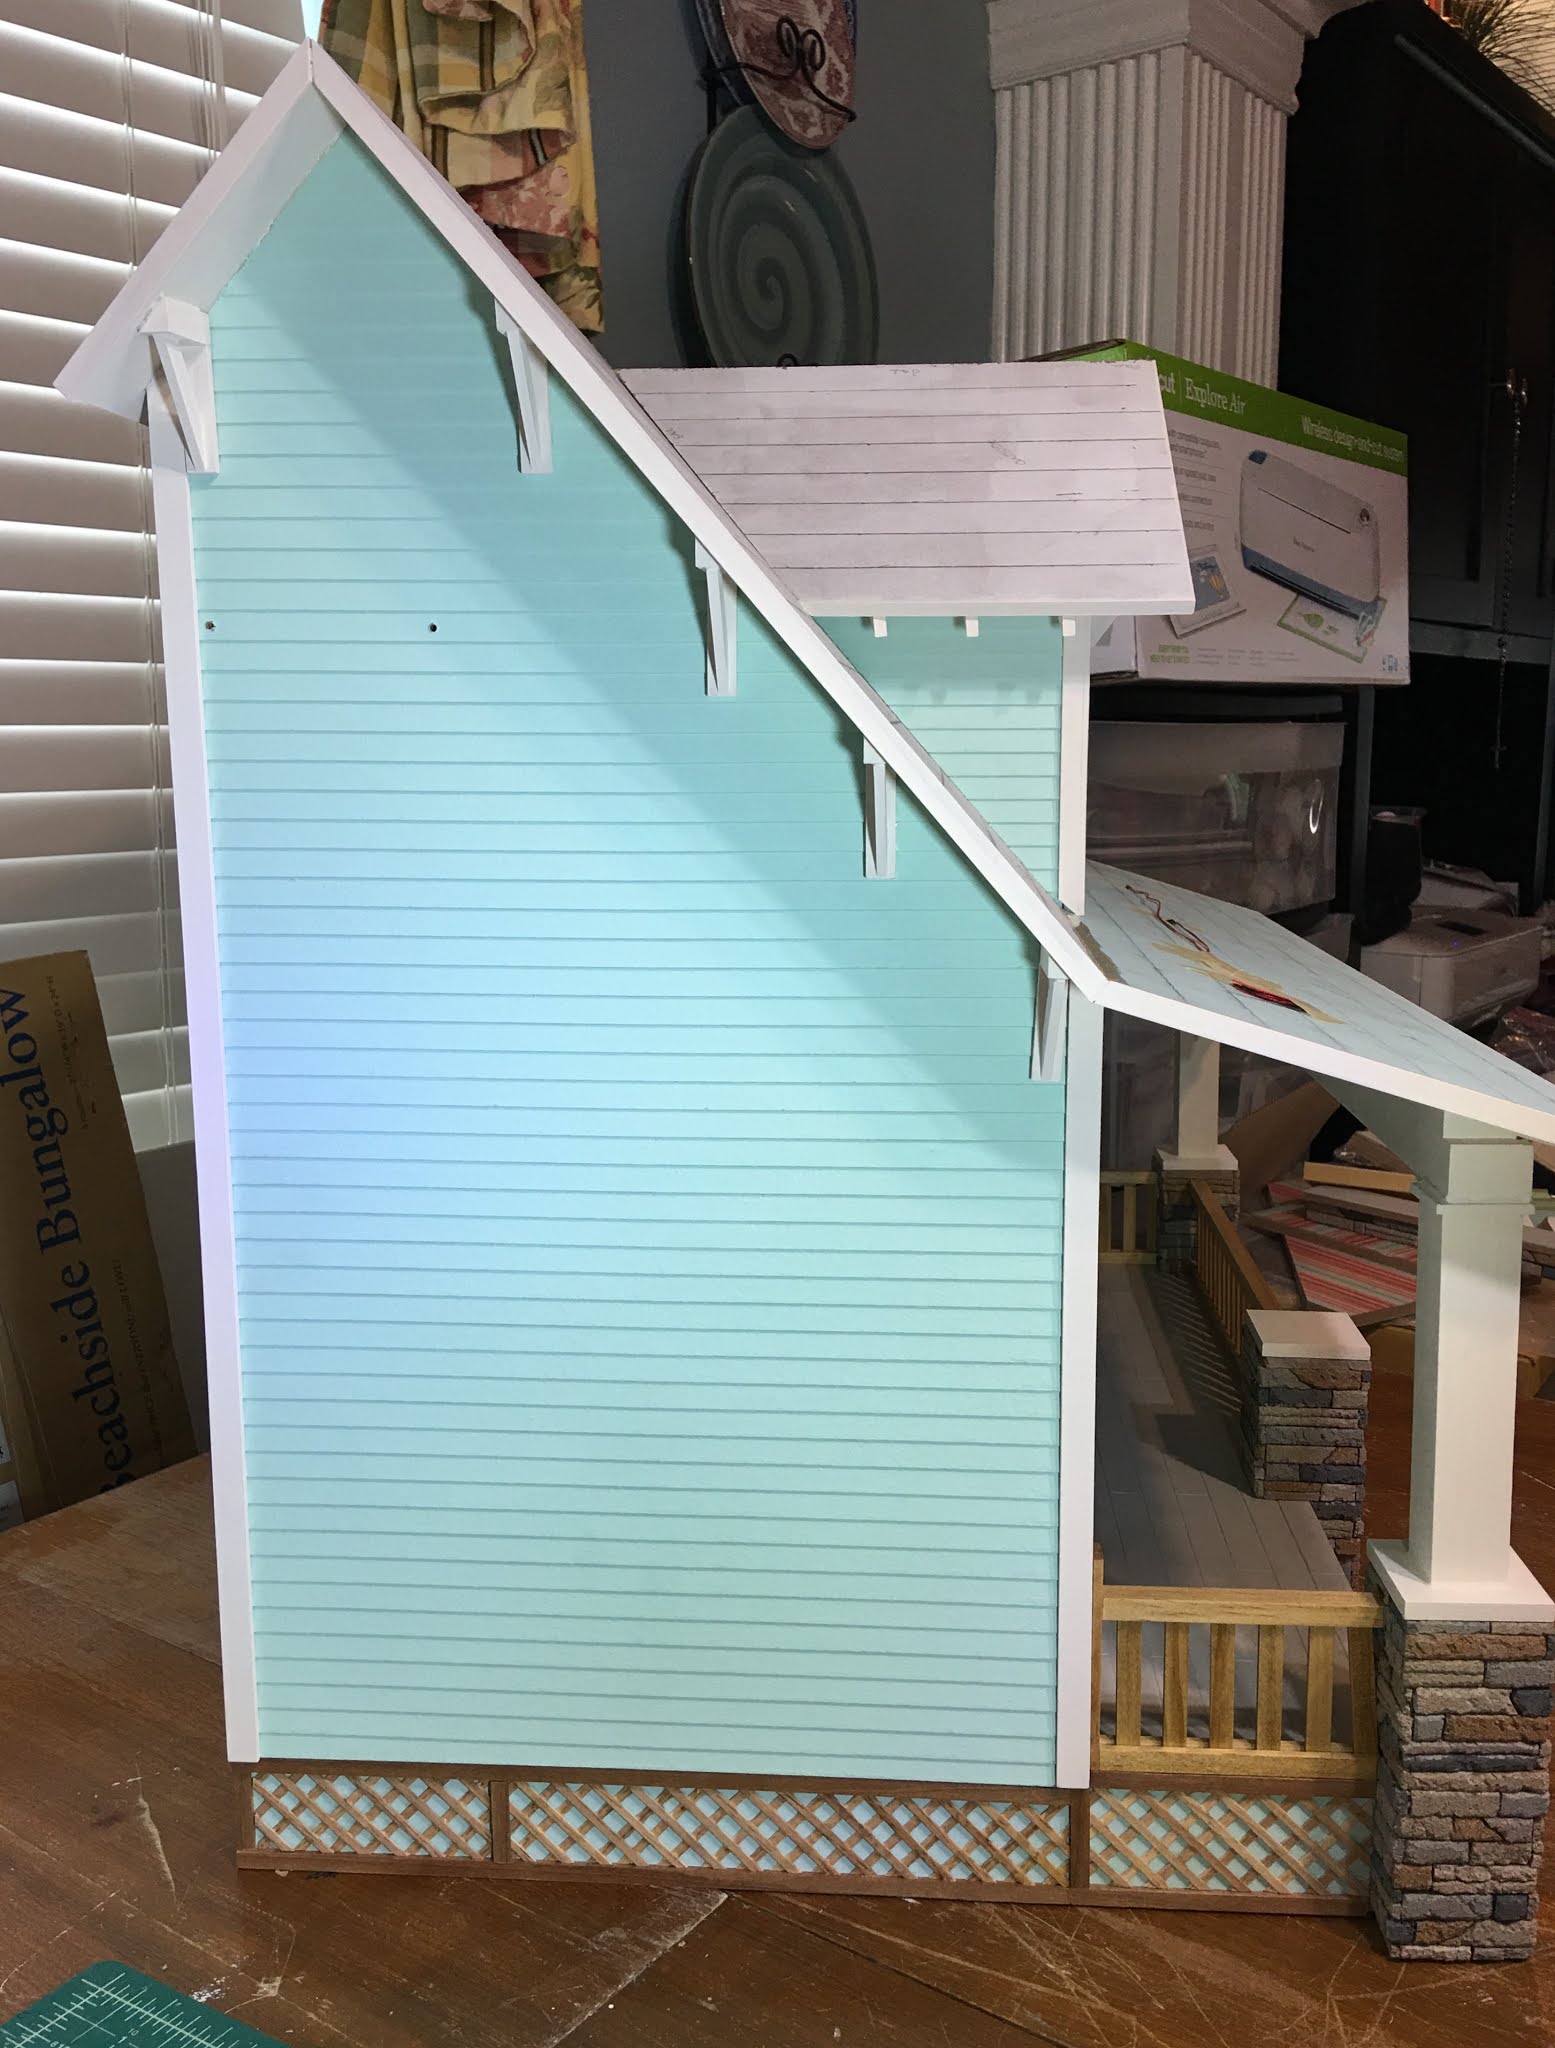
I kept going with the outside assembly, and before I knew it I had the dormer and dormer roof installed!

And then window frames, rafter tails and trims! Once the painting and sanding were done, it all went pretty quick!

 |
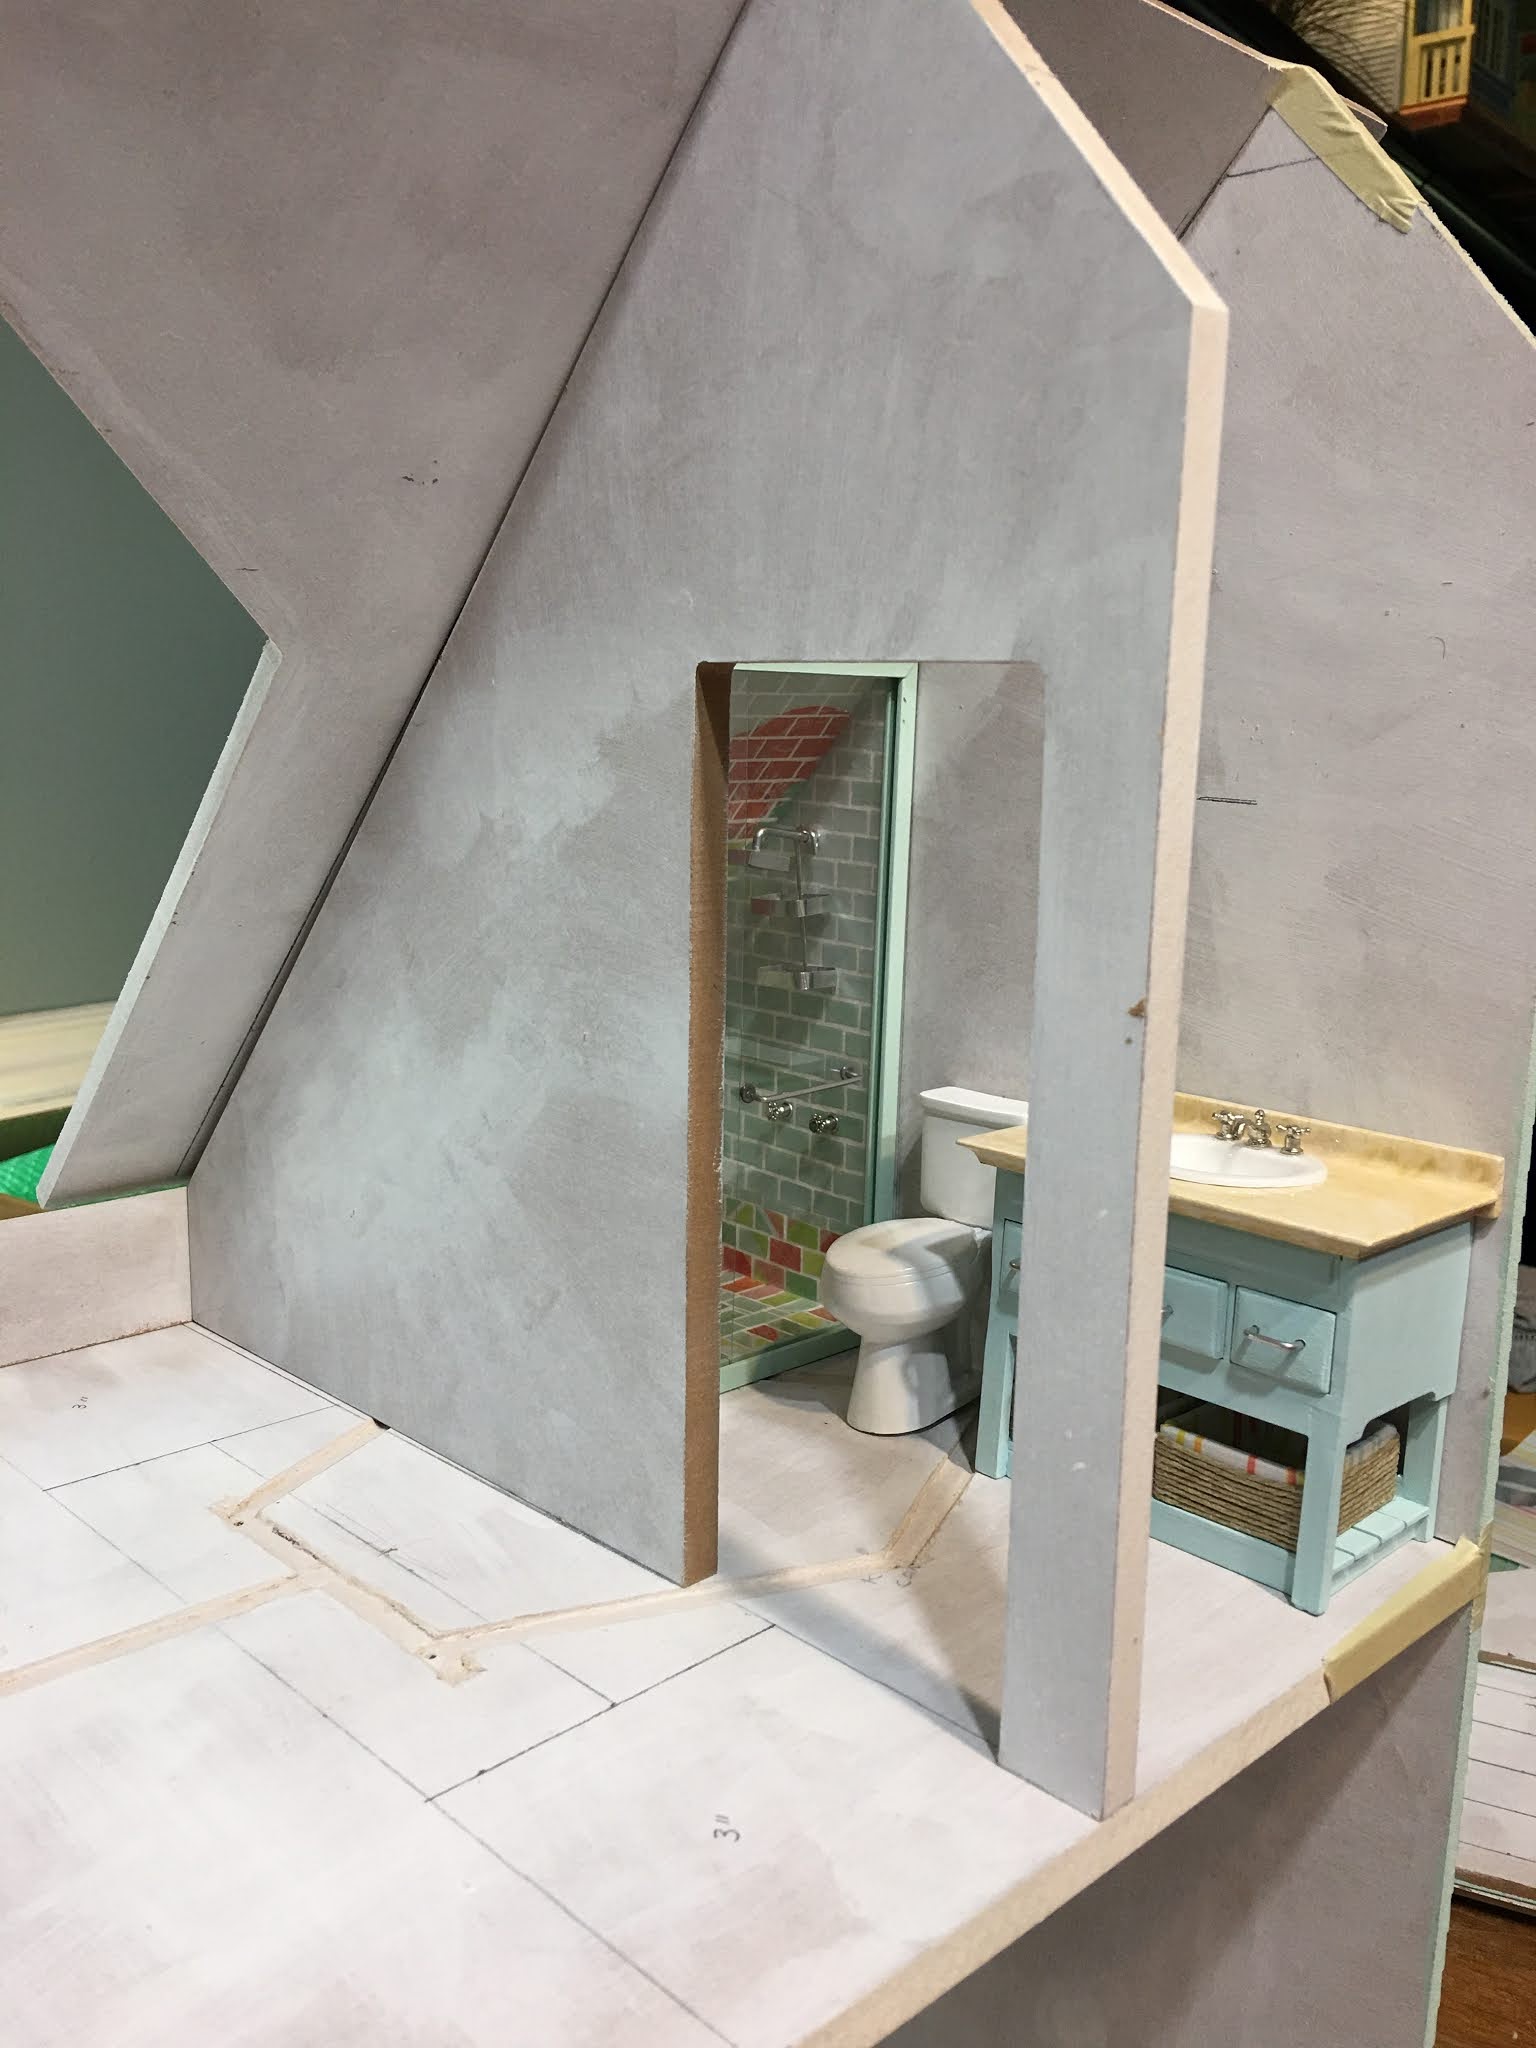
| You can see the holes where the bathroom sconce wires will exit. This is where all the wiring will be bundled and hidden. |
Before I knew it my mini time was up for the week! And I never did get back inside to begin the interior trim pieces and walls. But I sure am loving how cute this kit is, and I'm excited at the prospect of all the fun interior things to come!

I hope to share more of the interior progress with walls, trims, doors and lighting next week, though mini time may be scarce. There's another family gathering this weekend, one of two birthday parties we'll be hosting here in July. Talk about making up for lost Covid time!
I hope you are all beginning to see light at the end of your Covid tunnels, too, and are planning gatherings again! Until then, make minis my friends!
xo xo,
Jodi