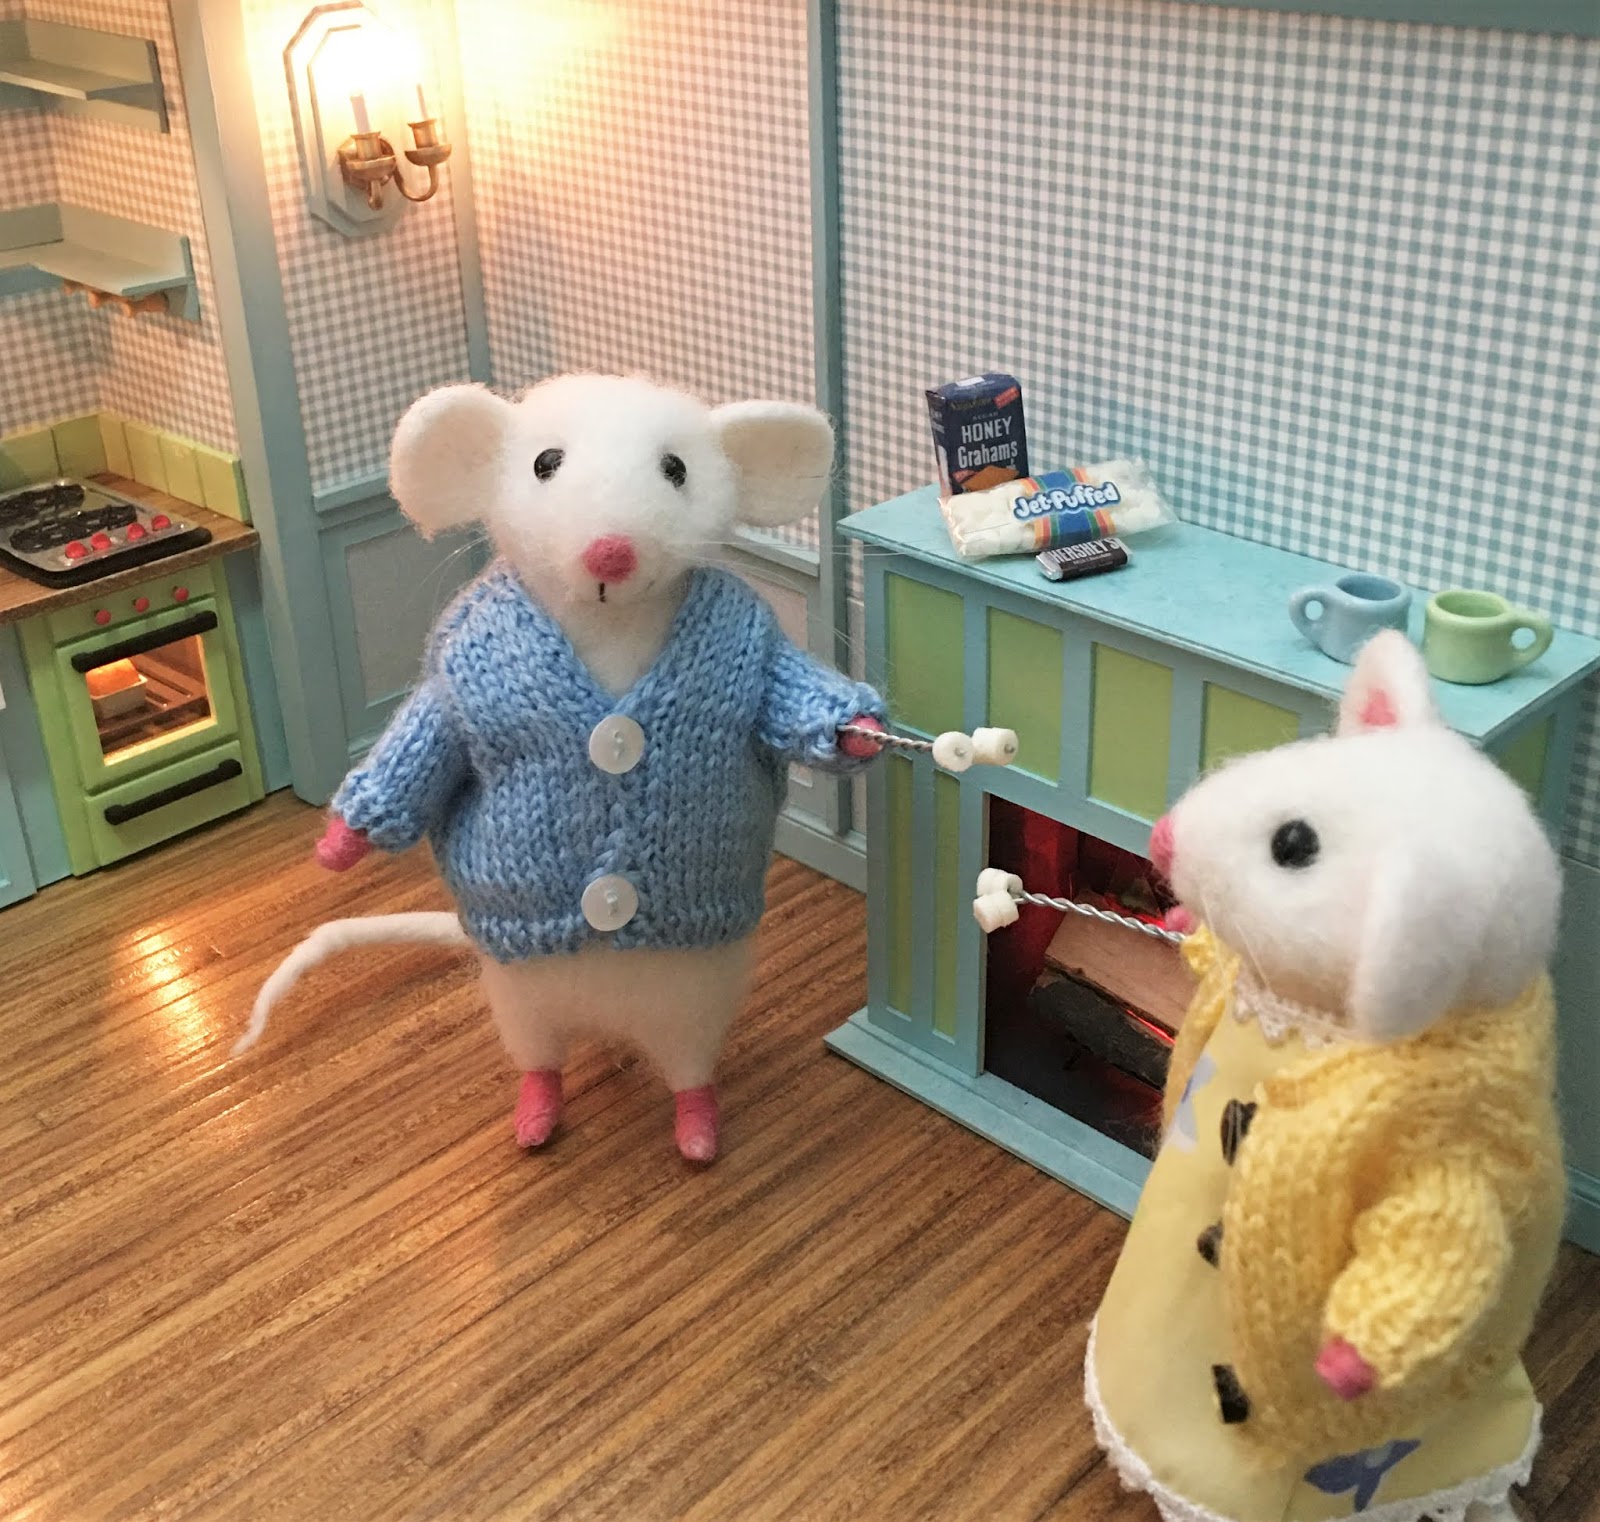
In the past five years or so, especially since I began to share my mini adventures on a blog, there hasn't been too many weeks when I haven't been excited about or looking forward to some kind of mini challenge. A couple vacations or helping my folks move to Arizona aside, I have been all minis all the time. It felt weird not going in to my craft room (a.k.a. dining room), and in fact, I actually found myself pretty much avoiding it. More on that later. I don't have a whole lot of progress to share this time, but in the interest of giving everyone a little something to distract from the craziness in the world (particularly here in the US), I will share what I have managed to do.

First I need to share a little bright spot. I made a fabulous (and rare since Covid) purchase from Gergana Trichkova, the artisan behind CrochetCanto on Etsy. I had been searching for a tiny clown doll for Vera. The real life Vera was a collector of clown figures of all kinds from every place she visited around the world. Each time I would visit she would show me a new one on display and tell me the story behind it. She was in her 70's in the 70's so she had thousands! It made her so happy to share her passion, so I knew that my Vera would need to have at least one clown in her cottage to honor those memories. In my searching, I saw a leprechaun doll in Gergana's shop. It was created with micro crochet and was so unique and adorable! I wrote to Gergana asking if she would accept a commission for a clown doll with similar style and size, but with a blue and yellow theme. She happily and enthusiastically agreed and a week later sent me photos for approval!

I could not be more thrilled with the workmanship and detailing, and by golly she even gave him a wee balloon! I also ordered a handbag and a delicate pot of daisies - they, too, are a wonder!
It is such a blessing to be able to collect these precious, handmade things from artisans around the world! This time from the talented hands of Gergana in Bulgaria! The shipping process was worry free, too - she provided tracking so that I could follow the package all the way to my door! Gergana even made opening everything feel like a thoughtful gift! Excellent packaging!


I can't wait to display all of them in Vera's cottage!
Now on to my meager progress for Vera and Virgil's cottages... I decided to use up of some of my stash of furniture kits. I really love using the Maker to make furniture, but also feel guilty for having all these kits and not using them. I reasoned that if I use the kits that I have stashed, then I'll have space for more furniture making supplies in the future.
And... I really just enjoy a good mini kit, too!

I started with the hutch and tables/dining chairs for each cottage. For Virgil, I used HOM kits, except for the table which was an old Magic_N_Miniature kit I picked up on impulse on eBay. What amazing wood this kit had! I had to stain the top!


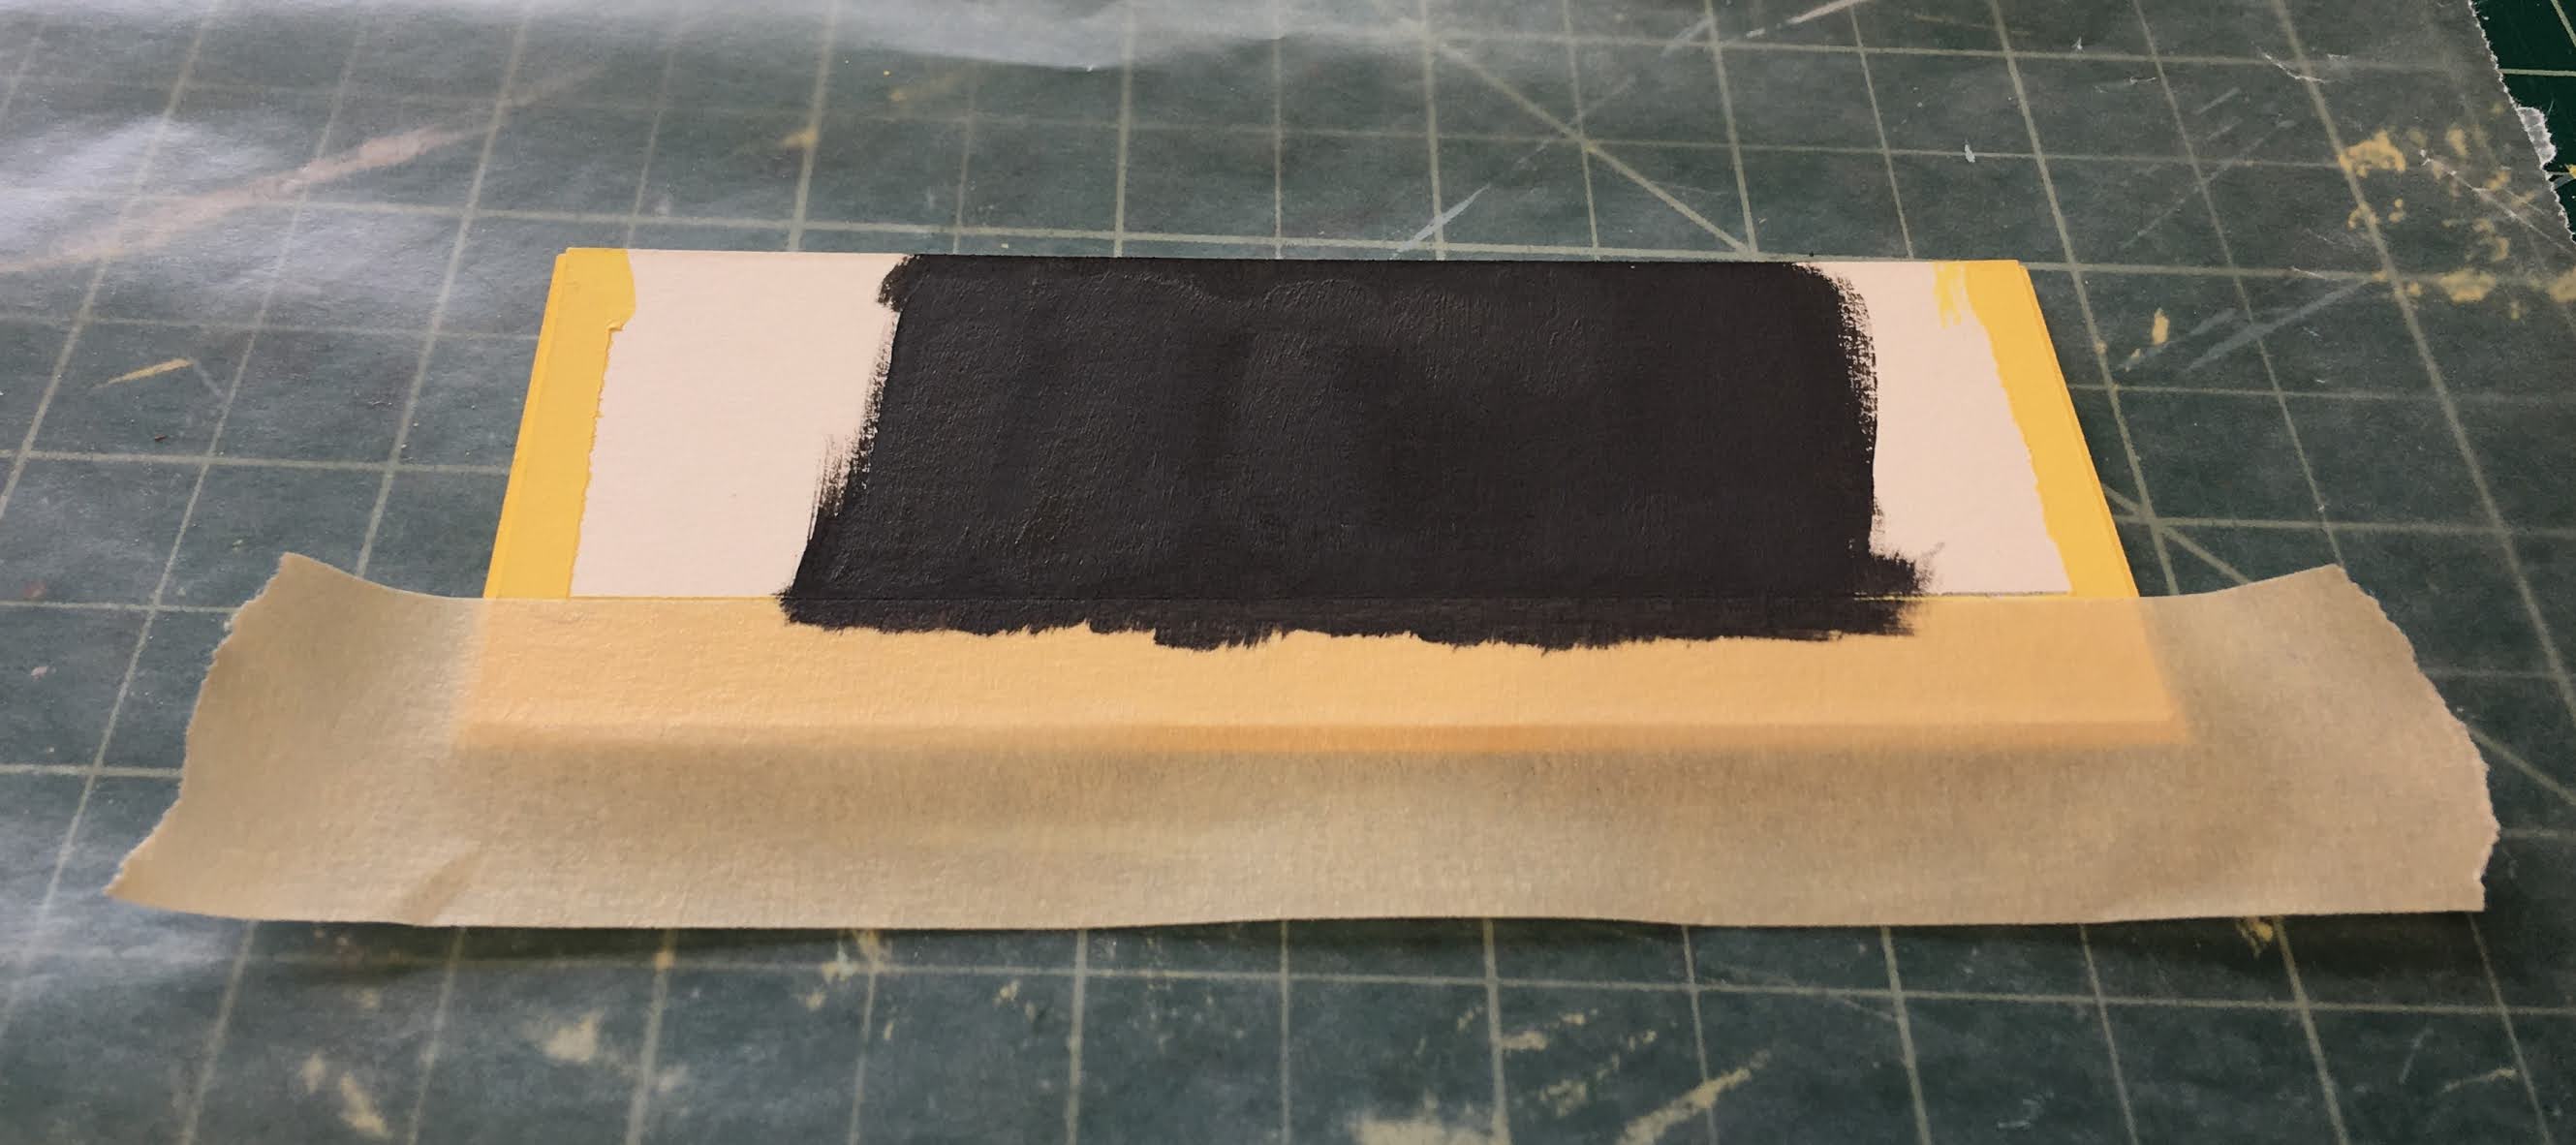
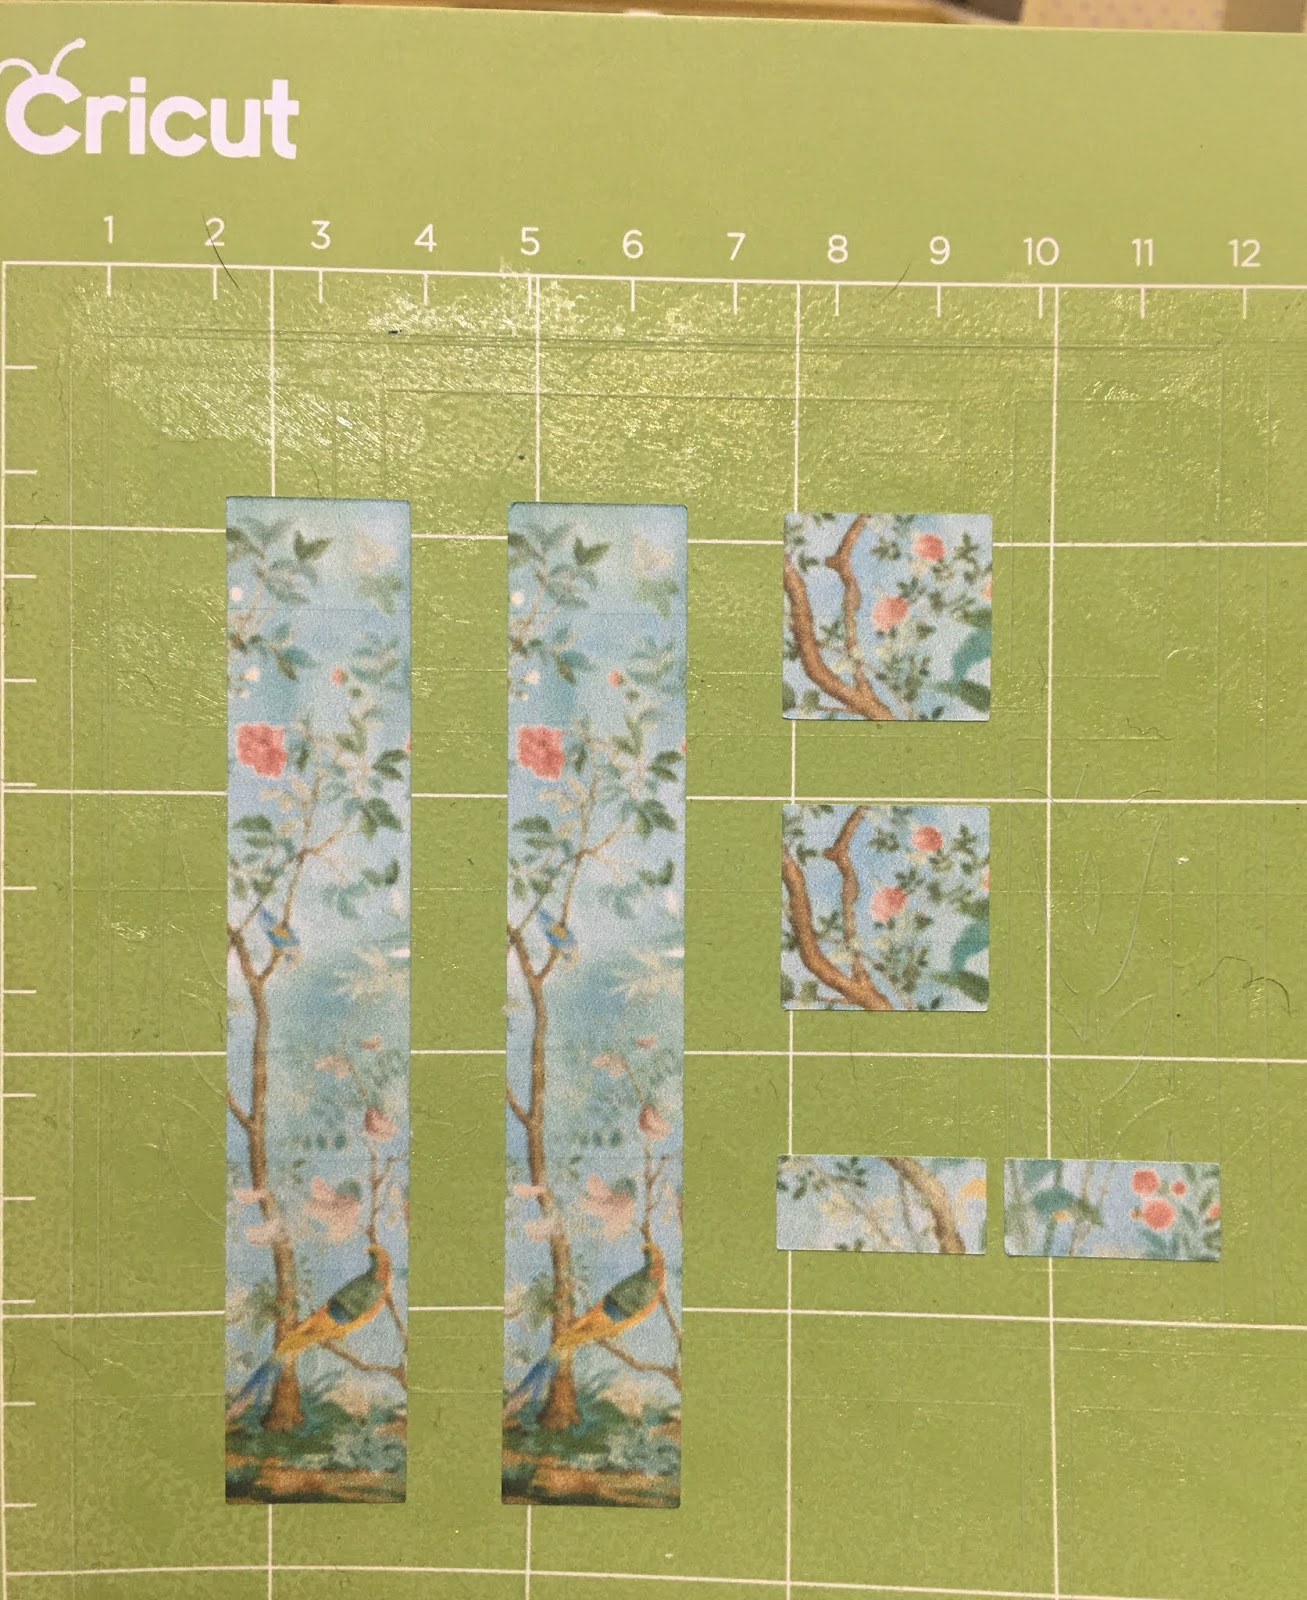
For Vera, I used a Chrysnbon table and chair kit and a barewood hutch that I had left over from the Sweet Christmas Cottage kitchen. I softened it in the micro so that I could pull it apart for sanding and finishing. There was a lot of excess glue, and being able to sand each piece individually makes for a much funner and better job! I also found a nice piece of artwork that I could resize and cut with the Maker to decoupage onto the sides. That project was super fun!


I still have to paint the table and chairs but I can't decide on the color yet. Maybe, once I make Vera's sofa with it's aqua blue polka dot material, I'll have an easier time choosing...
I used HOM wing chair kits for Virgil's living room and, unlike when I made them for the Sweet Christmas Cottage, didn't make any changes to the original design. The only challenge I gave myself was using striped material. I had to go very slowly and make sure I had the right pieces matching at every point. Phew!
When it came time to add the bottom assemblies to the wing chairs, they seemed to be a little too tall for the scale of the cottage. Even compared to the dining chairs (which are HOM kits, too), they seemed imposing. A little off scale is okay because it only adds to the whimsical feel of the cottage. But it seemed if I could reduce their height they might look better.


I combined three shapes in Tinkercad to make new, lower legs for the chairs and for the sofa. Then I made a recess in them to hold a toothpick which would then be used to anchor them into the chairs. This idea came from making the Kris Compass sofa kit for the New Orleans dollhouse. It worked well and it only took an hour and fifteen minutes to print twelve of them on the 3D printer.
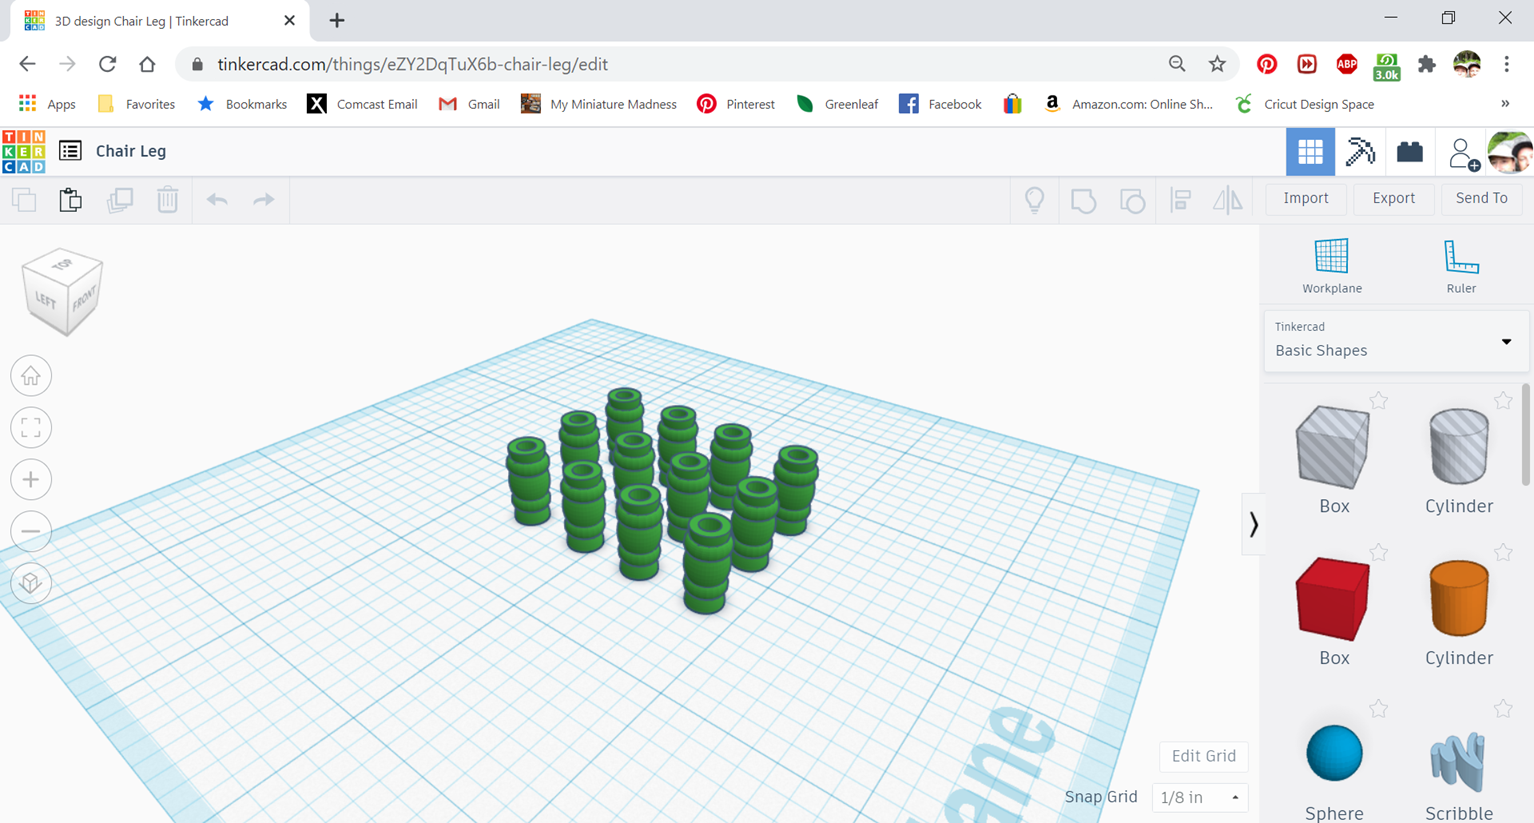
 |
| Some finishing required. |


These will make quite a difference in height and I'll share how they came out in my next post.

I can't really explain what kept me away, and in truth, writing this post was a monumental effort in self discipline. I knew it would be good for me to get back on the horse. All I can point to is that after a rapid battle with lymphoma, my beloved beagle Georgie passed in July. That was the start to a time when I just felt really, really sad. The only joy I could find during this time was to spend loads of time with my beloved min pin boy puppies, Rusty and Woodson. We have had a few adventures in the forest and at the beach, and I am so grateful for the healing power of their love. 💗 We all miss Georgie every day.
Here's Georgie the day we brought her home...

and snuggling her big sister Gracie, who passed in 2013, on the sofa.

It seems as though this year has brought so much loss for everyone around the world. We are all learning to cope with a whole new way of life. And for many of us, that means moving forward without some of the ones we love. Here in the US, we are learning to cope with new levels of shock and horror at human behavior every day. We are learning to live in instability and violence, something many of our friends in other countries have managed through for years. I guess it's no wonder that sometimes all of it makes us sad, and finding joy in spite of it is a battle we must fight each day. To all of you struggling out there with any and every thing, I offer my hugs and prayers.
xo xo,
Jodi