Search My Blog!

Use the Search box below to find keywords that you're looking for quickly and easily!

Search Feature

Thursday, January 9, 2020

Pound Cake: Soda Fountain Back Bar

Mired in the ever present Chicken or Egg debate, this week I decided to focus on making the "built in" foundation pieces that will line the walls of the bakery. It seemed like a good plan to have the pieces finished and installed (or at least ready) prior to attempting to install the ceiling. This would eliminate the need for reaching in up to 18" and trying to read a ruler in the dark recesses. Being a pretty straight forward, stand alone piece, I began with the soda fountain back bar. It was a good piece with which to wet my feet as it is only slightly more complicated than any prior cabinets I've designed for the Cricut to cut.


The bakery's ice cream counter section will be at the back of the store when looking through the front doors. I really wanted to incorporate an old fashioned soda fountain back bar to fit the area from the left open wall to the stairway. I gathered the measurements for that space, then began to create all of the pieces to make up the unit, essentially creating a furniture kit for it in Design Space. Initially, I used 5 pieces of chipboard to make it. Material cost: $5.40.

The entire thing is made up using square shapes that have been resized to make up the components needed. For the decorative stepped arches, I imported a cornice drawing and then created a reverse pattern to use to slice out the decorative shelf openings.


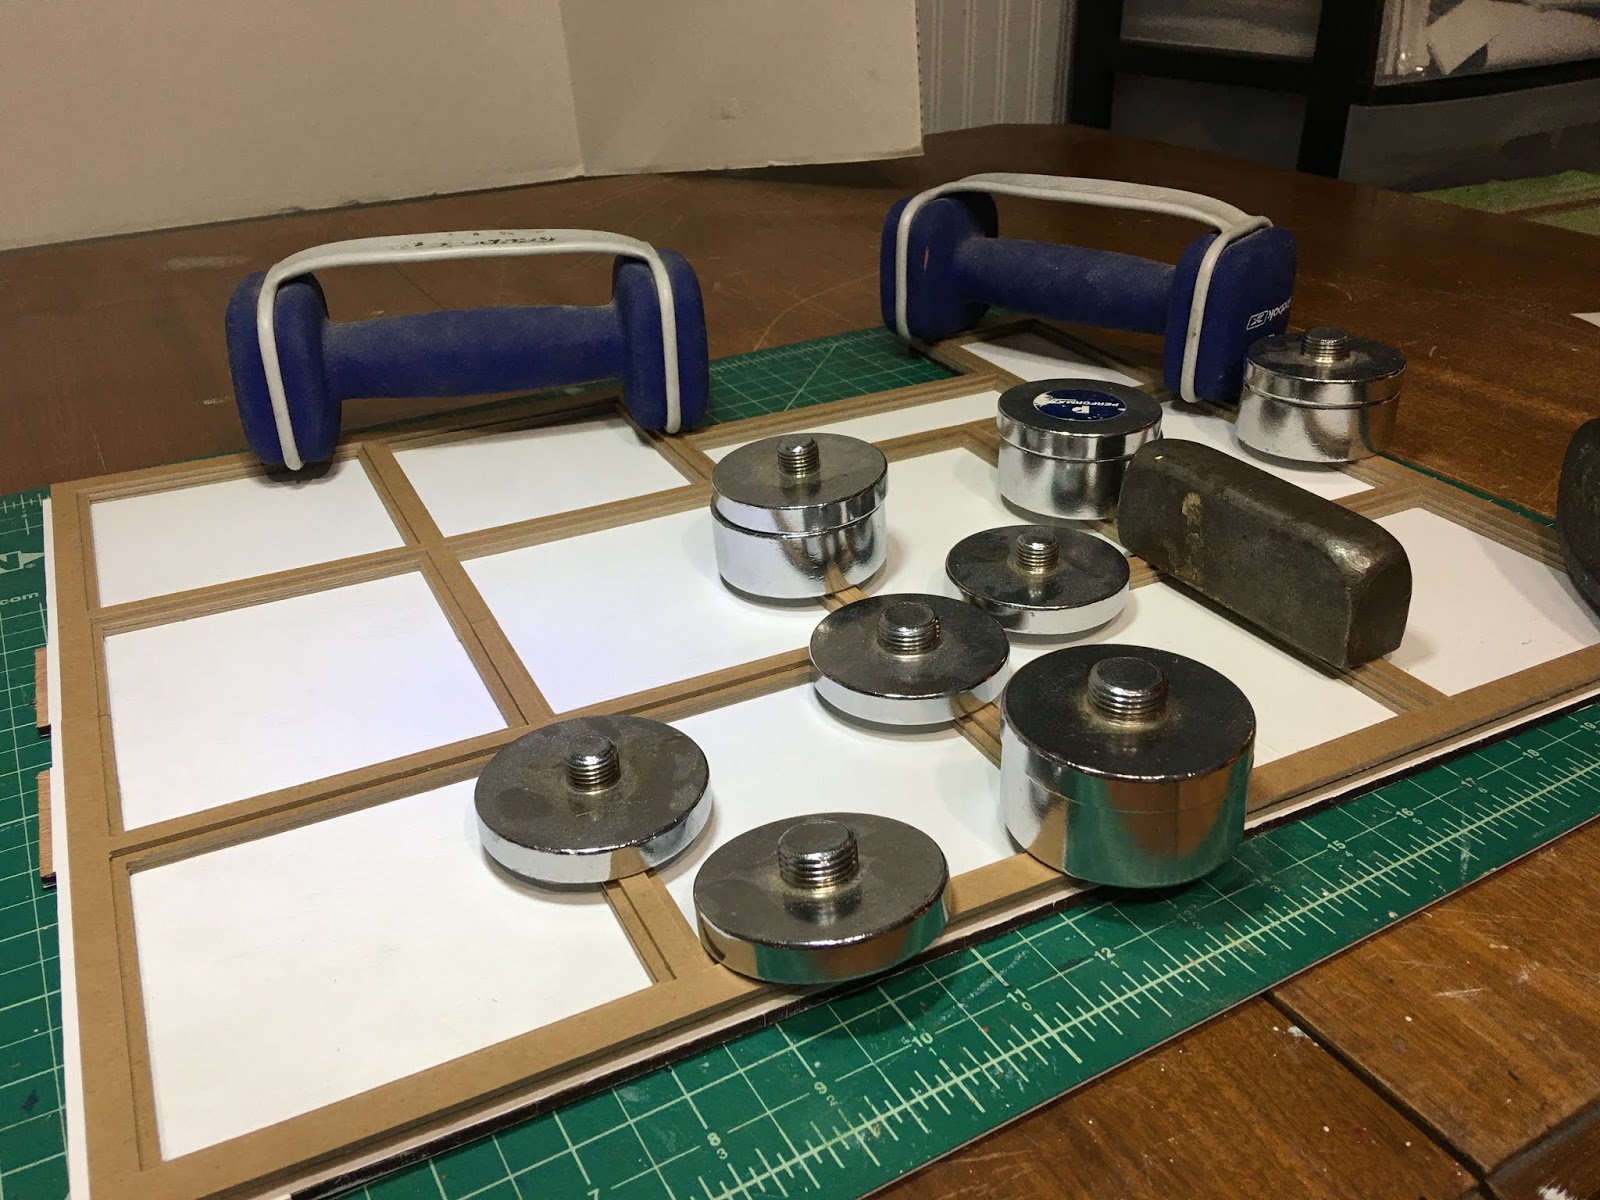
This photo shows how well the knife blade actually cuts the 2mm chipboard.


Here are the pieces of the upper unit laid out. I ended up re-cutting a new back frame for the mirror to add more support and to mimic the front piece's decorative arches. I also eliminated the solid backer piece since the unit will be attached to the wall. This reduced the pieces of chipboard down to 4, making the cost for the unit material actually $4.32.


This is how the upper shelf unit looks after gluing the "kit" pieces together. I left the top area above the decorative arches wide so that I could add crown molding and "carved" molding later.


The lower cabinets are a separate unit designed in the same manner. They are standard counter height at 36" in real life or 3" (including countertop height) in 1/12th scale. The upper unit will sit right on top.


The design is basically a rectangle box with decorative wainscot panel. It mimics the upper unit's shelf openings and is simply glued to the front.


Glued together and with added embellishments.


I added molding and support trim behind it to give the countertop a "bullnose" edge. It's my attempt to make a 2mm thick piece of chipboard look like a solid slab of honed marble.


Here is the entire unit with added crown molding and embellishments. Once I install the kit's left frame wall to create the corner (the left frame wall is only about 1-1/2" wide), I may cut the crown molding flush to the left side of the unit for a tight fit to that corner. I did not account for the extra 5/8" that the crown molding would take away from the space to enter the stairway. I'll have a better idea if it looks too tight there once I finish the front counter section.


I gave the countertop a faux marble finish and then painted the rest of the unit Licorice. Once it was dry I attached the mirror sheet to the back. It is really difficult to get good photos of black painted furniture - especially against a white counter. The camera just doesn't know how to compensate. I took several photos using different lighting and adjustments so you could see each of the details in it's best light. I also tried a number of tricks so that you would not have to look at my reflection in the mirrored back of the piece.


For lighting the center and upper shelves, I am using 12v bulb and sockets. I have had the little white plastic support pieces in my stash for a number of years. They came with LED bulbs from China. I like to utilize them, with a little trimming, to act as socket holders for the bulb/socket assembly. Once they are gone, I will have to come up with a different option.
Keep in mind that the bulbs will be much brighter when connected to a transformer with electricity rather than the 9 volt battery I have used for demonstration. Pictures are worth a thousand words...


Here is where it will be placed in the shop, next to the stairs. The soda shop counter and glass ice cream freezer will be placed in front of it. Do you see where gaining another 5/8" for the stair opening might make a difference?
I am super excited and looking forward to filling the shelves with wonderful old time details!


This week I hope to start designing and cutting the pieces for the bakery goods shelving. The angle of the stairs is going to make for some tricky math and measurements. I hope I have learned my lesson with the soda shop back bar and will account for the molding and trim in these pieces! I will keep at it, though, until I figure it all out!


Have a great week that, hopefully, includes time to play!

xo xo,
Jodi

Friday, January 3, 2020

Pound Cake... Coffered Ceiling and Lighting Plan

Back in 2014, I was too busy in my life to have a mini project on the go. It was weird because when I allowed myself to become mini obsessed again in 2012 (after having completely stepped away for 9 years), I knocked out 5 projects in just two years! I was making big plans in my mind, though, and buying supplies and saving ideas for future endeavors.

Starbuck's, CannaBliss, Mom's Beach Cottage Lamp
Encounters Gifts & Grub, Dad's Fishing Cottage Lamp

One of the projects was an old fashioned bakery/ice cream shop with a "Gone By Era" feeling. That's when the idea for Pound Cake was conceived and merged with the Brimble's kit that I had always wanted to do. I loved it's old time, kind of western town feeling. Since I was busy with other things, I figured that the next best thing to building a project was planning for one, right?


As I was sourcing supplies, I came across a web site that had loads of old Chrysolite lighting kits. When I saw the Zenith Hanging Lamp Kit, I knew it would be the perfect fixture for the bakery with it's old time charm,. A couple years later, when I saw how amazing they looked in Brae's 2016 Creatin' Contest Taxidermy shop window, I knew I had made a great choice! She did an excellent job of finishing hers!


Over the years I kept an eye out for good bargains and perfect pieces to add to the 'Pound Cake Drawer'. One of them was a local Craigslist ad for an unassembled Real Good Toys Victoria's Farmhouse kit and a brand new Cir-Kit Concepts Deluxe lighting kit. The guy only wanted $100 for both of them, and the lighting kit alone sells for $140.00. So long story short, I have a mega transformer that'll handle over sixty 12 volt bulbs. I can go nuts with lighting, if I want to! This is great because there are ten of the Zenith pendant lights slated for the first floor alone.

I have most all of the other lighting fixtures I'll need for the project, and some materials to make more if need be. Having everything I need makes me a lot more secure in thinking I can finish the project close to the vision I have my heart set on.


An added bonus to the Craigslist deal is that I have the Victoria's Farmhouse dollhouse kit here and ready to be assembled if ever a GrandBaby should come along! (Our 30 year old son got engaged in November so the 'Hope Meter' is spiking!) :O)


In order to decide on the layout of all of the lighting, including the Zenith pendant lights, I first had to make some decisions on the first floor ceiling. I knew I wanted some type of old fashioned coffered ceiling, but I didn't want to spend six months mitering dozens of pieces of expensive moldings. Instead, a simple stepped molding, using chipboard cut with the Cricut, seemed the right way to go. To add detail, I thought I could add supplemental wood moldings and/or embellishments. I drew up a rough design in order to help me work out the measurements.


Then, I was able to make the framework in the Cricut Design Space software. I tried to think ahead about what my future chipboard needs might be in order to use every square inch of the 11" x 11" sheets.


Because of the 11" dimension limitation of the Cricut chipboard, I had to divide my ceiling pieces into four sections - 2 squares and then two half squares.
I decided to make the grid in three layers - two the same width, which when stacked would reach a 4mm depth, then one 2mm layer just slightly narrower to create a stepped look. The first cut layer would have whole center squares left over to be used in the center of each coffer later on.


There was a whole pile of pieces to keep straight during the cutting process. To maximize the use of the chipboard, I made extra 3/4" circles in the waste areas of the second layer cuts. Some will be used as a base for the hanging pendants, the rest can be used as cake layer bases later on when it's time to fill the bakery shelves.

Remember the whole center squares which were leftover from the first layer cuts? I discovered that the chipboard material could be easily cut with my mini table saw. I was able to use the square center off cuts, cut down a little, to make a layer in each coffer as a base for the frame molding pieces. It is so thrilling to use every scrap and not let any pieces go to waste!


This gives you a better view of the pieces that are layered to make up the design. The fancy raised black detail piece is one I had from a set I purchased from Alpha Stamps a while back. I'd share the link but when I went to find it at Alpha Stamps, the page was gone! It used to be sold as "Large Sheet of Black Dresden Borders". The white piece you see in the center is the ceiling canopy for the pendant light. I promise I'll center it better before the glue comes near it. It needs paint, too.


For the stairwell opening, I was able to cut and reconfigure the coffer segments to outline the opening.


Gluing the chipboard to the ceiling went smoothly. I created an issue, however, with the ceiling paper. You see, I used a different kind of wallpaper paste this time. A gel rather than the old faithful Wallpaper Mucilage. I found the gel dried faster than I was able to get it applied on such a large ceiling area. To combat this, I applied an extra heavy layer. This may have caused the paper to pull/shrink more than usual, which resulted in the ceiling board curling slightly. I applied heavy weights overnight a couple times, and at every step between applications of the chipboard. Thankfully, it has mostly started to behave. If there is still a slight upward curve when I install it into the wall tabs, I will have to engineer something to push the second floor downward. Or disguise it in some way. Fingers crossed...


The coffers came out nice, but they definitely needed more detail!


I used some Dresden molding strips to emulate carved beams and frames. At the corner intersections I added bead caps, no hole beads and flat back pearls for extra detail. Luckily, the color I had in my stash didn't matter. Since everything would get a nice covering of spray paint, the color would be covered up anyway.


Before the painting commenced, to avoid excess handling after painting, I made a jig for the interior square so that I could get precisely centered, pre-drilled access holes for the pendant light wiring.


I sprayed several light layers of semi-gloss white in all four directions. There's a lot of detail to cover and the chipboard's raw edges tend to soak up the initial layers of paint. I let each paint session dry overnight before adding the next layer. I wanted to be sure that the paint was really set before I added the next layer. It takes a lot of time and patience to make miniature buildings!


I am not going to attempt to install the ceiling piece until it has cured at least a week, but it was set well enough to add the black Dresden detail pieces and the round bases for the pendant light canopies.


Meanwhile, I am prepping the walls and window frames, adding wallpapers and in general making decisions about the details. Like my other kit builds, the instructions act as a guideline but the order of things gets reprioritized based on ease of access in later steps. If I forget something now, I will have to suffer the challenge later on!

Wishing Each Of You A Truly Heartfelt, Happy And Blessed. 2020!

xo xo,
Jodi

Monday, December 23, 2019

Christmas Love From Germany

When Russ brought the mail in he was carrying a package and said
"I didn't know you were expecting anything from Germany".
I wasn't, but knew immediately that it must be from my wonderfully thoughtful friend Birgit!
I wasted no time opening what I knew would be a heap of awesome treasures!!!

An ornately decorated handmade card featuring Fluby and Rosey!


A box of delicious genuine German marzipan. Fluby and Rosey are even on the label!


A 2020 calendar featuring monthly photos of Birgit's incredible flower garden presented by Fluby and Rosey. Just look at August's hydrangeas! So beautiful!


There were also four containers filled with tiny treasures...


The first box had a note that said "We're magical vegetables looking for a place in a shop run by a very friendly witch". Of course they meant Fiona the friendly witch and the Autumn's Pantry shop! They are absolutely charming additions to the gang and when introductions were made this morning all became fast friends! What incredible characters they are, and what a talented maker they have! Just look at those mushrooms!!!


The next tiny box had a note and a gift that reveal just how thoughtful and generous our friend Birgit really is! So long ago I had mentioned wanting a radio for the Storybook Cottage kitchen, and she remembered! And she sent this perfect little Playmobile radio! A tiny boom box in a tiny box! It comes apart so that each of the features can be painted individual colors. I can't wait to paint it to match the kitchen! Yippee!


And when I opened this box I squealed! Three tiny perfect snowman ornaments! A gift for the Sweet Christmas Cottage's tree!!! Will you look at those tiny carrot noses?!? The scarves?!? These are just too precious! Thank you, Birgit!!! I can't wait to have a minute to play later so I can get them on the tree!


And in the last box - what a bonanza!!! There are tiny wonderful things to use as decor pieces and so many beads and baubles to make things with! Those gingerbread guys are definitely joining the snowman in the Christmas cottage!!! The little horse! The green clock! The happy duck! The succulent in a mug! So much fun!!!


It was such a wonderful surprise to receive these gifts of love from my lovely friend Birgit! Thank you so much, Birgit! Your thoughtfulness has made my day and I love having treasures made by your creative hands in my dollhouses!

I'd be really surprised if any of you did not know who Birgit is or already follow her magical blog BiWuBären on the Blog. She makes the most incredible tiny bears, and two of them, Fluby and Rosey, write for Birgit regularly about the happenings in Birgits tiny world. There are so many wonderful things to see and so many delightful characters who make regular appearances. If you haven't already, I highly recommend you head over and read her blog from cover to cover! You'll be delighted with her wit, amazed by her creativity and charmed by all her little friends!

Thanks again dear Birgit! You are truly a treasure!

xo xo,
Jodi