I'm sure it's no surprise when I tell you that getting to the decorating part of a project is not only exciting, it is also chaotic, messy and leads to all manor of rabbit holes! I had planned on completing the exterior of the New Orleans, but while I waited for the weekend to arrive and for Russ to come home with my perfectly cut piece of plywood, I still had momentum and wanted to keep going. I thought I might as well make up the sofa kit, a decision which opened Pandora's box. Before I could argue with myself, I had opened the "New Orleans furniture and decor" drawers and had bags and boxes everywhere! It was delightful, as many of the things I saved were purchased over three years ago when I bought the kit and began planning. It was like a shopping spree in my own stash! And after all this time and faded memory, I still love the colors and themes I'd dreamed of so long ago! What you see below could be called a mess, but I like to think of it as The Creative Process.

Since I started with the sofa, I had to get out the living room chairs and the coffee table for a test arrangement. I am so happy that the pillows I purchased two years apart from the sofa fabric (which reminds me of Hubble telescope photos) are a match made in the heavens! I still have to make the sofa pillows, probably navy blue and gold, and decide on one of four test rugs to print on fabric. I also have to put another two coats of the metallic paint on the unfinished coffee table. Then I can make and load in all the decor items for this room.


I was really excited to begin working on the kitchen. I had all kinds of neat stuff saved to go in it for so long and couldn't wait to see it come together. But because the dining room can only be accessed through the kitchen, I figured I'd better get that room's large furnishings decorated and put into place first. I still have to test some rugs for under the table, raise the chandelier a bit, then make a floral arrangement centerpiece for the table. I did make up three plants for the bay window sill.


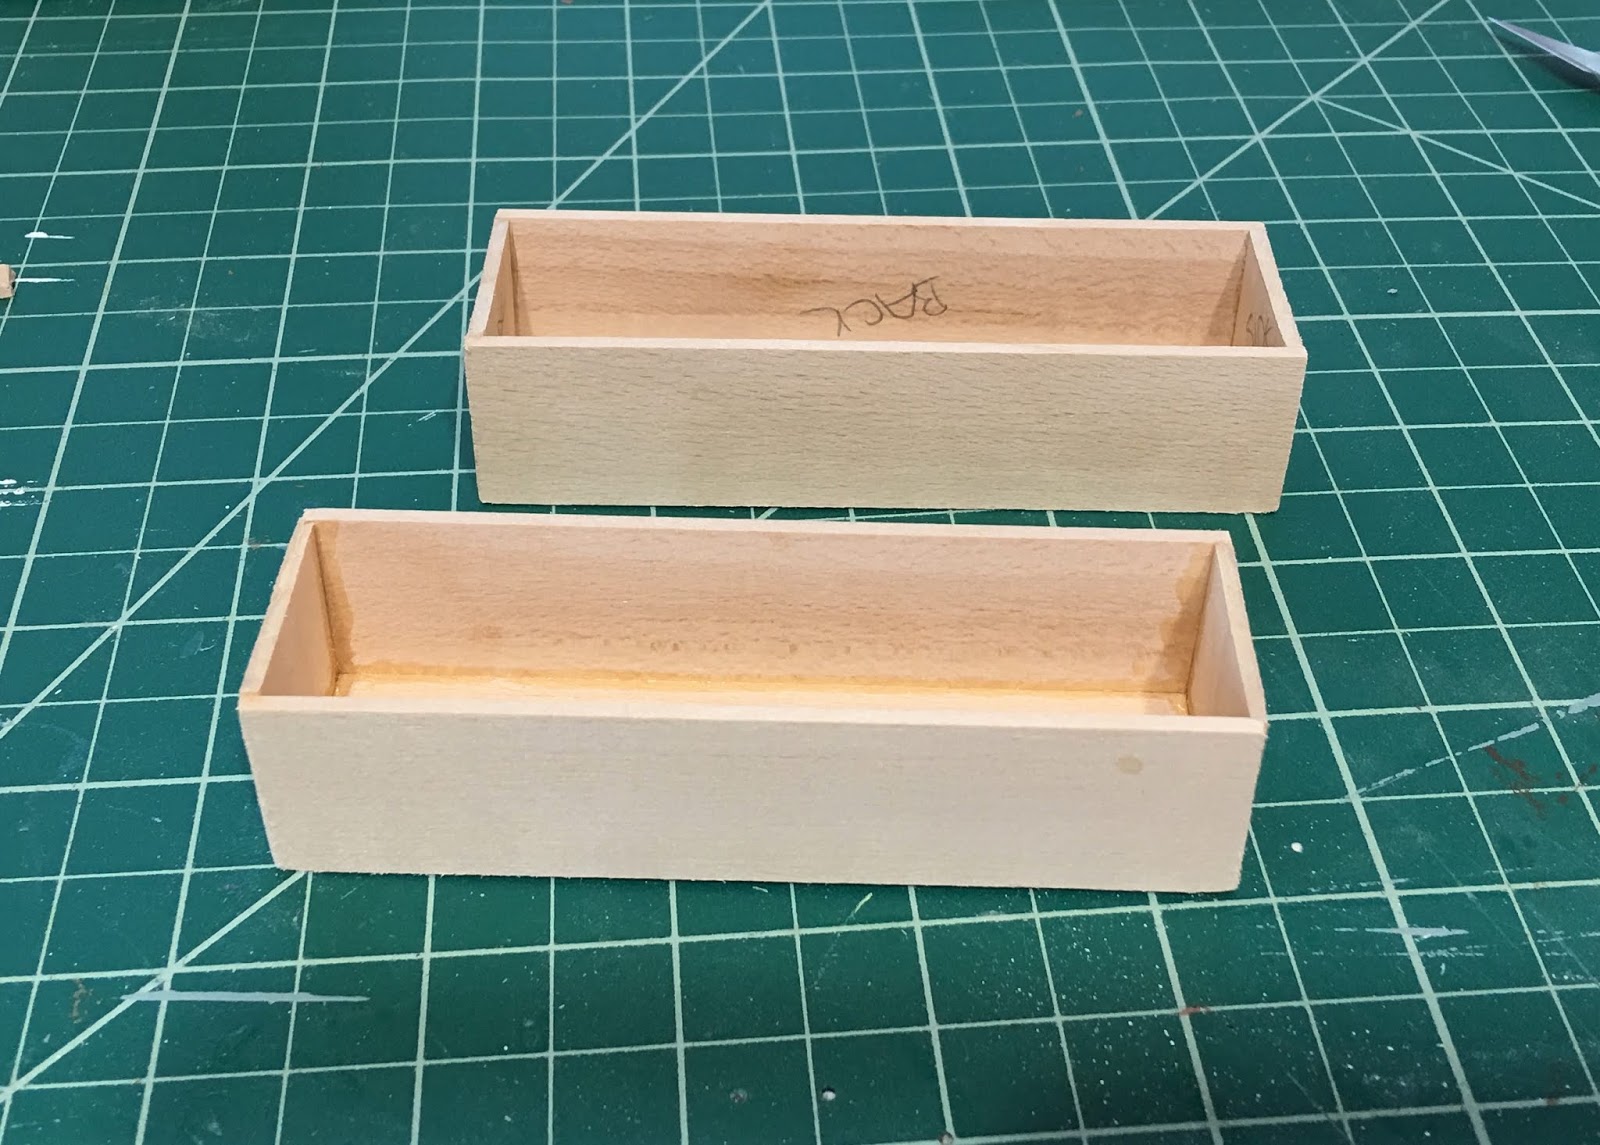
With the dining room well on it's way, it was finally Kitchen Time! I wanted to have a center island, but the original piece I'd planned turned out to be too big. So instead, I dug through my kit drawer and found a wine table kit I'd picked up a long time ago from Menutmon on Etsy. Again, bummer he's not still in business as he had some really unique pieces. I was able to add square silver beads to the legs and make a larger butcher block top from 1/4" x 1/8" strip wood. That made the perfect height and length so that my fleur-de-lis stools could be utilized. I am so happy to have discovered using alcohol ink on fabric, as I was able to just dye the stool cushions indigo to match the island base and the main theme color of the kitchen decor. I also adjusted the shelf height to accommodate the stand mixer, leaving just enough space for the wine bottle rack.


I had a large chinoiserie tea set as well as a navy blue set and some cobalt glass pieces to mix and match for the kitchen. I also had a square dinner set from my Shapeways store and some unfinished bisque pieces to add to the lot. I painted them in the same blue acrylic paint as the island - a cheap basic Joann's brand I've had on hand since 2008!!!


I picked out some delft fabric online and then used it to print out towels, apron, rugs and a roman blind for the kitchen window. I know some of you have mentioned on your blogs that you do not like things to match, but I find myself most at home where there is symmetry, and prints and patterns in the same color just make me feel happy! I'm sorry though if it just isn't your cup of tea!!! :O) I made up some plants and herbs, some Louisiana cookbooks, a knife magnet, some utensil crocks and a chalk board sign. I will save some space for future food scene and wall art inspirations.

I always have trouble with my camera and lighting situation, so I've taken photos both with the lights on and off. My camera tends to read the lights as intensely yellow, but with the naked eye they just look like warm household light. I have made some editing adjustments using the computer's software to try to compensate for that a bit.
Stove Side


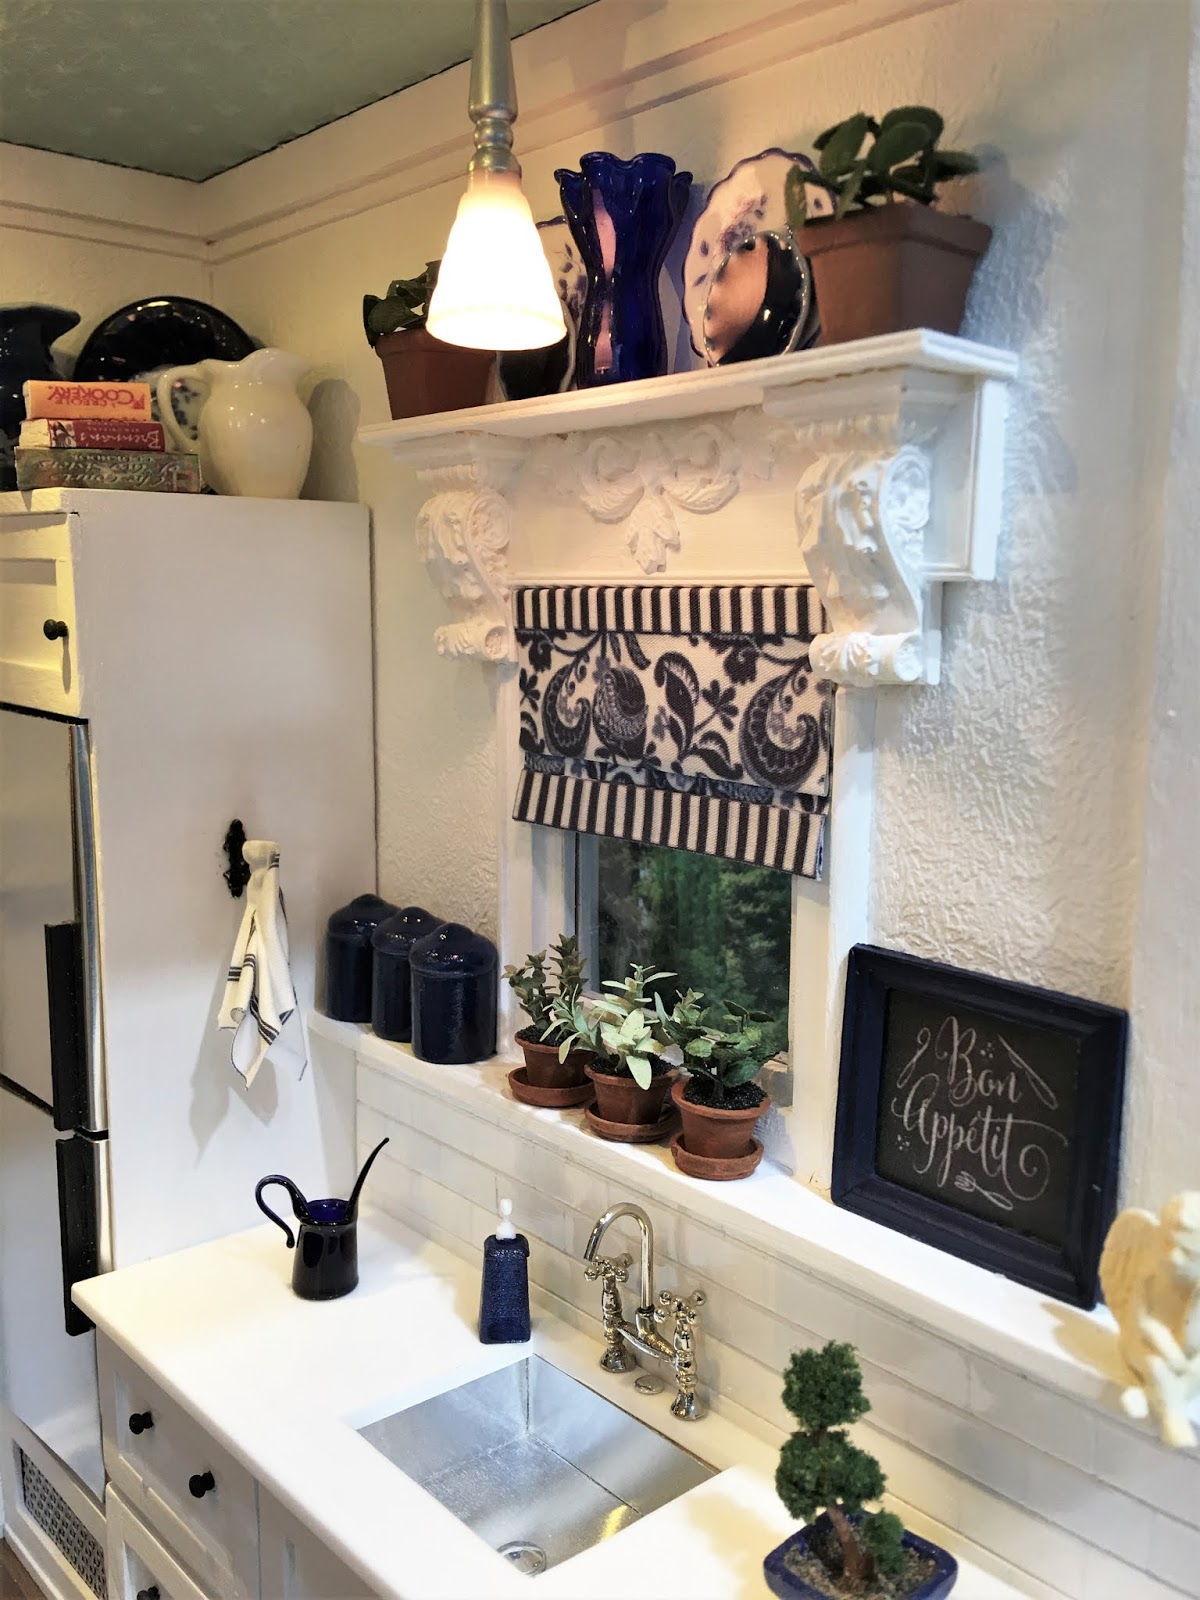
Sink Side


Entire Kitchen


It is so fulfilling to finally see this kitchen as I had dreamed it so long ago. That feeling is intensified by the fact that I had let this poor kit languish, half done, on the shelf for so long. But gleefully, inspiration has returned and it feels like I am keeping a promise. I can almost feel the forgiveness and gratitude radiating from the New Orleans with each piece I add.
Are you waiting for inspiration to return? Do not fret, for I have learned that waiting can be The Creative Process, too!
xo xo,
Jodi