Search My Blog!

Use the Search box below to find keywords that you're looking for quickly and easily!

Search Feature

Showing posts with label Storybook Cottage Dollhouse. Show all posts

Wednesday, June 13, 2018

Storybook Cottage - A New Chapter

Okay, enough with the rotten side of life. I'm going to focus on the joy! I will update the Buyer Beware post as new information surfaces...


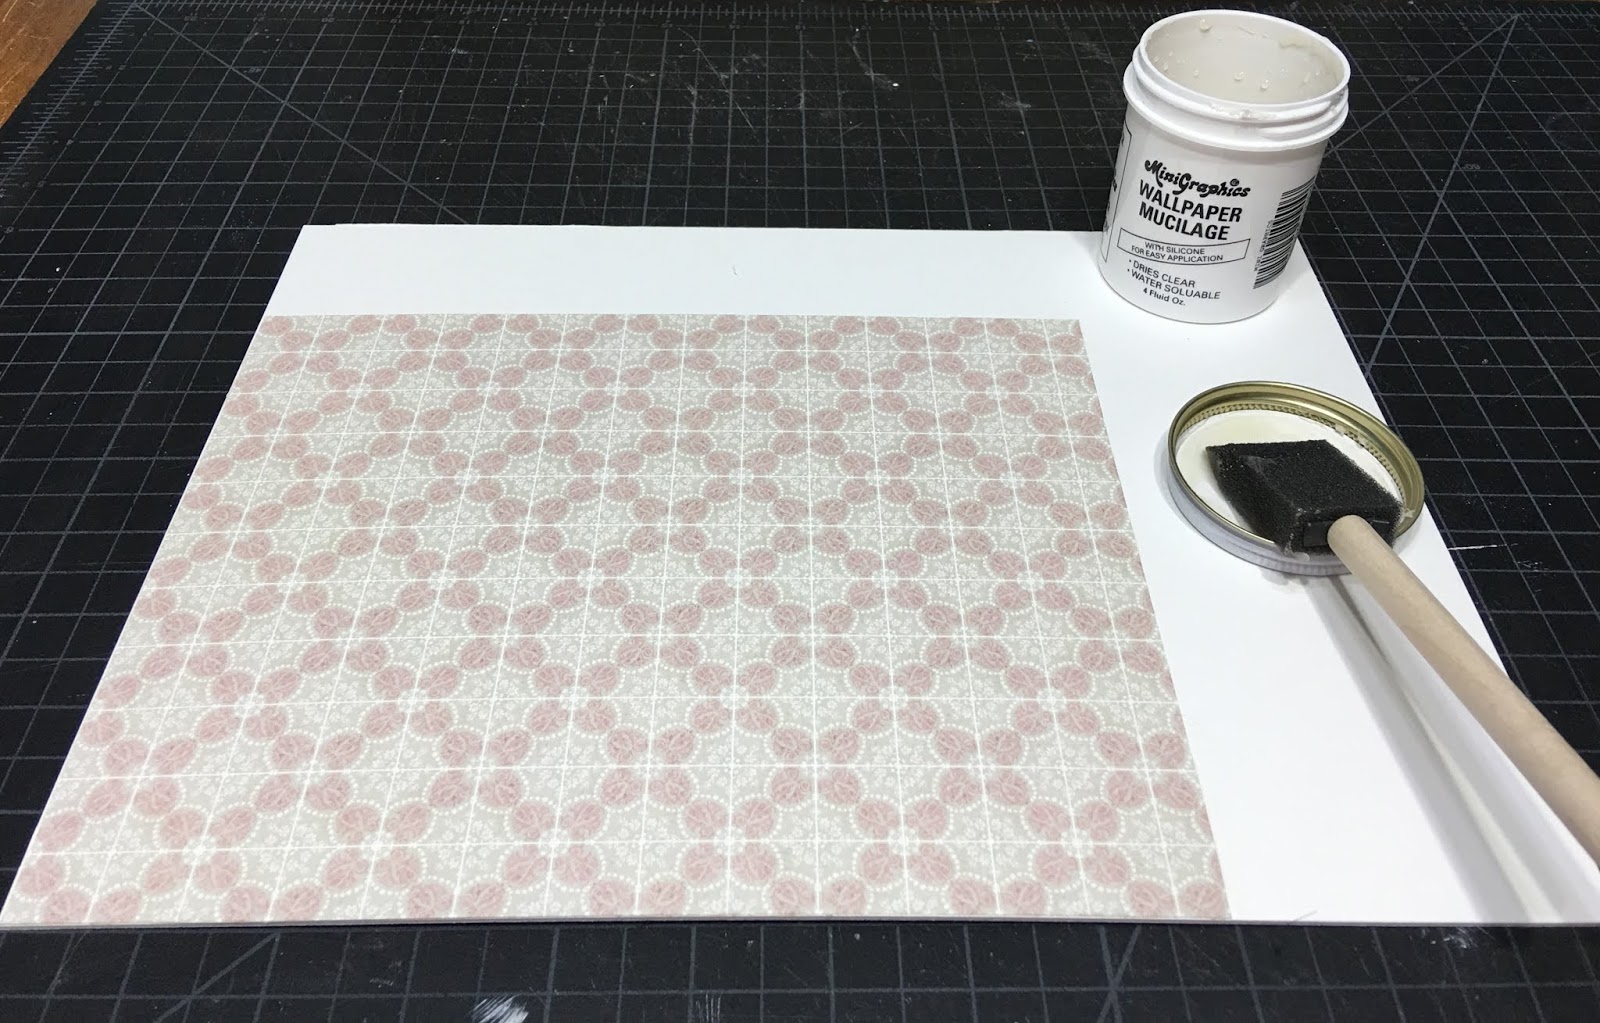
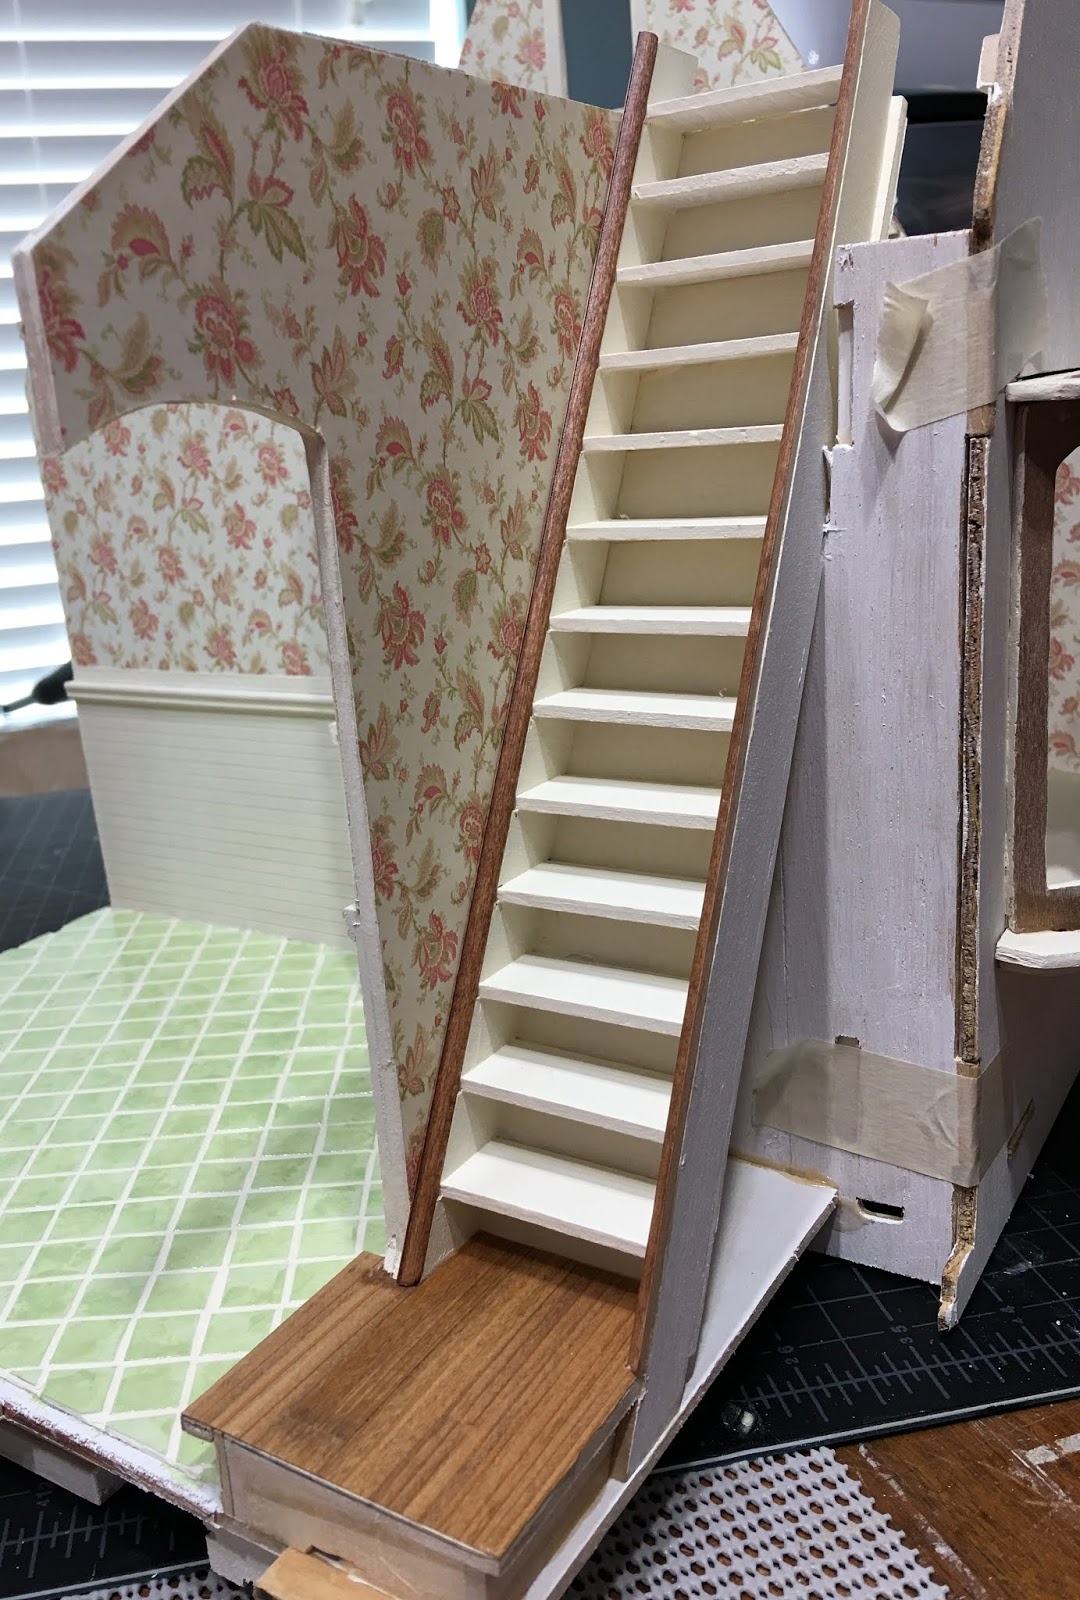
I am really looking forward to starting on the exterior of the Storybook Cottage. So, in order to get there, I needed to get the rest of the walls erected, then finish off the interior trim work. Before I could attach the stairwell wall, the stairwell needed to be completely finished off, decor and all. There will be extremely limited access once the wall and roof are attached.

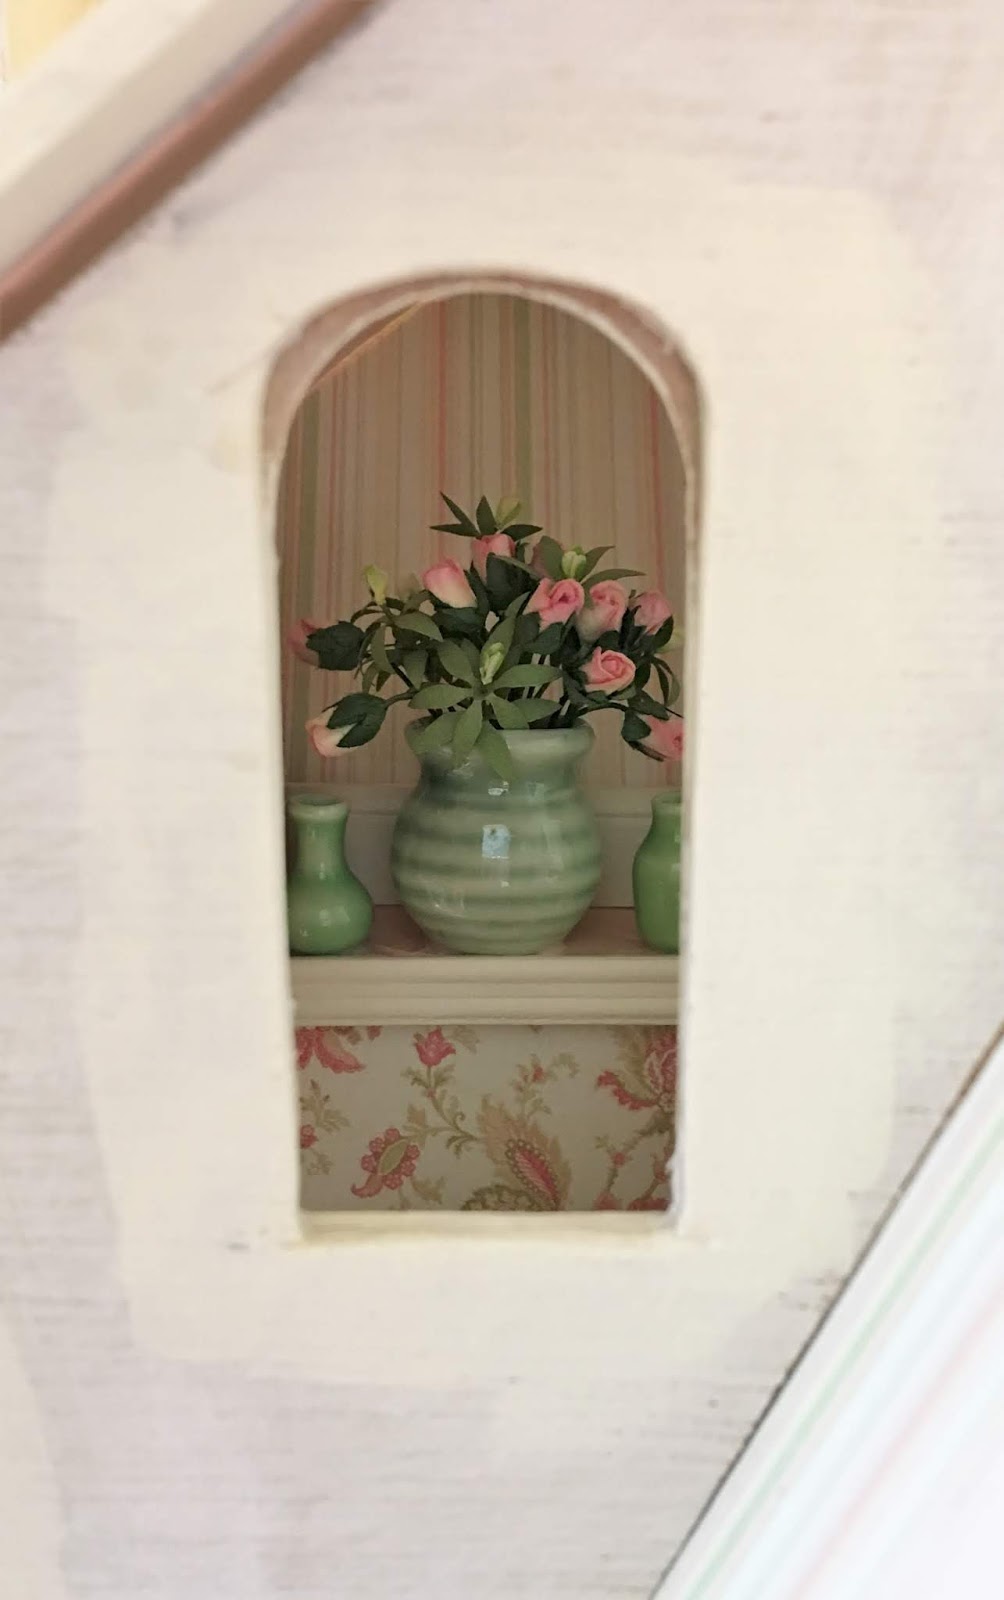
I finished the display shelf trim, then using mass produced roses and leftover buds and leaf stems from the vanity project, I made up a vase of flowers. The basket and smaller vases did a nice job of completing the space.


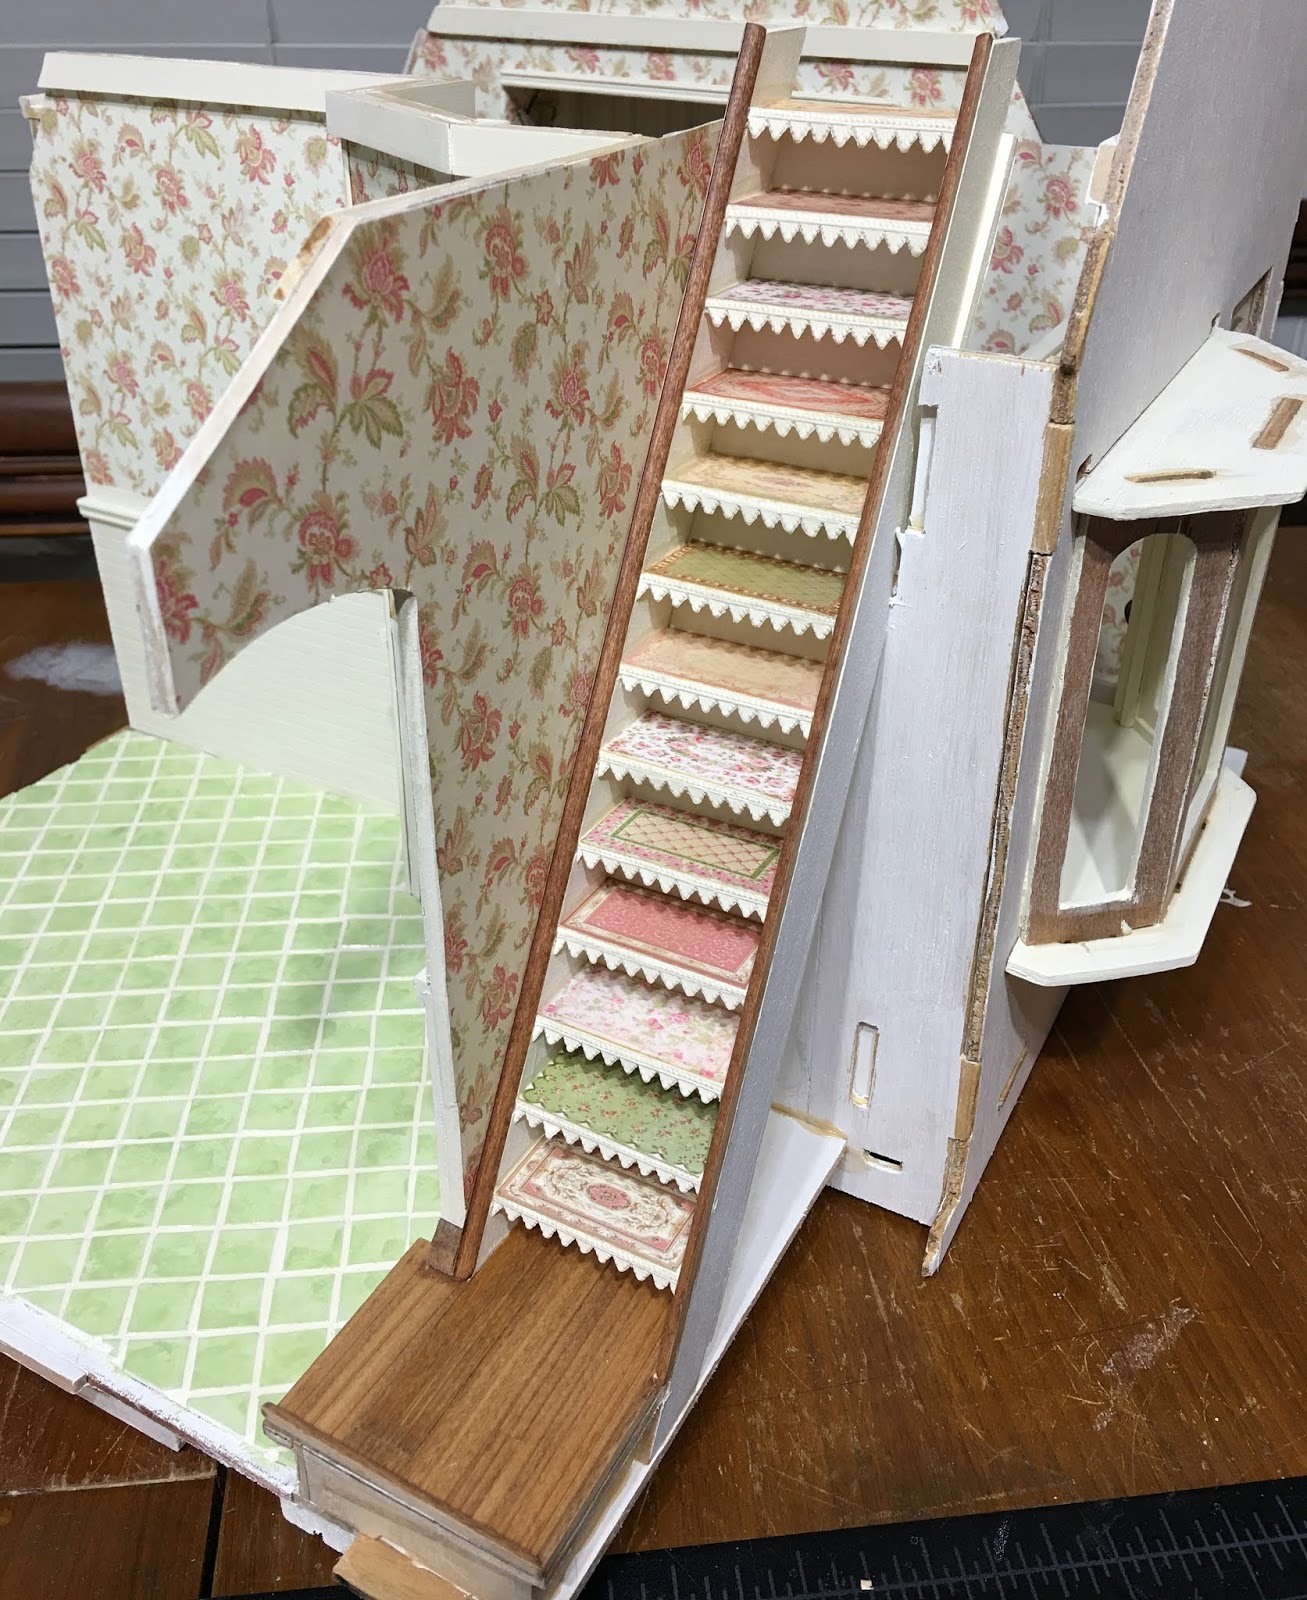
Here's the view looking up the stairs to the landing where the dormer window will let in some light.


I centered the vase to be seen through the upper arched stairwell window...


And the clock face in the lower...


Here's a view of the front of the cottage to re-orient you with where those peek-a-boo windows are situated. They are the two small windows going up the stairwell wall.


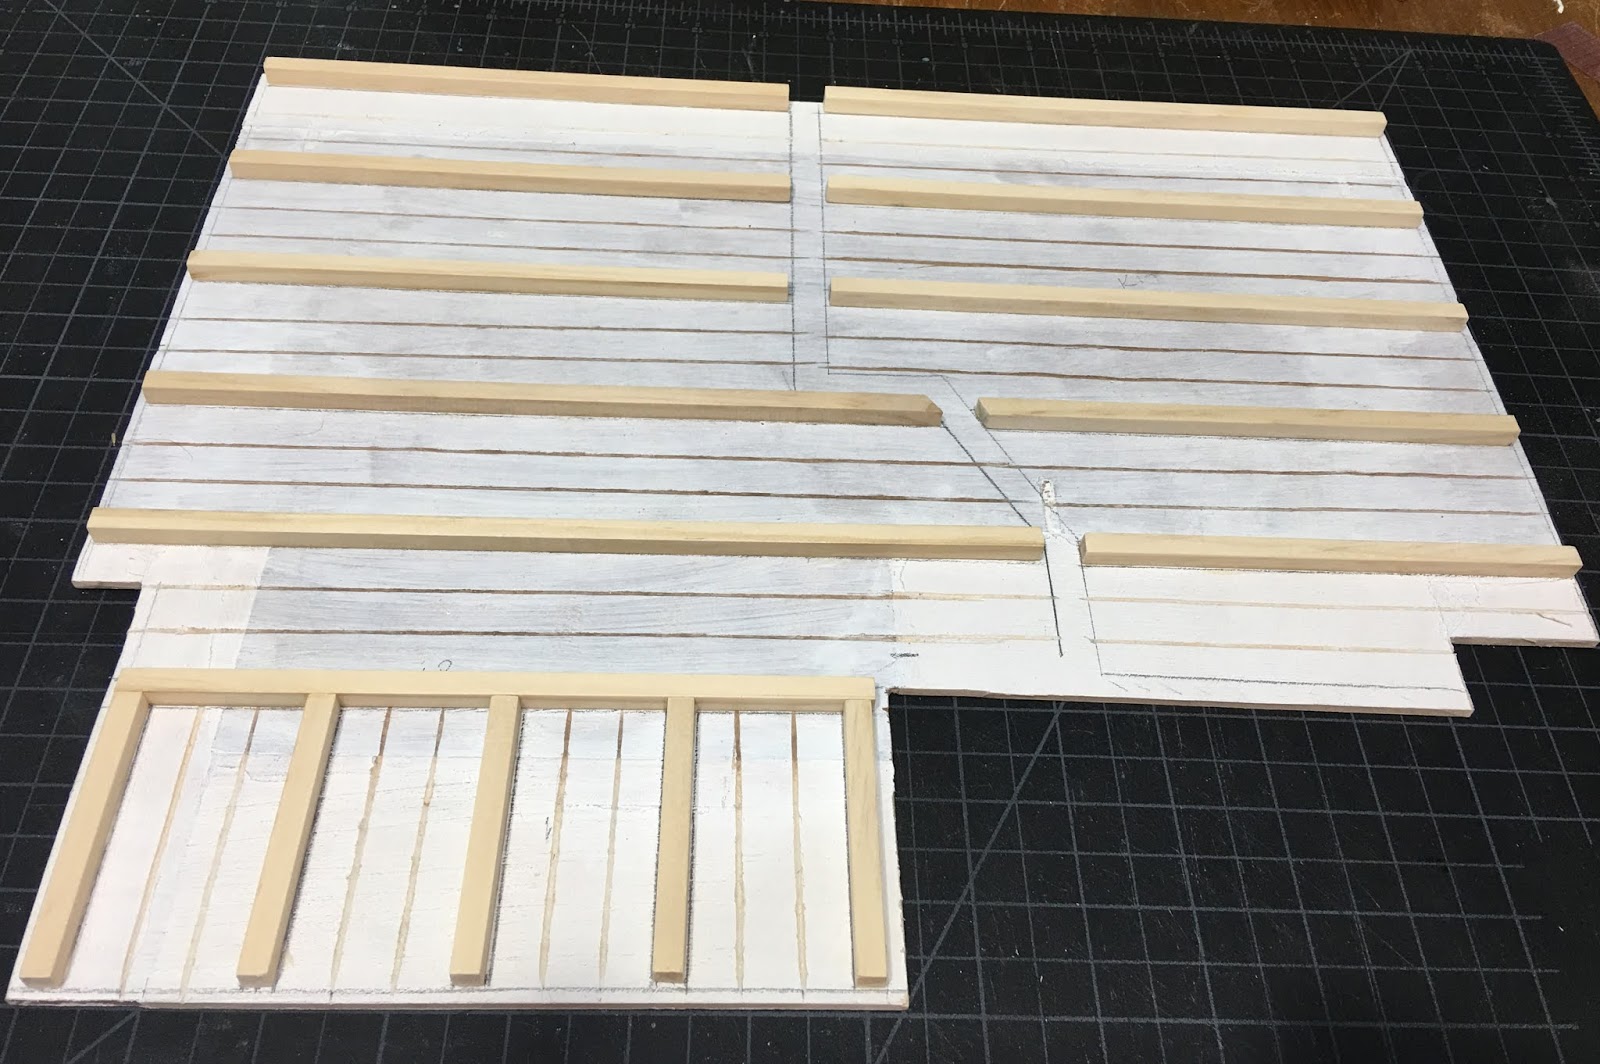
I made a lot of trim work for myself with all the changes I made to the kit. It was slow going cutting and fitting all those angles. They say the camera adds ten pounds. Well, it also adds cracks and flaws to all your finish work. I see some areas now that still need a little attention. But overall, I am happy with how things are looking.


Above is the stairwell landing with the built in bookshelf and added dormer window, and below is the bedroom space. The bathroom door has the same frieze application of the potted tea plant to match the doors downstairs.


And here is the bathroom with the built in cabinet and beadboard tub surround. The trim work I did on this dormer isn't as nice as I had hoped, but will fade off into the background with everything else going on in here.


And here's how the back opening looks, so far. Once I touch up all the trims inside, I can attach the back finish pieces and the shed dormer upstairs. Then, begin on the exterior.


It's looking like a happy place, and one I'd love to spend some time in. That's a good enough feeling for me, and I really do love it!

Thank you all so much for being on this Storybook adventure with me!

xo xo,
Jodi

Friday, June 8, 2018

Storybook Cottage - Second Story

As happens in every mini build, I have reached the Chicken or Egg conundrum. What makes the most sense to do next? What order do I want to finish things? I affixed the center wall, finished the trim work on it, then decided that before I really attach the kitchen sink wall, there were other things I better do first. Like the second floor. It will be easier to install the floor first, and then the sink wall. Trust me - I've practiced! But first, there was a lot of work to do on that piece, floor and ceiling.


On the side that would be the first floor ceiling, I drew around the center wall with pencil so I'd know where to apply the ceiling beams. I got all the 1/4" x 1/4" beams cut, and drew around them so that I could score faux boards into the sections in between them. I tested the fit, then gave it three good coats of paint.


For the second floor's flooring, I decided to do tiles in the bathroom and more of the same wood floor in the bedroom. I had purchased a tile wallpaper sheet made by Itsy Bitsy Mini. I thought it was going to be perfect. So, I applied it to illustration art board with wallpaper paste, then cut it into tiles like the kitchen floor.


I laid it on the diagonal again, got it all glued down and grouted (over two evenings), then hated it. The tile pattern itself does not lend itself to being laid like that, so it just looks crooked. Also, because I worked so late, my lines got wonky and I didn't notice until it was too late or I didn't care anymore.


So, rather than rip them all off, I did the only other thing I could do: I painted over them.


These will not be grouted, as after I did the third grout and repaint session, I didn't like the grout. So, they are what they are and they are not terrible so this is how they shall remain.


Meanwhile, during endless drying times, I worked on the stairs and another little art project for the stairwell. The stairs got their treads decoupaged in shabby rug patterns found mostly on Pinterest, and then were edged in "lace"...


And then for fun the risers got words associated with teas decoupaged onto them.


The art hanging is comprised of a clock, sign and three hanging photo frames. I made something like this for my real life house back in 2009 and I really like it.


A cabochon frame holds the printed clock face with teapots for the numbers. I attached tiny watch hands and then encased the face and hands in Glossy Accents. The one thing I will do in the future is seal the clock face before applying the Glossy Accents - it seems to have blurred the ink a bit. The frames are the unfinished metal kind you find on eBay, and the sign part is 1/16" thick basswood with wainscot trim added to the top and bottom. My printer and graphics program are coming in very handy for this project!


Here's the sign in the stairwell. Once the wall is up, you'll only be able to see it through the windows.


Hopefully the next few steps will go much smoother than the bathroom tiles did. I hope to be back in a couple days with erected walls to share!

It has been pretty lonely here, mostly at night, but I am grateful to have three sweet doggies to keep me company. Russ will be home Sunday, but then back up north to work again for the week Monday morning. Keeping very busy is the only saving grace!

Have a great weekend!

xo xo,
Jodi

Sunday, June 3, 2018

Storybook Mini Multi-Tasking

Our camping trip was wonderful - the skies were blue, the sun was shining and the daytime temperatures were in the high 70's with a pleasant breeze. Nothing like enjoying a campfire under the stars on a warm spring night...

Though it was a short week, I managed to get quite a bit accomplished on the Storybook by having several tasks going at once. While paint, stain and glue dried, I had something else queued up to work on. I guess that's called Mini Multi-Tasking! Russ was back up north for work, so aside from the puppies giving me dirty looks, staying up late to work was guilt free.


I finished installing the interior window trim and front door, then permanently affixed the stairwell, front and left walls to the first floor. While this was setting up and drying, I made the pattern for and stained the wood floor for the living and dining rooms.


During it's drying time, I began to make the tiles for the kitchen floor. I wanted to get a glazed saltillo tile sort of look using illustration art board, paint and glaze. It's amazing how the board curls up when wet, then dries completely flat. Once it was dry, I began cutting 1/2" x 1/2" tiles.


I drew lines from corner to corner to find the center of the room, then began laying the tiles on the diagonal using 1/16" spacer boards and securing each tile with Tacky Glue.


While that set, I installed baseboard and other trims into the living room.


To make sure none of the tile's white edges would show after grouting, I gave the entire floor another glaze and paint treatment. Then I sealed with a heavy coat of semi-gloss glaze and let that dry overnight.


The next evening, the floor was completely sealed, dry, and ready for grout. I mixed about two teaspoons of Vintage White in with about a half a cup of DAP DryDex Spackle and pushed it into the cracks with my finger. Several times during the application, I removed the excess spackle on top of the tiles with a sponge and a soft touch. In the past, using Mod Podge as a sealer over egg carton stones, I had issues with moisture penetrating through the sealer. Wiping the spackle removed the top layer on the stones and left it nearly ruined. From now on, I am using a gloss or semi-gloss glaze or varnish to seal before I grout. It leaves a tougher, non porous shell. Then once the grouting is done, I can seal again with the finish sheen of my choosing.


Since I wanted the glazed saltillo tile look, I sealed with a good coat of Triple Thick and let that sit nearly 24 hours. I love the way they came out, though it is hard to get a good photo of the shine.


Meanwhile, during all that drying time, I printed some art work I've been collecting, as well as some patterns and matting for frames. I had a variety of frames, some finished, some pot metal and some plastic, all of which got a treatment of gold paint marker. I made some art hangings using chipboard tea pots and laser cut letters. I assembled art work and installed them in places that will be too difficult to reach once the structure is permanently assembled.


I have so many more wall decor items to make, including clocks, flower swags and signs, but with Russ home for the weekend I wanted to put them aside for now.

I did begin the stairwell... Just the wood floor and stained trim pieces. I am looking forward to trying a decoupaged look on the stair treads, and have many things to make for the stairwell wall.


Russ will be away again, this time for a week. I'm fortunate to have plenty to keep me busy, because missing him is slightly tempered if my mind is very occupied. Hopefully, I'll make the most of my free time, and have more mini goodness to share this week!

xo xo,
Jodi