Search My Blog!

Use the Search box below to find keywords that you're looking for quickly and easily!

Search Feature

Wednesday, October 23, 2019

Big Plans, Little Progress...

Greetings fellow mini addicted! I am afraid what I have to share is pretty sparse this week. I have done a little in a lot of directions, but completed nothing!


I painted the lamps and shades for each of the roomboxes, and painted pots and worked out the plants that will be planted in the pots for the atrium windows. I have yet to actually plant them.


I also began working out the chair designs for the rooms, first finding a chair style I liked and then trying to work out how to make it.


I have drawn up the pieces for the chairs, then imported them into Cricut Design Space.


I cut them from kraft board, and as I am making each of the three prototypes, I am taking notes on what needs to be changed on the pattern pieces. So far, it's not half bad. Just time consuming.


Russ was visiting his mom for a long weekend to celebrate her 71st birthday and to help her knock a few things off of her Honey Do list. He came home Monday with a clear schedule and some wicked home improvement mania. We'll be doing a little home improvement to our family room over the next three weeks, so my mini creating time will be very limited. Here's what the room has (mostly) looked like for the past 11 years...


I'll share some after photos as soon as we're done. It's going to look very different!

I asked Rusty if he'd mind helping a little. This is what he said...


I think we're on our own, lol! See you next week!

xo xo,
Jodi

Friday, October 18, 2019

More Scraps, More Leftovers and More Possibilities

After finishing most of the the construction for the Mid Century Modern bookshelf roombox, I was ready to tackle the Modern Modern version. The differences in these styles, from what I could learn, are subtle. I did my best with more of my scrap materials and on hand crafting supplies.


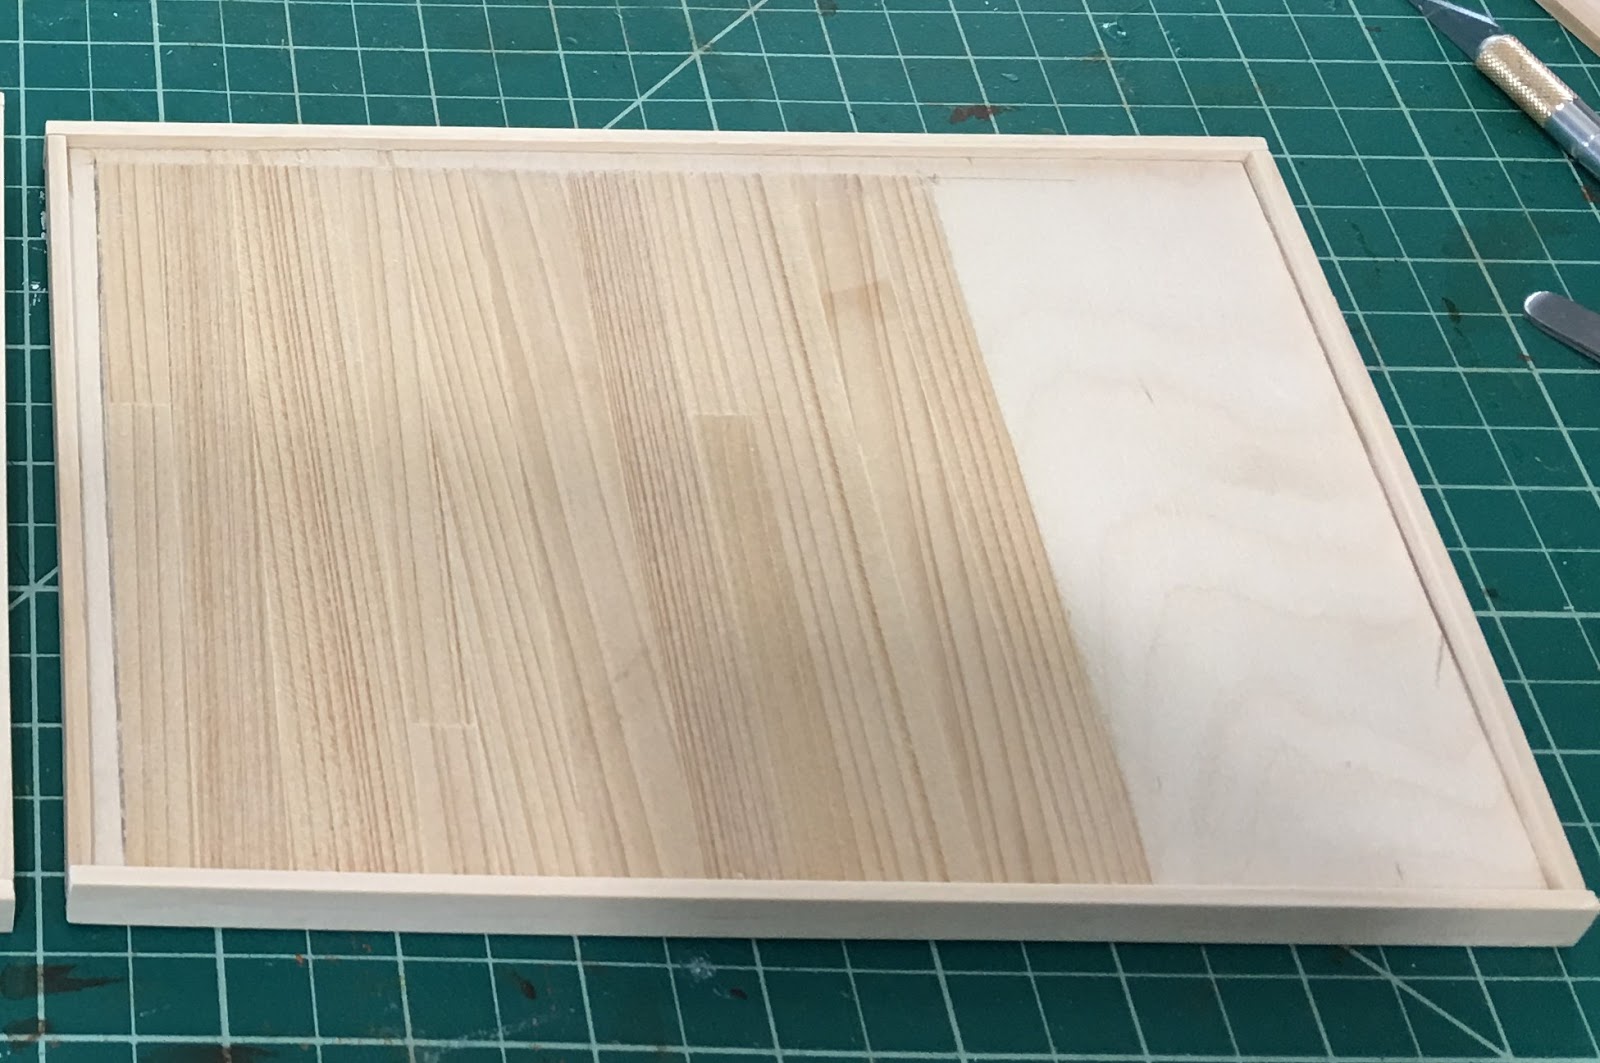
This box began the same as the Mid Mod with scrap 1/4" plywood cut down to 8-3/8" x 6-3/8" for the base. Luckily, I had one more scrap of leftover random plank flooring that would work. I just needed to lay it in the opposite direction.


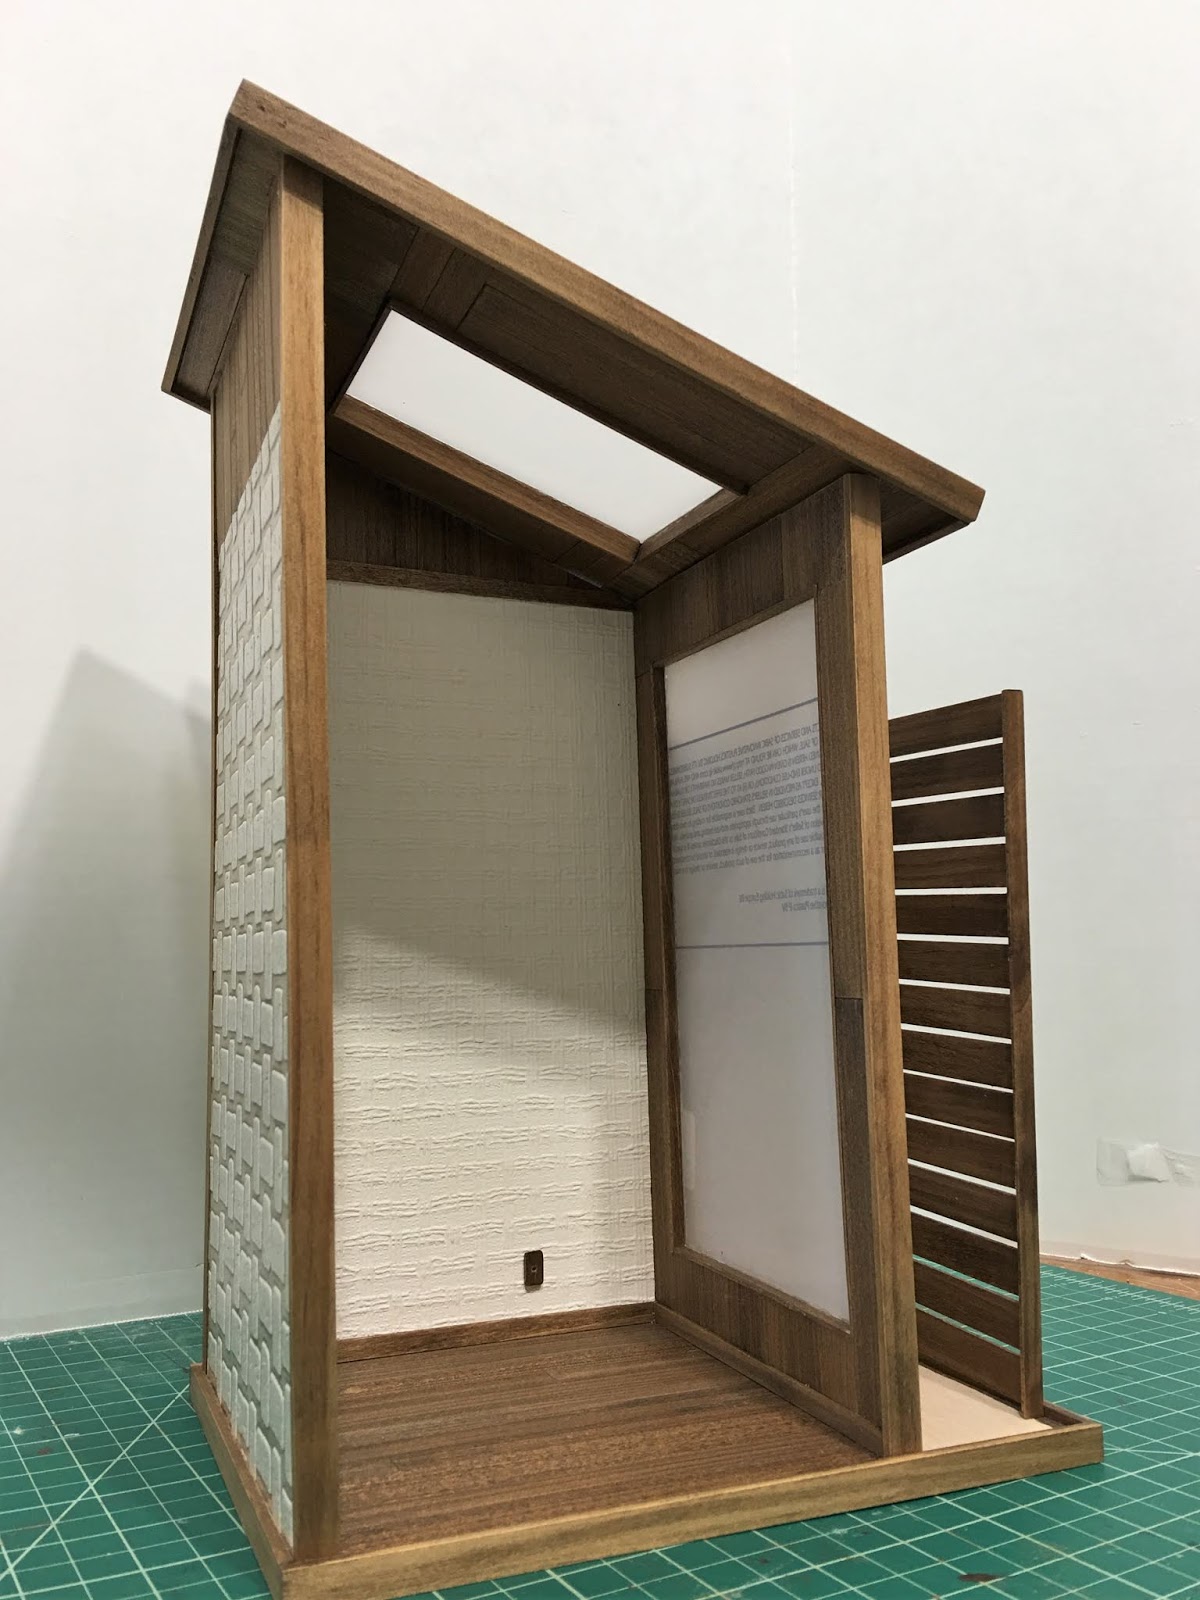
The walls were constructed the same way, as well, using 3/16" foam core scraps. I had to glue a couple pieces together to gain the wall height I needed as I did not have a piece that was 12" high. I have a lot of Magic Brik tape and mortar in my supplies, so I decided on that finish for the main section of the interior walls.


Once the mortar was dry, I painted the wall with warm white acrylic paint.


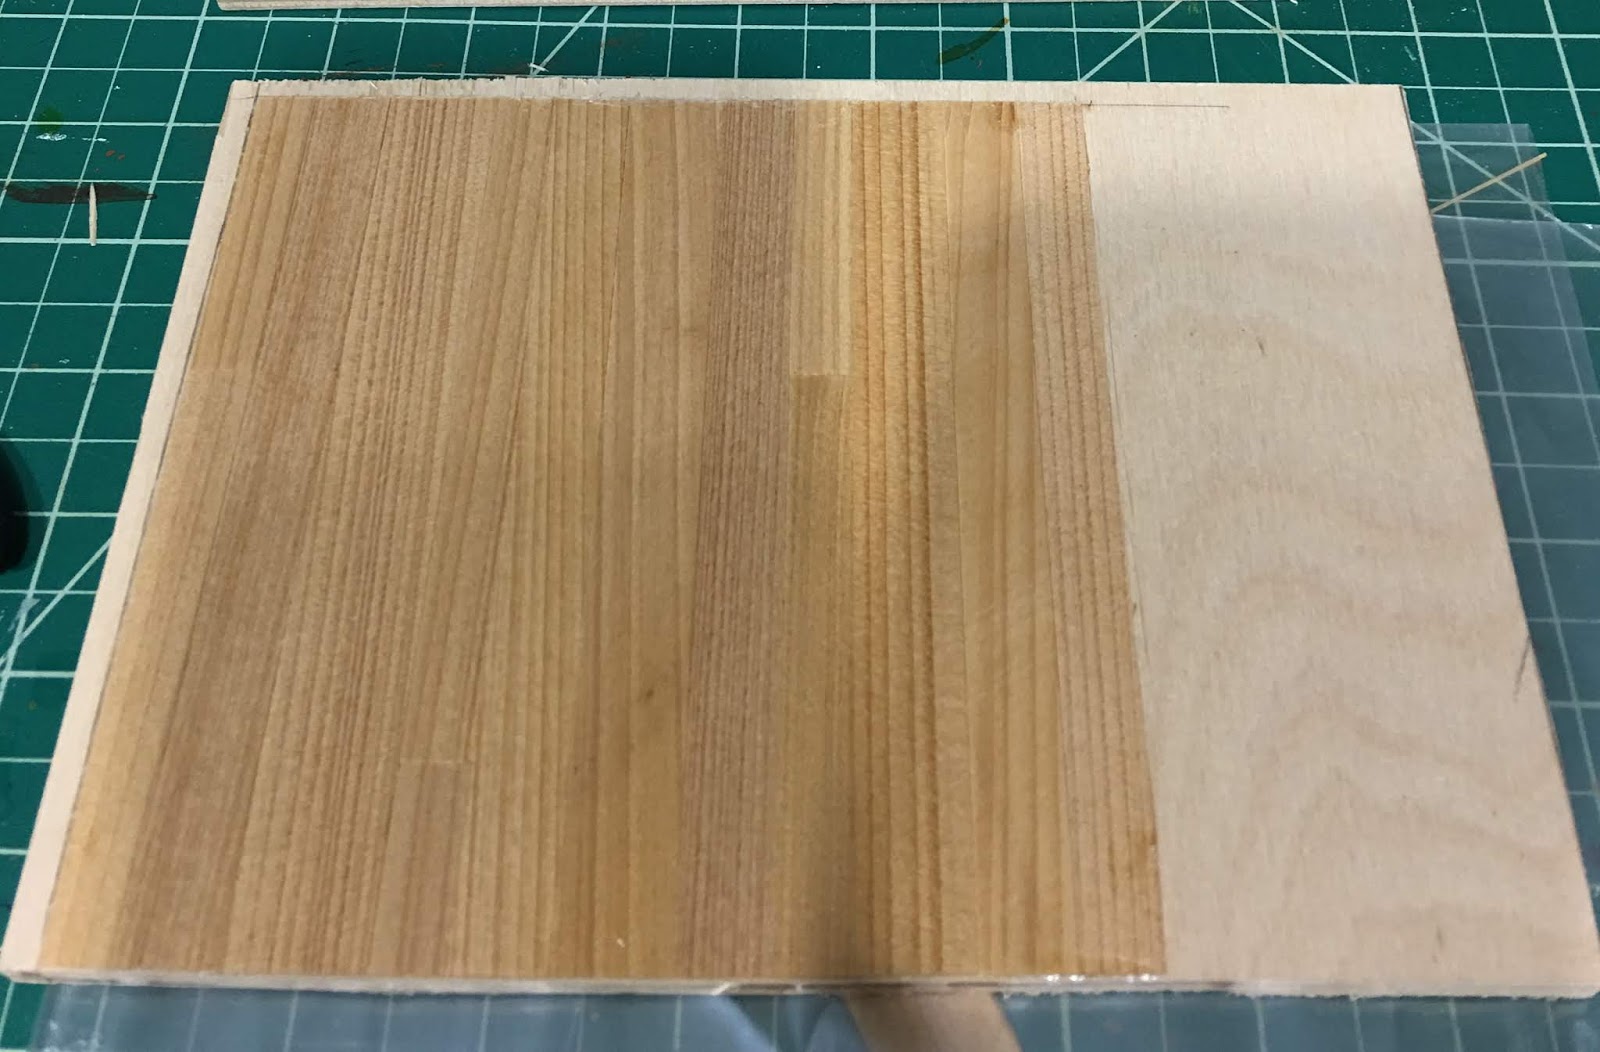
For the stain in this roombox, I wanted to go lighter. Luckily, I had a leftover Cherry Minwax Stain Marker to use on all the trim and floor. I also had some really pretty veneer, and the cherry stain gave it just a touch more depth.


I added the veneer to the tops of the interior walls and clad the window wall entirely.


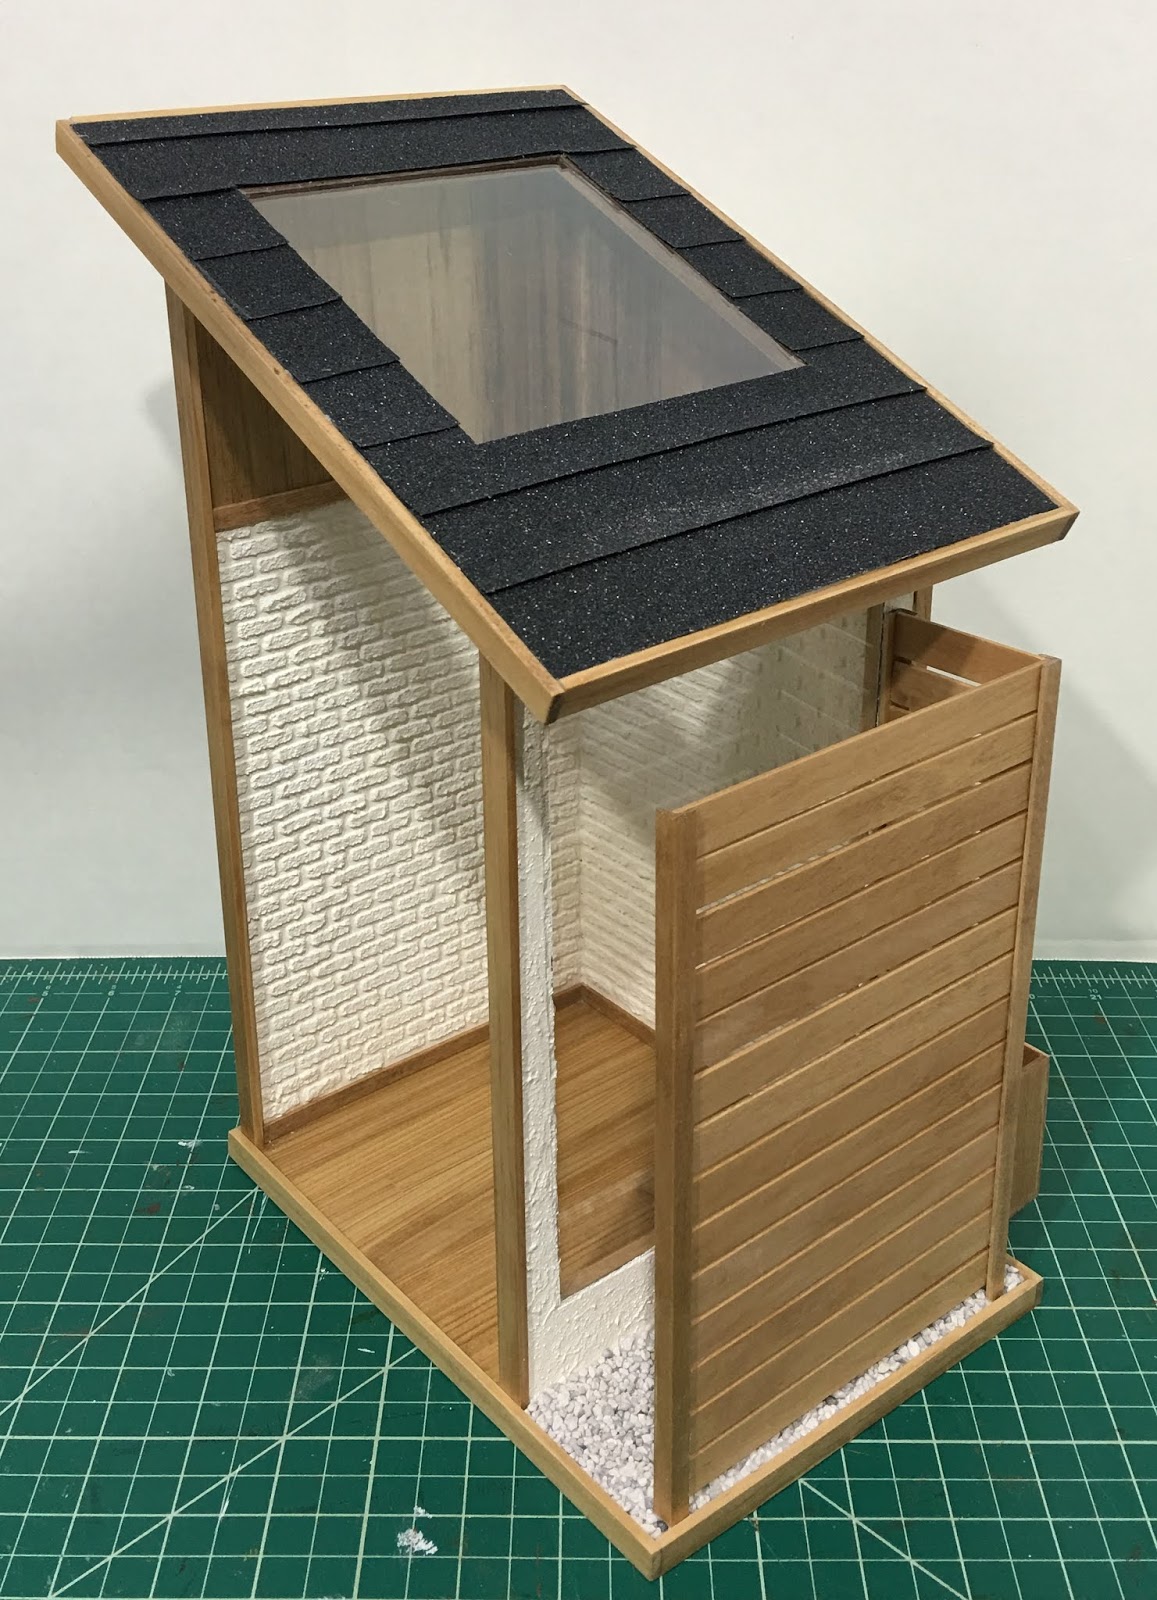
I stuccoed the exterior walls using more of the Magic Brik mortar mix pounced on with a paintbrush. It's painted in warm white, too.


Main structure installed onto the base.


For a modern looking exterior feature, I laminated more of the veneer to scrap strips of wood. They came as packaging to protect speed shingles and are awesome because they are perfectly square and exactly the same size. I glued them onto the veneer, using a board and heavy weights to keep them from curling, and then cut them away from the veneer sheet. I used 1/2" square and 1/16" high Woodsies, one mounted on each end of the strip, to raise them up from the surface of the wall.


The window atrium fence was constructed the same way as the Mid Mod version. This time, I had to use 3 new pieces of 1/2" x 1/16" basswood stripwood because I had used up all my scraps. I also had to use one new piece of 1/4" corner molding.


The roof was constructed in the same manner, as well. Foam core base, leftover Lexan for a skylight, leftover grip tape for the roofing, but because I didn't have enough of the veneer left, I used a scrap piece of textured ceiling paper for the ceiling.


I filled in the atrium ground area with railroad gravel, because the plants and flowers will be in pots. There is also a basket for the battery pack.


Here are the Modern Modern and Mid-Century Modern roomboxes side by side. The differences are subtle, so hopefully the decor will help tell the story.


And because having a little person in the structure always helps to visualize the scale, the ladies have agreed to assist me in a demonstration.


Just large enough for a detailed little scene, but small enough to enjoy when space is at a premium in the real life house.

During the next batch of mini time, I hope to begin looking through my plant making supplies and raiding my kit and accessory drawers to see what I can come up with to create some fun little modern scenes. I hope you are all finding batches of fun mini time, too!

xo xo,
Jodi

Wednesday, October 9, 2019

Scraps, Leftovers and Possibilities

A common trait amongst us mini obsessed is to never throw anything away. I myself have been guilty of (or smart about) this very thing throughout my entire mini phase. Even during my nine year hiatus from minis, I had kept a rolling cart full of bits, bobs, leftover kit pieces and scraps of wood. It won't surprise any of you to know those very pieces have saved my bacon in creative ways more than a time or two during a project. So while cleaning up and reorganizing after my fall project, I thought it would be fun and challenging to try and make a couple new, small projects where the majority of materials were taken only from my stash of "someday I'll use this" drawers.


What follows in the next few weeks will be a chronicle of (hopefully) my success in making neat things from leftover scraps, brain farts and "I wonder if that would work" items. This week's post won't have a lot of "during" photos, because I had to see if this was even going to be a possibility before I began to chronicle. But I hope it will inspire you to really take a look at what you've saved, and then to create something super fun from all of it!


I find that I really enjoy working on small projects. Ones that don't take up too much room and allow you to really delve into a subject or a style. I feel like with big projects such as the New Orleans, having a large house with rooms full of everything you find in a real house can be overwhelming for you or the observer to absorb. So, I decided to make a couple small bookshelf sized room boxes. These would allow me to use my leftover materials, and enjoy a genre that I haven't really worked with very much before: Mid Century Modern and Modern Modern.


I started with the Mid Century Modern structure. I looked at my resources, drew up a quick sketch, searched online for some theme ideas, and then gathered some possible materials. For the base, I cut a piece of 1/4" plywood scrap down to 8-3/8" x 6-3/8". I used scrap 1/8" x 1/4" to trim the edges, then used leftover wood flooring for the interior part of the roombox. I had some Provincial Minwax Wood Stain Pen left over, so I decided that's what stain I'd use for all the wood in the project.


With this base, that would make room enough for a small (enclosed on three sides) room scene (5-13/16" x 5-5/8") plus a peek out into a small atrium type garden (6-1/8" x 2") through a large (4-3/8" x 7-7/8") window. The walls were constructed from leftover 3/16" foam core sheets. I used a combination of scrap wood flooring and wallpaper sample sheets that I got from Joanne's several years ago to cover both the interior and exterior walls.  The 1/16" Lexan for the window was leftover from a sheet I used to make the windows for Autumn's Pantry. I trimmed the wall edges with 3/8" x 1/8" wood scraps.


For the angled ceiling, I used more foam core. I made a skylight with the same Lexan, used more wood floor scraps to clad the ceiling, and used grip tape strips for the roofing which was leftover from the New Orleans.


For the exterior fencing around the atrium window garden, I was able to use up a lot of the 1/16" x 1/2" basswood strips I had floating in a drawer. I used leftover  1/4" corner molding for the corner posts. I used other miscellaneous pieces of wood to make a holder basket for the 9 volt battery pack. The lamp that I'll use in the scene is one from my Shapeways Store. It uses a regular 12 volt screw socket bulb that comes with a plug. The lamp is designed to hold the bulb with a channel to run the wire down through the lamp base and out the bottom like a real household lamp. It can be easily run on battery power too, just by connecting the wires from the bulb to the battery pack and securing with shrink tube or electrical tape. I am going to paint the base of the lamp to match the roombox decor.


I want to get the structure completed for the Modern Modern roombox before I start on all the interior furnishings and the garden for both roomboxes. This way, I can clean up and put away all the construction-y stuff and make room for the decor materials. Here are a few more angles of the Mid Mod box as it stands today...


I hope you feel inspired to go take a look at all your "someday" supplies, and I hope you come away with some exciting ideas on how to use them! Making a bookshelf roombox is a great way to display and enjoy special pieces that you have put away for "someday", too!

xo xo,
Jodi